
Samsung Galaxy Watch4 Classic Display Replacement

Inleiding
Ga naar stap 1Use this guide to replace a cracked or broken screen on your Samsung Galaxy Watch4.
If the frame is deformed, it's important to replace it to make sure the new screen will mount correctly and won’t suffer damage from uneven pressure.
If your battery is swollen, take appropriate precautions. For your safety, discharge your battery below 25% before disassembling your Galaxy Watch4 Classic. This reduces the risk of a dangerous thermal event if the battery is accidentally damaged during the repair.
You’ll need replacement adhesive to reattach components when reassembling the device.


-
-
Before starting repairs, take your watch off the charger and power it down.
-
Remove the watch band.
-
-
-
Use a Tri-point Y00 screwdriver to remove the four 4.0 mm-long screws securing the back cover.
-
-
-
Insert an opening tool into the seam between the back cover and the metal housing.
-
Twist the opening tool to create a gap.
-
-
-
Lay the watch face down.
-
Carefully swing open the back cover by folding it to the opposite site of the created gap.
-
Use the flat end of a spudger to pry up and disconnect the sensor flex cable from the motherboard.
-
Remove the back cover.
-
-
-
-
Use the pointed end of a spudger to disconnect the hall sensor-, the display-, and the crown button flex cable.
-
-
-
Use a Phillips screwdriver to remove the 4.4 mm-long screw securing the motherboard.
-
-
-
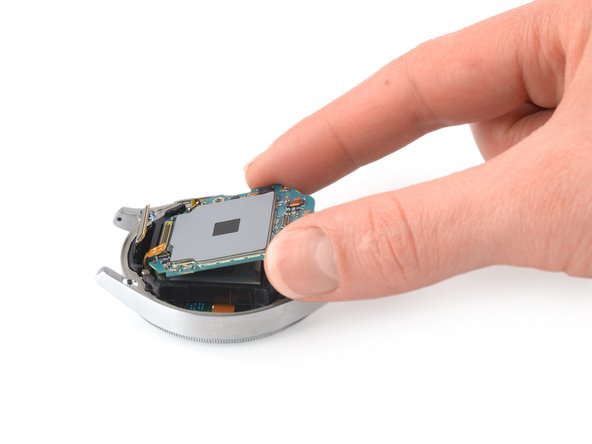
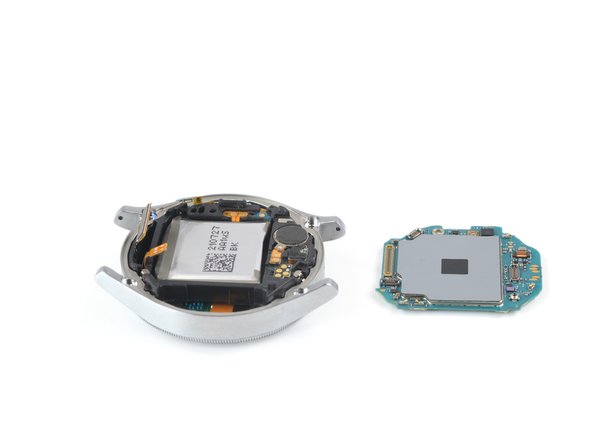
Use your fingers to lift the motherboard out from the watch assembly towards the bottom of the watch.
-
-
-
Place the corner of the flat end of a spudger in the small opening of the barometric sensor, on the opposite side of the display connector.
-
Twist and tilt the spudger to lever the core assembly out of the metal housing.
-
Thread the display flex cable through the opening in the core assembly.
-
Remove the core assembly.
-
-
-
Heat an iOpener and apply it to the display for two minutes to loosen the adhesive.
-
-
-
Use your finger to steadily push the display down through the watch's metal housing to separate the display from the frame.
-
Remove the display.
-


If possible, turn on your device and test your repair before installing new adhesive and resealing.
Compare your new replacement part to the original part—you may need to transfer remaining components or remove adhesive backings from the new part before installing.
To reassemble your device, follow these instructions in reverse order. Apply new adhesive where necessary after cleaning the relevant areas with isopropyl alcohol (>90%).
Take your e-waste to an R2 or e-Stewards certified recycler.
Repair didn’t go as planned? Try some basic troubleshooting, or ask our Answers community for help.
Annuleren: ik heb deze handleiding niet afgemaakt.
4 andere personen hebben deze handleiding voltooid.

