
iMac Intel 21.5" Display Adhesive Strips Replacement (Custom Notch)

Inleiding
Ga naar stap 1Removing the display requires cutting through the adhesive around the perimeter of the screen. After the adhesive is cut, it cannot be used to re-seal the display in place, so you'll need to apply a new set of adhesive strips.
This guide includes steps showing how to cut a notch in the adhesive strip, allowing the iMac’s microphone to function properly. If your adhesive strip already contains a notch, follow this guide instead.
Some images in this guide use an older iMac, which has minor visual differences. These differences do not affect the repair procedure.
Wat je nodig hebt
Onderdelen

Gereedschap


Toon meer…
-
Gereedschap gebruikt in deze stap:iMac Intel 21.5" Cardboard Service Wedge$4.99
-
With the hinge free to move, the iMac will be unbalanced and hard to work on. Place an iMac service wedge, in the stand to stabilize the iMac.
-
-
-
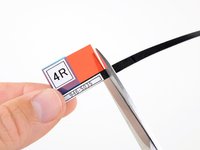
If your adhesive strip labeled 4R already contains a notch, follow this guide instead.
-
-
Gereedschap gebruikt in deze stap:Tweezers$4.99
-
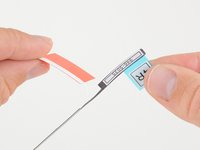
If you are re-using your existing display, you must also remove the old adhesive from the back of the display.
-
Peel off the old strips of adhesive using tweezers or your fingers. Start at the bottom and peel upward towards the top of the device.
-
After all the old adhesive is removed, carefully clean off the adhesive residue with high-concentration isopropyl alcohol (90% or greater) and a lint-free cloth. Wipe in one direction, not back and forth.
-
-
-
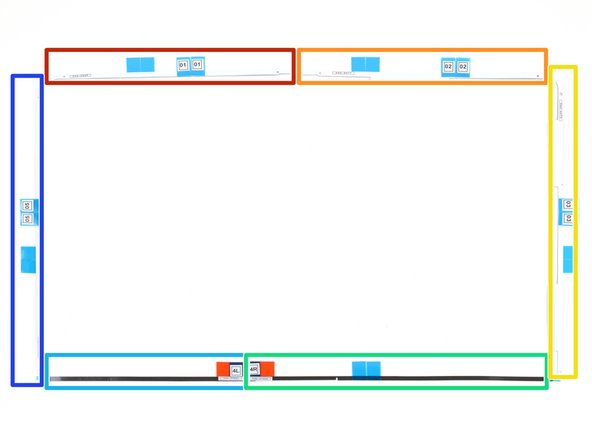
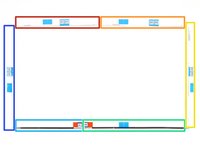
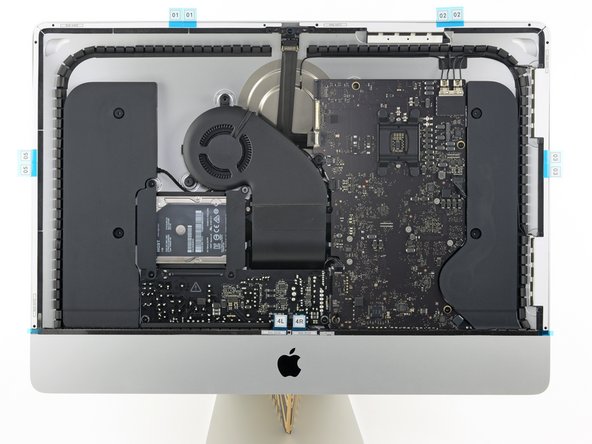
Lay out the adhesives strips beforehand so you won't accidentally install a strip in the wrong place:
-
Strip 01 on the top left
-
Strip 02 on the top right
-
Strip 03 on the right vertical
-
Strip 4R on the bottom right, dark side facing up
-
Strip 4L on the bottom left, dark side facing up
-
Strip 5 on the left vertical
-
-
-
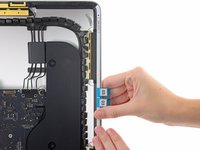
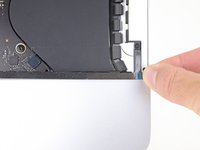
Start with the strip labeled 3 (or 03), which goes on the right vertical side of the rear enclosure.
-
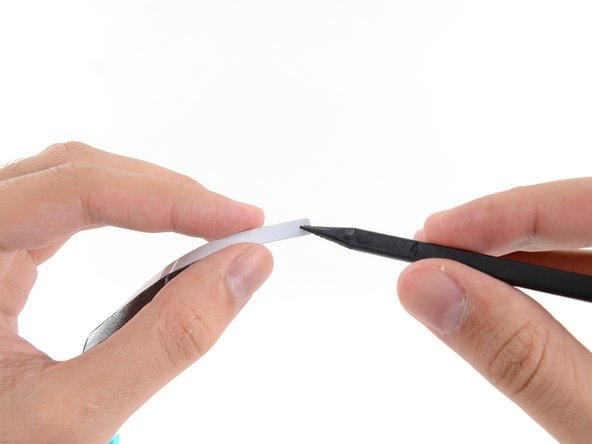
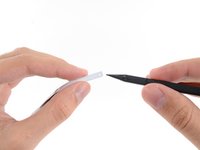
Peel the short piece of backing off the back of the strip.
-
-
-
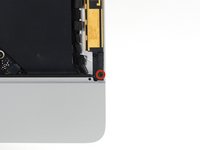
Insert the tip of a spudger into the hole at the end of the strip where you just removed one layer of backing. Insert the spudger from the side that still has a layer of backing on it.
-
-
-
With the spudger still poking through the hole in the adhesive strip, push the spudger tip into the corresponding hole in the frame of the iMac.
-
Using the hole and spudger to anchor the position of the adhesive strip, line the strip up against the right edge, gently pulling up against the spudger to ensure the strip is taut, and stick it onto the frame.
-
-
-
-
Work your way counter-clockwise around the perimeter of the iMac, adding three more adhesive strips in the same manner:
-
Strip 02 on the top right
-
Strip 01 on the top left
-
Strip 05 on the left vertical
-
-
-
To avoid blocking the microphone port with adhesive, strip 4R must be modified before use. A small notch must be cut out of the lower edge of the adhesive strip to accommodate the microphones.
-
-
-
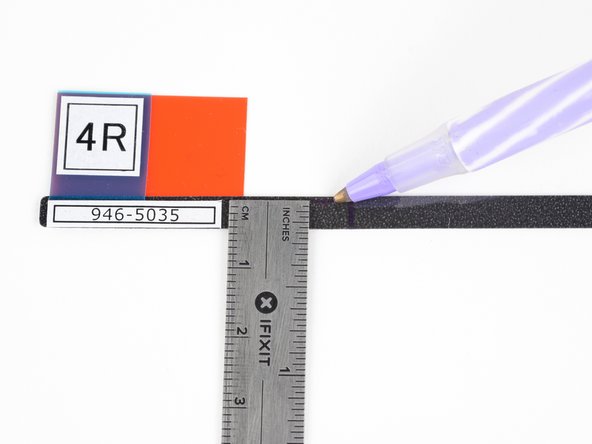
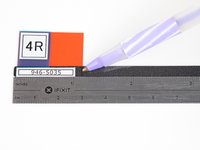
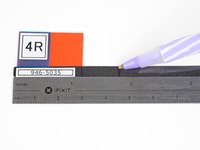
Measuring from the left end of strip 4R (the end with the labels) make two marks on the strip as guides for where to cut.
-
Make the first mark 1⅛ inches (28.6 mm) from the left edge.
-
Make the next mark 1¾ inches (44.5 mm) from the left edge.
-
Measuring from the bottom edge of the strip, make a third mark in between the first two 5/32 inches (4 mm) up from the bottom edge.
iMac 2015 model doesn’t have a microphone hole where the adhesive goes ? Is it then necessary to cut a notch ?
Nope! If the iMac does not have a microphone hole, don’t cut a notch.
The instructions state to mark a line (5/8), but 5/8ths would be larger than the strip itself. The actual measurement on the photo displayed above is 5/32nds.
Hi Clay,
Nice catch! I’ll correct that now!
-
-
-
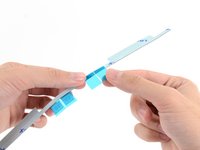
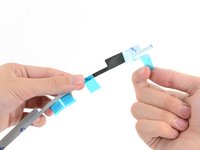
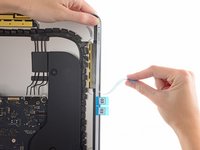
Grasp the red film pull tab on the 4R adhesive strip and pull to remove the backing from the strip.
-
Align the strip on the bottom edge of the rear enclosure such that the right end of the strip sits next to—but does not overlap—adhesive strip 3.
-
Run your finger along the length of the adhesive strip to ensure it is straight and unwrinkled, pressing down as you go to adhere the strip to the iMac.
-
-
-
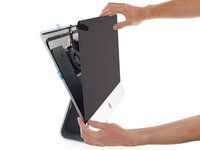
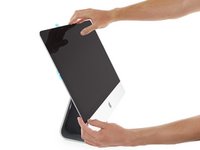
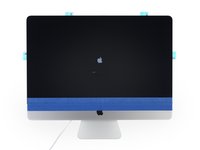
Gently set the display in place over the iMac and align it carefully.
-
-
-
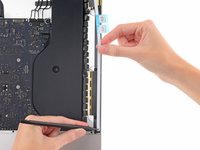
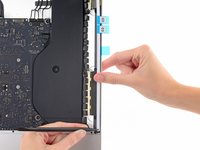
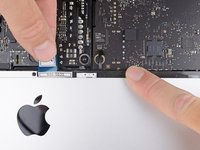
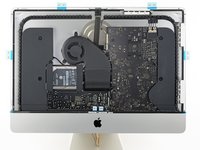
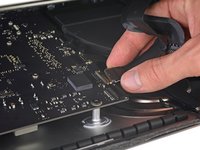
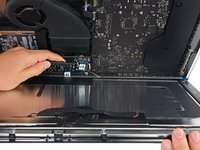
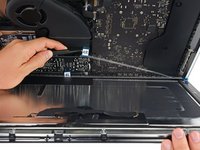
After confirming that your iMac functions properly, disconnect the display cables and carefully lean the display forward.
-
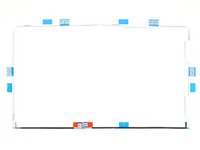
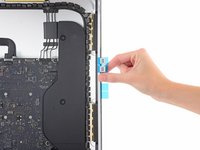
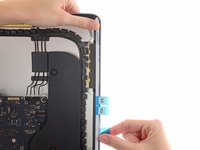
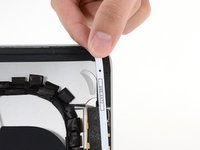
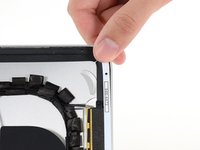
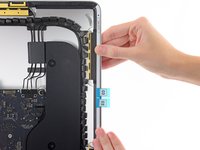
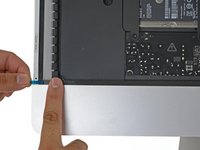
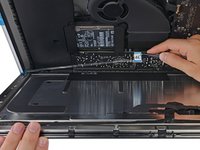
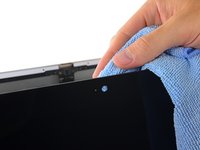
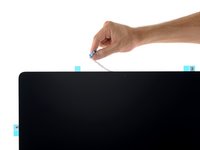
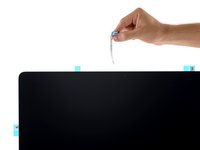
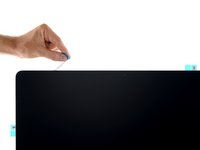
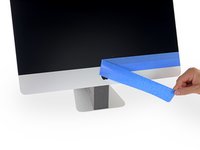
Remove the film from the two bottom strips by reaching in from above with a pair of tweezers and pulling the blue tabs straight up from the bottom edge of the display.
Double check you have removed the power before attempting this step. Also press the power button to discharge any remaining charge in the power board. It is very easy to rub past the power supply during this step and the shock will have you drop the display, or worse!
-
-
-
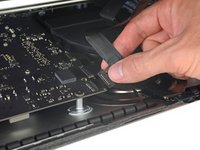
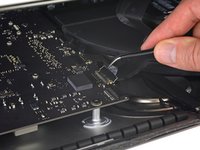
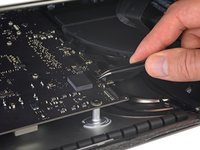
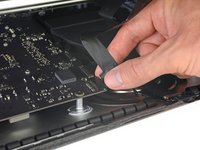
Reconnect the display power and data cables for the final time.
These cables are easily damaged, as is the connector on the logic board. Take your time and make sure it is pulled home and square.
-
-
Gereedschap gebruikt in deze stap:Microfiber Cleaning Cloths$3.99
-
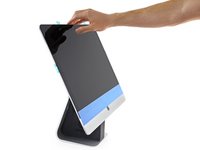
Steady the display with one hand as you remove the protective film in the following steps, or rest it lightly against the iMac's enclosure.
-
-
-
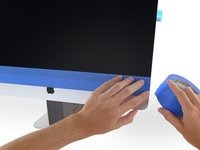
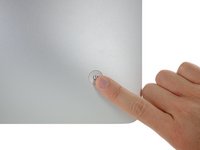
To ensure a strong bond, carefully tip the iMac flat on its back (with the screen facing straight up) and press carefully but firmly around all four edges of the display.
-
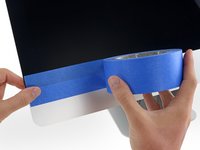
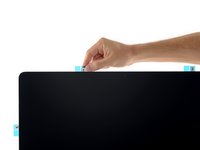
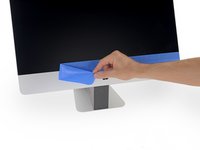
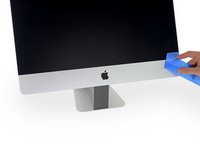
Remove the tape securing the display to the rear enclosure.
Don't press too hard in this step. The screen is easily cracked!
The screen must be upright to do this correctly. Otherwise the back aluminum shell of the iMac will flex and not line up with the glass.
-


Annuleren: ik heb deze handleiding niet afgemaakt.
24 andere personen hebben deze handleiding voltooid.


4 opmerkingen
Thank you. Very detailed instructions. Very helpful.
This is a great guide!