
MacBook Pro 13" Two Thunderbolt Ports 2020 Battery Replacement

Inleiding
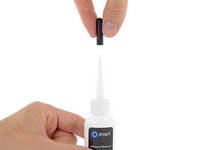
Ga naar stap 1Use this guide to safely remove the glued-in battery from your MacBook Pro with the help of an iFixit kit with adhesive remover. The adhesive remover will dissolve the adhesive securing the battery, allowing you to remove it with ease.
iFixit adhesive remover is flammable. Perform this procedure in a well-ventilated area. Do not smoke or work near an open flame during this procedure.
Replacing the battery does not require you to remove the logic board, making this procedure significantly easier.
To minimize risk of damage, turn on your MacBook and allow the battery to fully discharge before starting this procedure. A charged lithium-ion battery can create a dangerous and uncontrollable fire if accidentally punctured. If your battery is swollen, take extra precautions.
Note: The adhesive remover can damage certain plastics. Follow all instructions and take care where you apply the adhesive remover.
Some photos in this guide are from a different model and may contain slight visual discrepancies, but they won't affect the guide procedure.
Wat je nodig hebt
Reparatieset
Deze set bevat alle onderdelen en tools om deze handleiding te voltooien.

Onderdelen

Gereedschap


Toon meer…
-
Gereedschap gebruikt in deze stap:Magnetic Project Mat$19.95
-
If your MacBook is running Big Sur v11.1 or later, disabling Auto Boot may not work. You can proceed normally, but make sure to disconnect the battery as soon as you're inside.
-
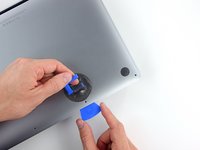
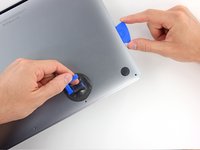
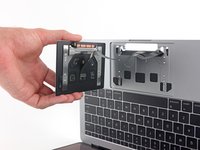
Use a P5 Pentalobe driver to remove the six screws securing the lower case:
-
Two 6.8 mm screws
-
Two 5.3 mm screws
-
Two 3.4 mm screws
-
-
-
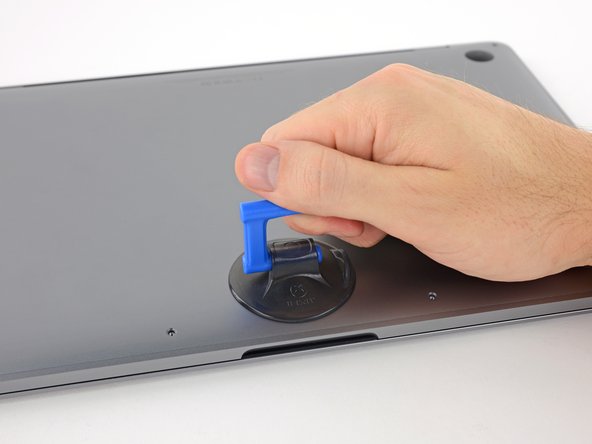
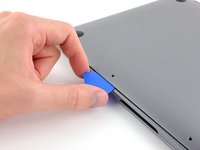
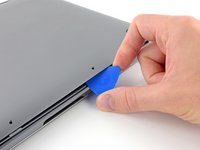
Insert your opening pick once again under the front edge of the lower case, near one of the two centermost screw holes.
-
Give the pick a firm twist to pop free the third clip securing the lower case to the chassis.
-
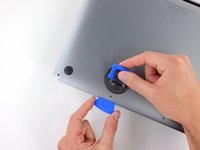
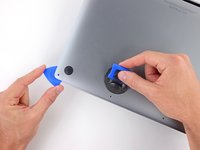
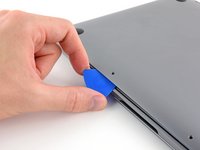
Repeat this procedure near the other of the two centermost screw holes, popping the fourth clip free.
-
-
-
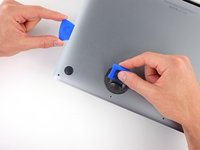
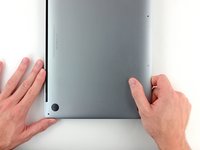
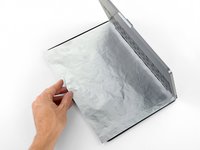
Remove the lower case.
-
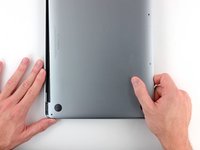
Set it in place and align the sliding clips near the display hinge. Press down and slide the cover toward the hinge. It should stop sliding as the clips engage.
-
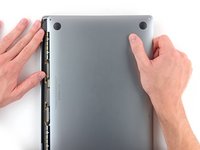
When the sliding clips are fully engaged and the lower case looks correctly aligned, press down firmly on the lower case to engage the four hidden clips underneath. You should feel and hear them snap into place.
-
-
-
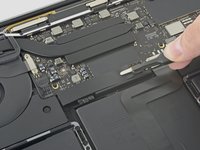
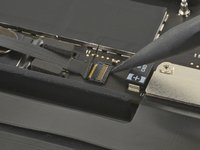
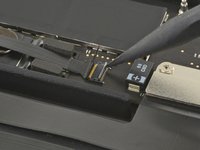
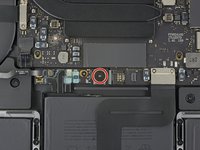
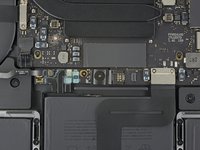
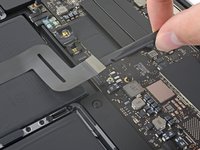
Carefully peel up the large piece of tape covering the battery connector, on the edge of the logic board nearest the battery.
-
Remove the tape.
-
-
-
-
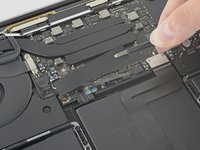
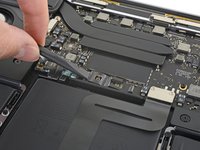
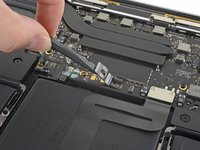
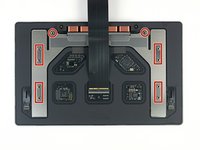
Use a T5 Torx driver to remove the two 1.9 mm screws securing the trackpad cable connector bracket.
-
-
-
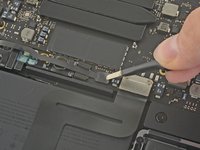
Prepare an iOpener and lay it on top of the trackpad ribbon cable for about a minute, in order to soften the adhesive securing the trackpad ribbon cable to the top of the battery.
-
If you don't have an iOpener, use a hair dryer to warm up the cable instead. The cable should be warm, but not too hot to touch. Be careful not to overheat the battery.
-
-
Gereedschap gebruikt in deze stap:Tweezers$4.99
-
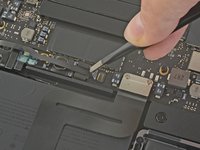
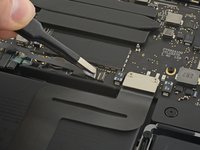
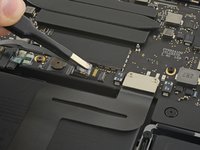
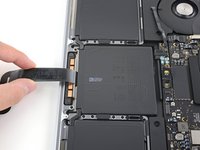
Use a T5 Torx driver to remove the two 3.1 mm screws securing the battery board.
-
-
-
Now that your MacBook Pro is fully prepped, it's time to prep yourself.
-
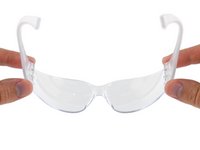
Wear eye protection when handling and applying the adhesive remover. (Eye protection is included in your kit.)
-
Do not wear contact lenses without eye protection.
-
Protective gloves are also included in your kit. If you are concerned about possible skin irritation, put your gloves on now.
-
-
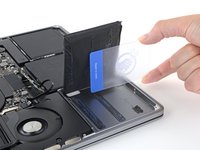
Gereedschap gebruikt in deze stap:Plastic Cards$2.99
-
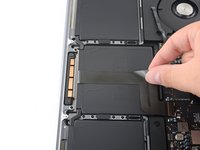
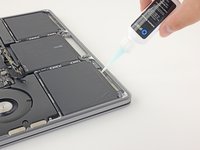
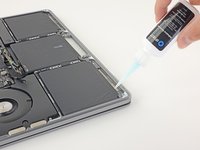
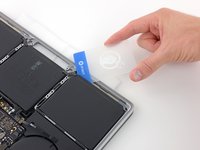
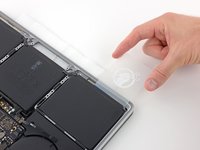
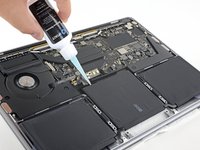
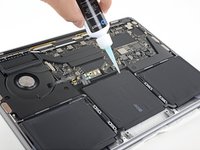
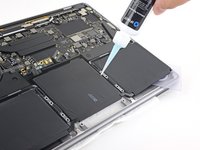
After 2-3 minutes have passed, slide a plastic card under the edge of the battery cell where you applied the adhesive remover.
-
-
-
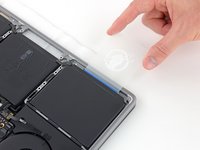
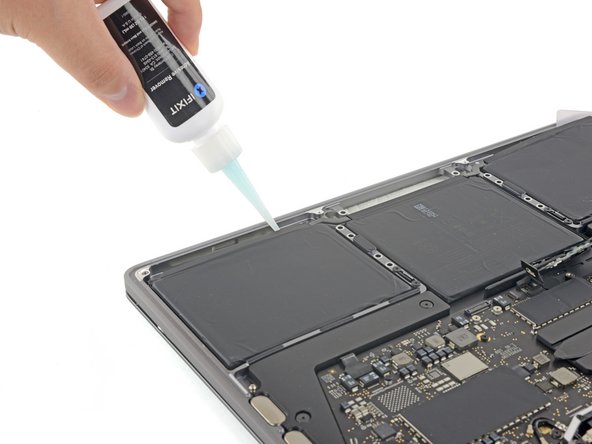
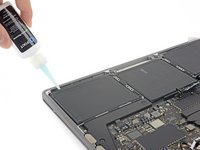
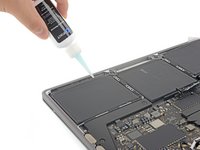
Cutouts in the aluminum case between the center battery cell and trackpad may prevent the adhesive remover from flowing all the way underneath the battery.
-
To compensate, apply a few more drops of adhesive remover along each side of the center battery cell.
-
Wait 2-3 minutes before proceeding to the next step.
-
-
-
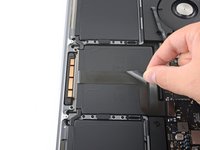
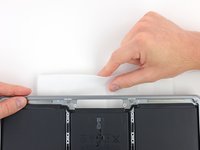
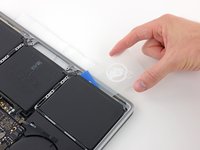
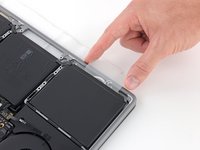
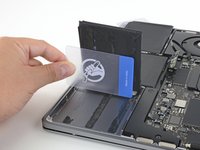
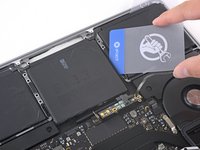
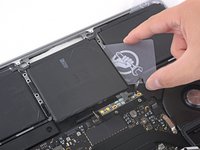
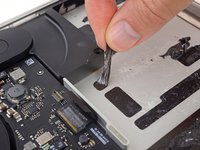
Lift and remove the battery.
-
With a little luck, you can slowly pull out each strip of adhesive with your fingers.
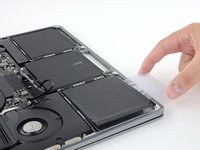
-
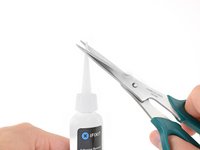
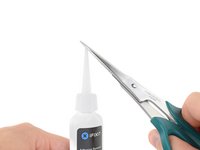
Otherwise, soak each strip of adhesive with a bit of adhesive remover for 2-3 minutes, and then scrape it out with a plastic tool. This can take quite a bit of work, so be patient.
-
Mop up any remaining adhesive remover and give your MacBook Pro a few minutes to air dry.
-
Calibrate your newly installed battery: charge it to 100%, and keep charging it for at least 2 more hours. Unplug and use it normally to drain the battery. When you see the low battery warning, save your work, and keep your laptop on until it goes to sleep due to low battery. Wait at least 5 hours, then charge your laptop uninterrupted to 100%.
-


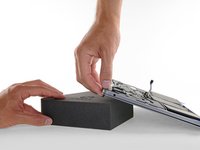


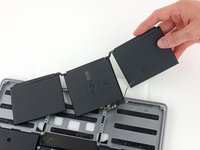
Compare your new replacement part to the original part—you may need to transfer remaining components or remove adhesive backings from the new part before installing.
To reassemble your device, follow the above steps in reverse order.
Take your e-waste to an R2 or e-Stewards certified recycler.
Repair didn’t go as planned? Try some basic troubleshooting or search our Answers community for help.
Annuleren: ik heb deze handleiding niet afgemaakt.
8 andere personen hebben deze handleiding voltooid.

