Ga door naar hoofdinhoud
Lenovo ThinkPad P1 Gen 7 Right Speaker Replacement

Lenovo ThinkPad P1 Gen 7 Right Speaker Replacement

Spencer Day

Spencer Day

Voor het laatst geüpdatet op September 4, 2024

20 - 30 minuten
Gemiddeld

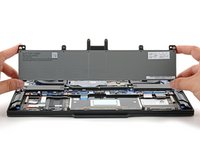
Use this guide to replace the right speaker in your Lenovo ThinkPad P1 Gen 7 laptop.

The right speaker is on the same side as the SD card slot and USB-A port.

If your speaker sounds crackly, like static, or isn't making noise, it may be damaged and in need of replacement.

For your safety, discharge your battery below 25% before disassembling your device. This reduces the risk of a dangerous fire if the battery is accidentally damaged during the repair. If your battery is swollen, take appropriate precautions.

Wat je nodig hebt

Gereedschap

Toon meer…

  1. Lenovo ThinkPad P1 Gen 7 Right Speaker Replacement, Turn off your laptop: stap 1, afbeelding 1 van 3 Lenovo ThinkPad P1 Gen 7 Right Speaker Replacement, Turn off your laptop: stap 1, afbeelding 2 van 3 Lenovo ThinkPad P1 Gen 7 Right Speaker Replacement, Turn off your laptop: stap 1, afbeelding 3 van 3
    • Shut down your laptop (don't just put it in sleep mode) and disconnect all cables.

    • Flip the laptop upside-down, and rotate it so the screen hinge faces towards you.

  2. Lenovo ThinkPad P1 Gen 7 Right Speaker Replacement, Loosen the base cover screws: stap 2, afbeelding 1 van 1
    • Use a Phillips screwdriver to loosen the six captive screws securing the base cover.

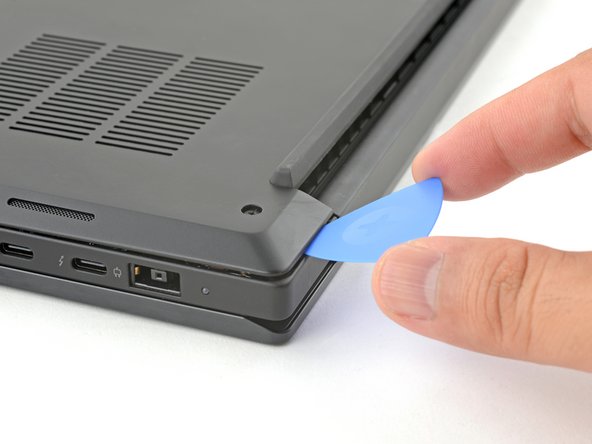
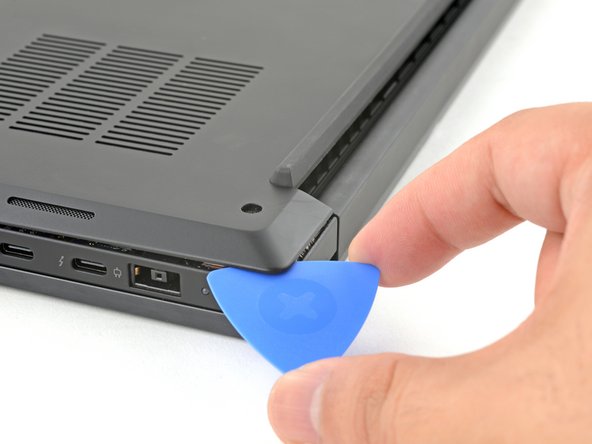
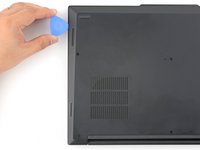
  3. Lenovo ThinkPad P1 Gen 7 Right Speaker Replacement, Loosen the base cover's left side: stap 3, afbeelding 1 van 3 Lenovo ThinkPad P1 Gen 7 Right Speaker Replacement, Loosen the base cover's left side: stap 3, afbeelding 2 van 3 Lenovo ThinkPad P1 Gen 7 Right Speaker Replacement, Loosen the base cover's left side: stap 3, afbeelding 3 van 3
    • Press the tip of an opening pick into the seam between the base cover and the bottom-left corner of the frame (near the screen hinge).

    • It can be tricky to get the pick into the seam for the first time. Angle the pick vertically and press down with firm pressure.

    • Pivot the pick down and slide it around the corner to release the clips.

  4. Lenovo ThinkPad P1 Gen 7 Right Speaker Replacement: stap 4, afbeelding 1 van 3 Lenovo ThinkPad P1 Gen 7 Right Speaker Replacement: stap 4, afbeelding 2 van 3 Lenovo ThinkPad P1 Gen 7 Right Speaker Replacement: stap 4, afbeelding 3 van 3
    • Slide the opening pick along the left edge to release the clips securing the cover.

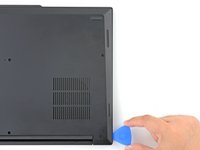
  5. Lenovo ThinkPad P1 Gen 7 Right Speaker Replacement, Loosen the base cover's right side: stap 5, afbeelding 1 van 3 Lenovo ThinkPad P1 Gen 7 Right Speaker Replacement, Loosen the base cover's right side: stap 5, afbeelding 2 van 3 Lenovo ThinkPad P1 Gen 7 Right Speaker Replacement, Loosen the base cover's right side: stap 5, afbeelding 3 van 3
    • Press the tip of an opening pick into the seam between the base cover and the bottom-right corner of the frame (near the screen hinge).

    • Pivot the pick down and slide it around the corner to release the clips.

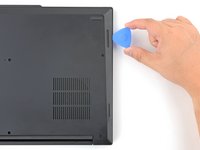
  6. Lenovo ThinkPad P1 Gen 7 Right Speaker Replacement: stap 6, afbeelding 1 van 2 Lenovo ThinkPad P1 Gen 7 Right Speaker Replacement: stap 6, afbeelding 2 van 2
    • Slide the opening pick along the right edge to release the clips securing the cover.

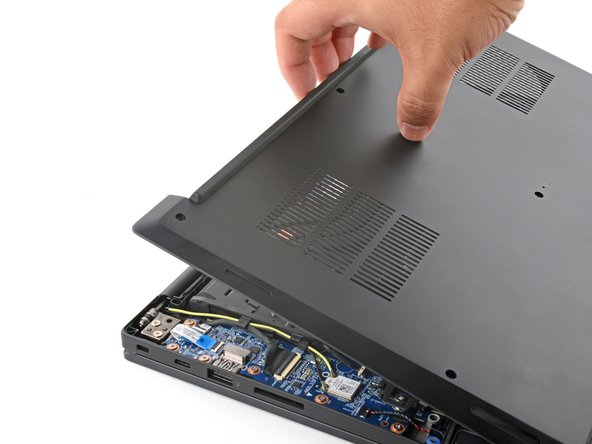
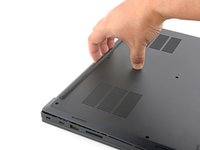
  7. Lenovo ThinkPad P1 Gen 7 Right Speaker Replacement, Remove the base cover: stap 7, afbeelding 1 van 2 Lenovo ThinkPad P1 Gen 7 Right Speaker Replacement, Remove the base cover: stap 7, afbeelding 2 van 2
    • Grasp the base cover along the screen hinge edge and pull up to loosen the cover.

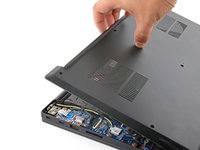
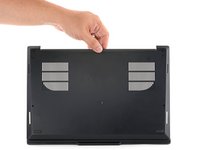
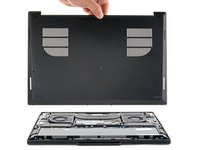
  8. Lenovo ThinkPad P1 Gen 7 Right Speaker Replacement: stap 8, afbeelding 1 van 2 Lenovo ThinkPad P1 Gen 7 Right Speaker Replacement: stap 8, afbeelding 2 van 2
    • Lift and remove the base cover.

  9. Lenovo ThinkPad P1 Gen 7 Right Speaker Replacement, Loosen the battery screws: stap 9, afbeelding 1 van 1
    • Because of the battery connector's design, the only way to disconnect the battery is by physically removing it.

    • Use a Phillips screwdriver to loosen the six captive screws securing the battery.

  10. Lenovo ThinkPad P1 Gen 7 Right Speaker Replacement, Remove the battery: stap 10, afbeelding 1 van 2 Lenovo ThinkPad P1 Gen 7 Right Speaker Replacement, Remove the battery: stap 10, afbeelding 2 van 2
    • Grasp the top edge of the battery and lift to disconnect it.

    • You may feel a little resistance from the battery connector as it disconnects—that's normal.

  11. Lenovo ThinkPad P1 Gen 7 Right Speaker Replacement: stap 11, afbeelding 1 van 2 Lenovo ThinkPad P1 Gen 7 Right Speaker Replacement: stap 11, afbeelding 2 van 2
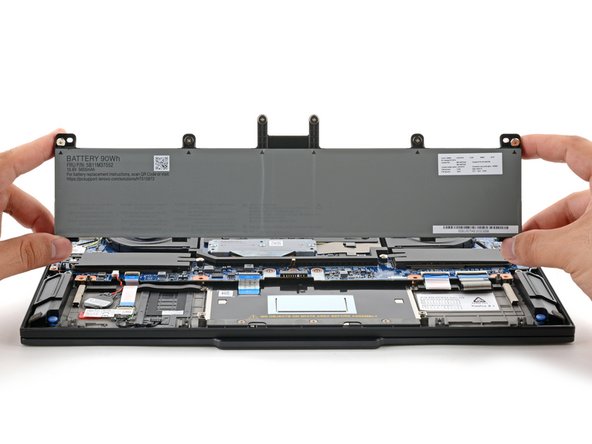
    • Lift and remove the battery.

  12. Lenovo ThinkPad P1 Gen 7 Right Speaker Replacement, Remove the speaker: stap 12, afbeelding 1 van 3 Lenovo ThinkPad P1 Gen 7 Right Speaker Replacement, Remove the speaker: stap 12, afbeelding 2 van 3 Lenovo ThinkPad P1 Gen 7 Right Speaker Replacement, Remove the speaker: stap 12, afbeelding 3 van 3
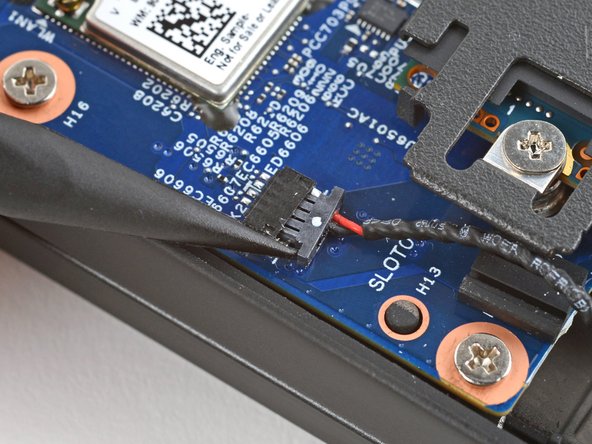
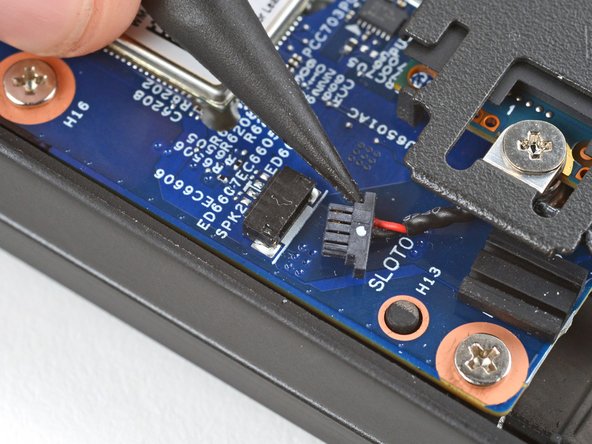
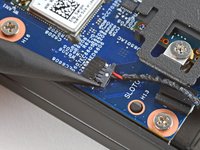
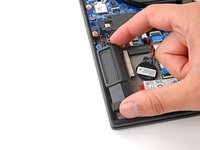
    • The right speaker has the letters SPK-R engraved near the bottom.

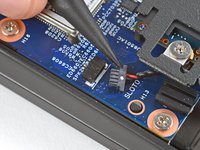
    • Use the point of a spudger to push on alternating sides of the right speaker connector and "walk" it out of its socket.

  13. Lenovo ThinkPad P1 Gen 7 Right Speaker Replacement: stap 13, afbeelding 1 van 3 Lenovo ThinkPad P1 Gen 7 Right Speaker Replacement: stap 13, afbeelding 2 van 3 Lenovo ThinkPad P1 Gen 7 Right Speaker Replacement: stap 13, afbeelding 3 van 3
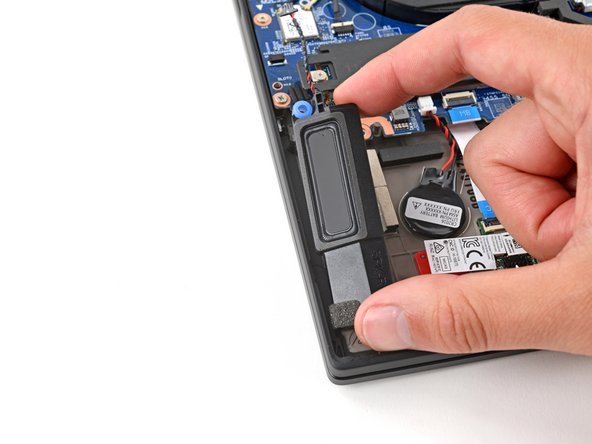
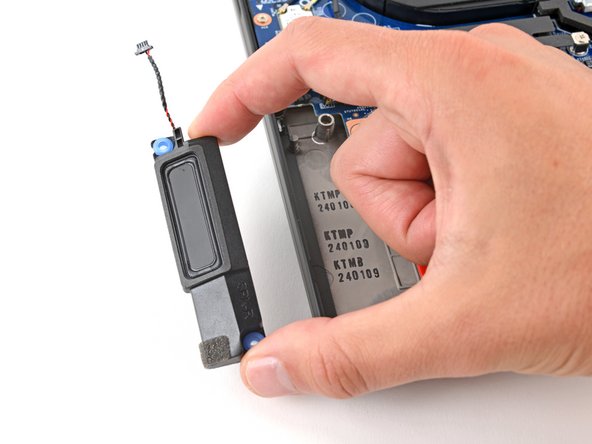
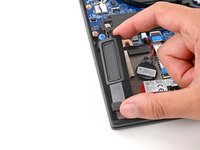
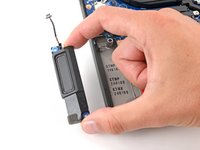
    • Use your fingers to lift the speaker off its posts and remove it.

    • During reassembly, put the two grommets over their posts and push the speaker down so it slides into place.

    • Only press on the rigid plastic at the bottom and edges of the speaker. Pushing in the center near the soft diaphragm may damage the speaker.

  14. Lenovo ThinkPad P1 Gen 7 Right Speaker Replacement, Transfer the grommets: stap 14, afbeelding 1 van 3 Lenovo ThinkPad P1 Gen 7 Right Speaker Replacement, Transfer the grommets: stap 14, afbeelding 2 van 3 Lenovo ThinkPad P1 Gen 7 Right Speaker Replacement, Transfer the grommets: stap 14, afbeelding 3 van 3
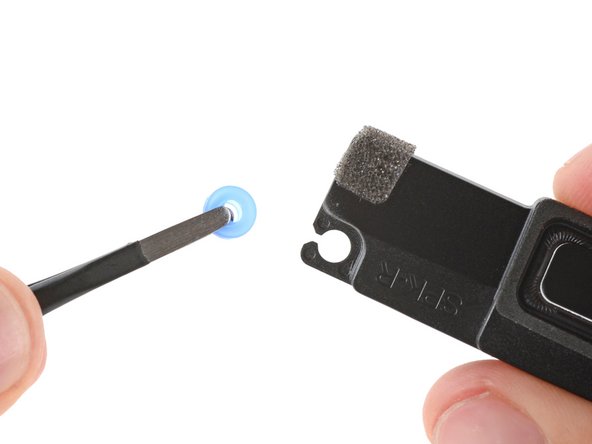
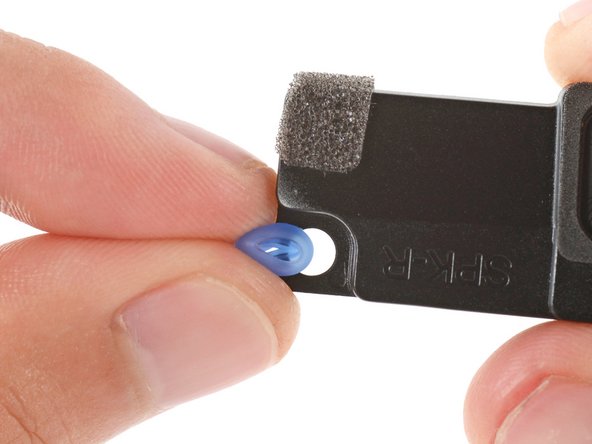
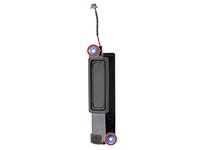
    • Make sure your replacement speaker has two rubber grommets—one in the top-left corner, and one in the bottom-right corner.

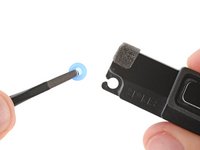
    • If it doesn't, remove the grommets from your old speaker and install them in your replacement.

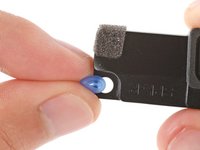
    • Installing the grommets can be tricky. Use your fingers to pinch the grommet and slide it into place.

Conclusie

To reassemble your device, follow these instructions in reverse order.

Take your e-waste to an R2 or e-Stewards certified recycler.

Repair didn’t go as planned? Try some basic troubleshooting, or ask our Answers community for help.

Spencer Day

Lid sinds: 09/14/22

95.762 Reputatie

662 handleidingen geschreven

Team

iFixit Lid van iFixit

Staff

118 Leden

19.552 handleidingen geschreven

0 opmerkingen

Voeg opmerking toe

Weergavestatistieken:

Afgelopen 24 uren: 2

Afgelopen 7 dagen: 4

Afgelopen 30 dagen: 8

Altijd: 62