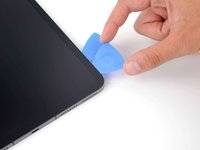
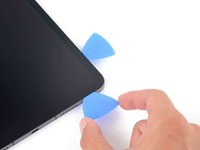
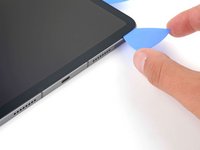
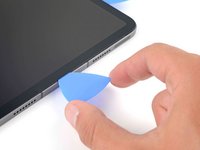
Inleiding
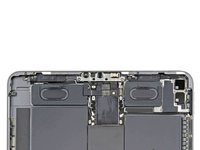
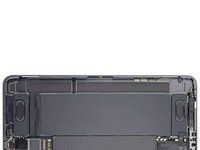
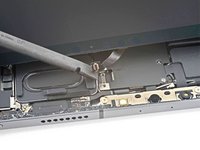
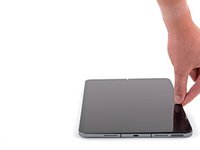
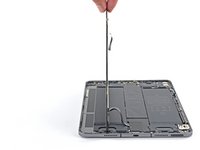
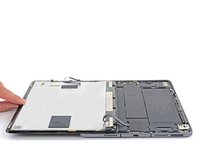
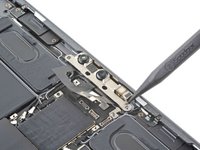
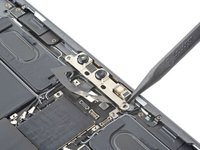
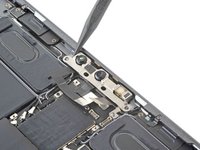
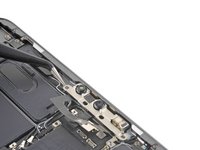
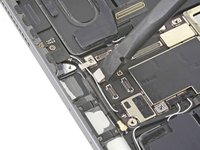
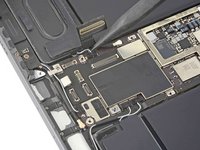
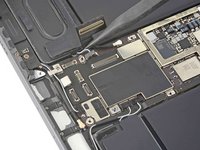
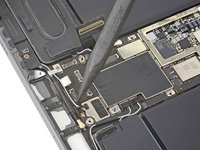
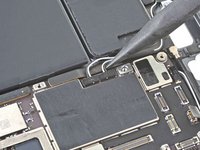
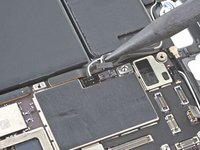
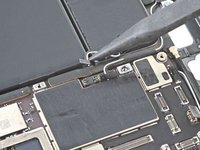
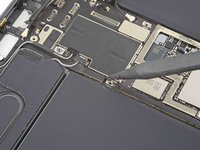
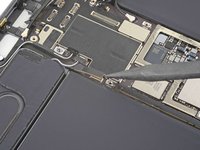
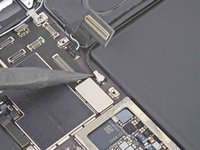
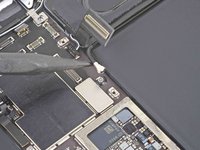
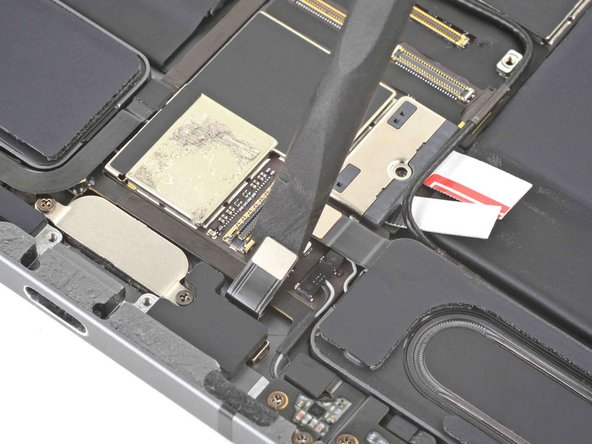
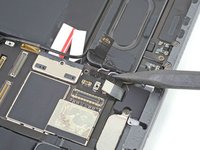
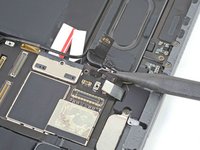
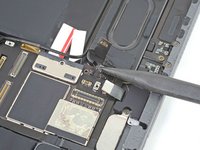
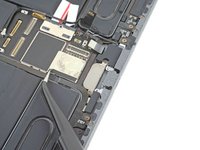
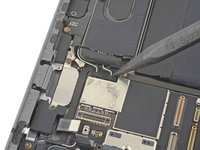
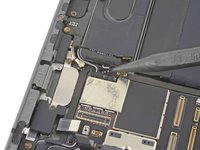
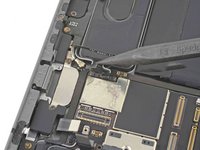
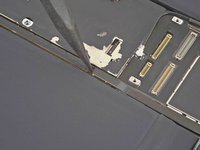
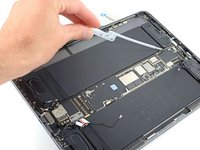
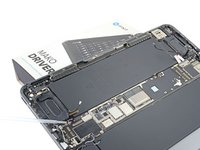
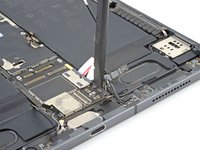
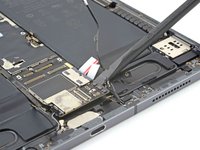
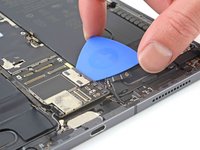
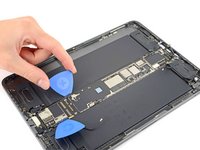
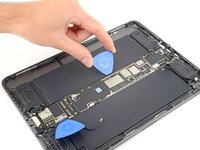
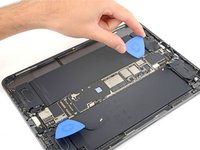
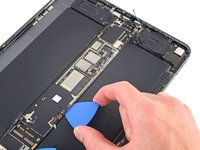
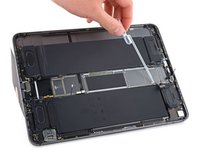
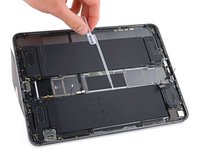
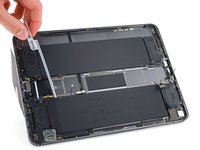
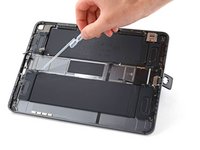
Follow this guide to replace the battery in your iPad Pro 11" 1st gen.
If your battery is swollen, take appropriate precautions.
This guide is written with an A2013 (Wi-Fi + Cellular) and an A2301 (Wi-Fi + Cellular + mmWave) iPad Pro. If you're fixing a Wi-Fi model, you can still use this guide—there will be some visual discrepancies, and you'll need to skip the steps related to the cellular antennas.
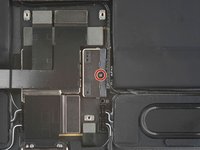
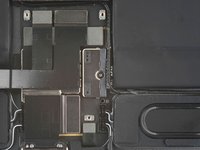
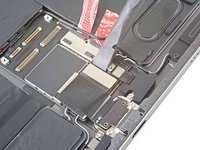
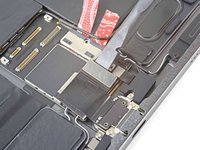
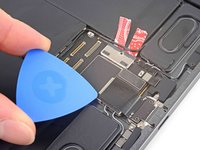
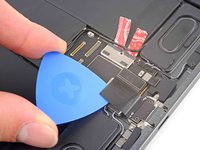
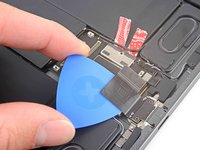
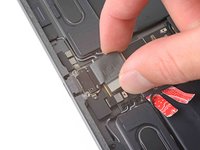
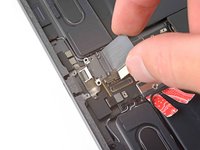
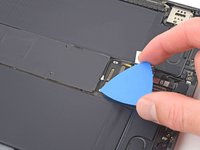
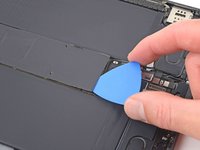
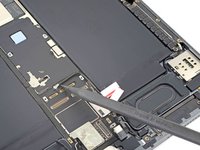
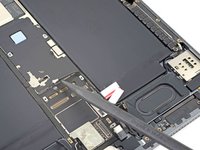
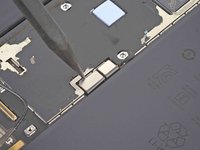
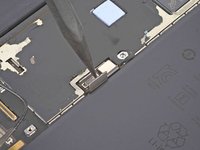
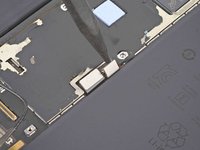
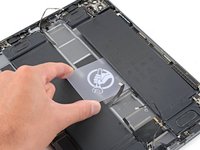
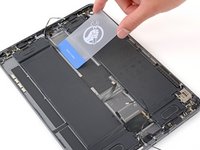
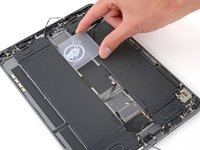
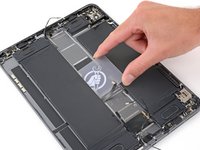
Some photos show the battery connector blocked with two card strips. While this is an optional method, it's more reliable to fully discharge the battery. Ignore this visual discrepancy as you work through the guide.
Wat je nodig hebt
-
-
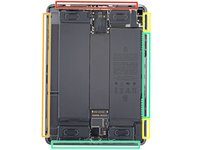
Camera module, ambient light sensors, proximity senor, and front microphone
-
Display cables
-
Screen magnets
-
LCD edges
Do the screen magnets and the adhesive come with the replacement screen?
-
-
-
Apply a heated iOpener to the right edge of the screen for two minutes.
-
-
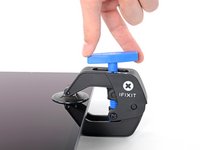
Gereedschap gebruikt in deze stap:Clampy - Anti-Clamp$24.95
-
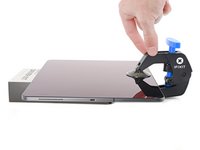
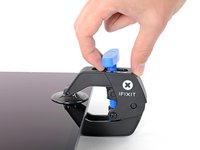
Pull the blue handle backwards to unlock the Anti-Clamp's arms.
-
Place an object under your iPad so it rests level between the suction cups.
-
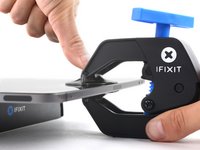
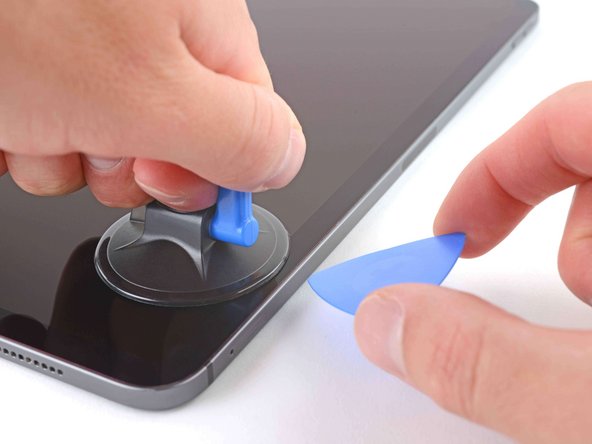
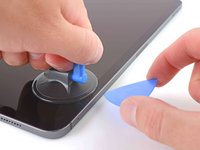
Position the suction cups near the middle of the right edge—one on the top, and one on the bottom.
-
Hold the bottom of the Anti-Clamp steady and firmly press down on the top cup to apply suction.
-
-
-
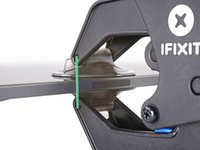
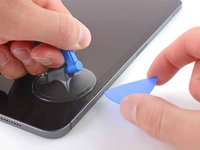
Wait one minute to give the adhesive a chance to release and present an opening gap.
-
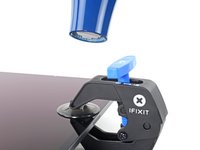
If your screen isn't getting hot enough, you can use a hair dryer to heat along the right edge of the iPad.
-
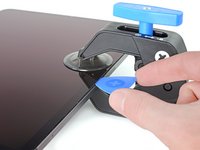
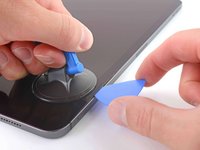
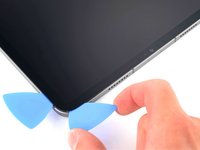
Insert an opening pick under the screen when the Anti-Clamp creates a large enough gap.
-
Skip the next step.
-
-
-
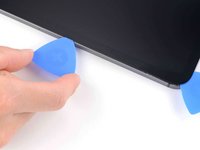
Apply a suction handle to the right edge of the screen, about 5 cm from the bottom edge.
-
Pull up on the suction handle with firm, constant pressure to create a gap large enough to insert an opening pick.
-
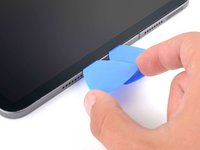
Insert the tip of an opening pick into the gap.
-
-
-
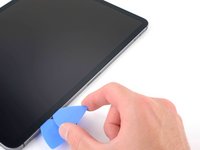
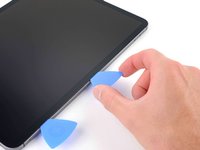
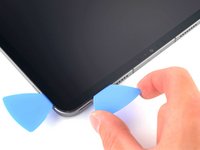
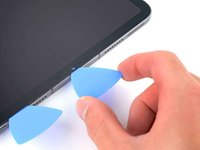
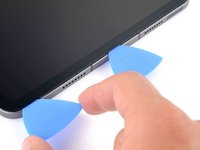
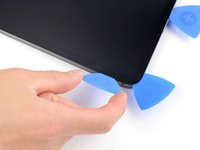
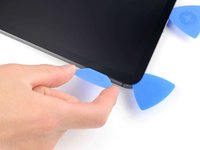
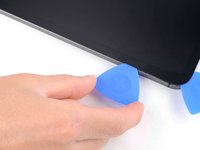
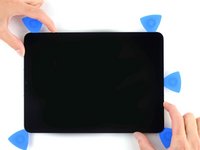
Insert a new opening pick in the gap you just created.
-
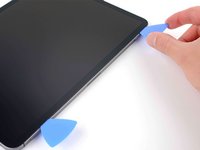
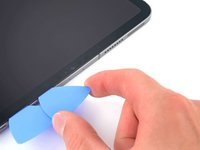
Slide the pick along the right edge to separate the adhesive.
-
Leave the pick in the top right corner to prevent the adhesive from re-sealing.
-
-
-
Apply a heated iOpener to the top edge of the screen for two minutes.
-
-
-
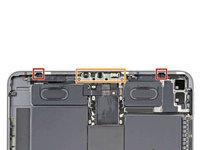
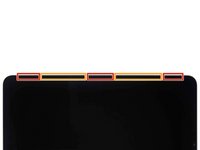
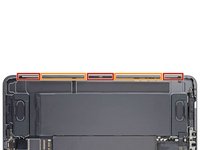
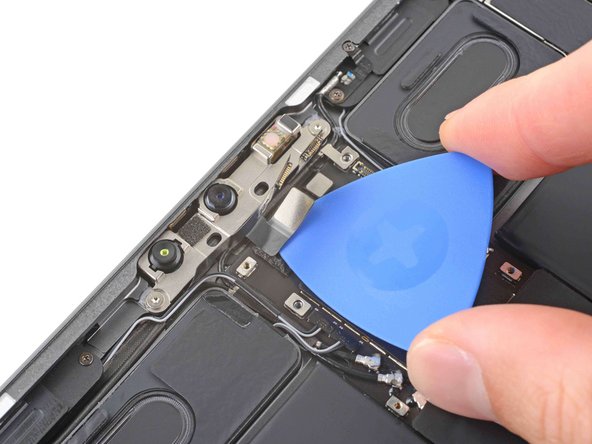
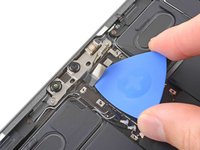
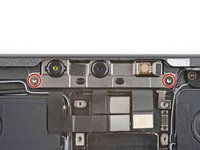
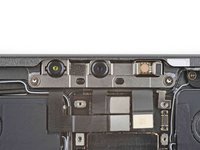
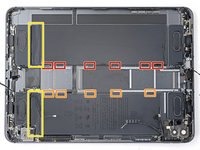
Don't insert an opening pick more than 2 mm near the top left and right edges or you'll damage the ambient light sensors.
-
Don't insert an opening pick more than 1 mm near the middle of the top edge or you'll damage the camera module, proximity sensor, and front microphone.
I thought the orange and red squares in this image represented where the listed components (the ambient light sensors, the camera module, proximity sensor, and front mic) are located. And if that’s the case, shouldn’t the warning be to separate the adhesive outside of the marked locations to help minimize the chance of damaging those components? I’m wondering why you would focus your prying efforts on the areas where there are really delicate and easily damaged parts…
I noticed the same thing, and ended up needing to guess to limit insertion to 1mm and 2mm respectively, or avoid those areas.
-
-
-
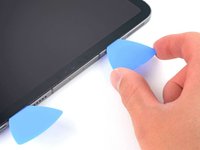
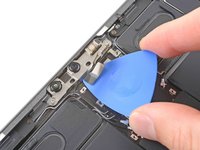
Insert a new opening pick in the gap you just created.
-
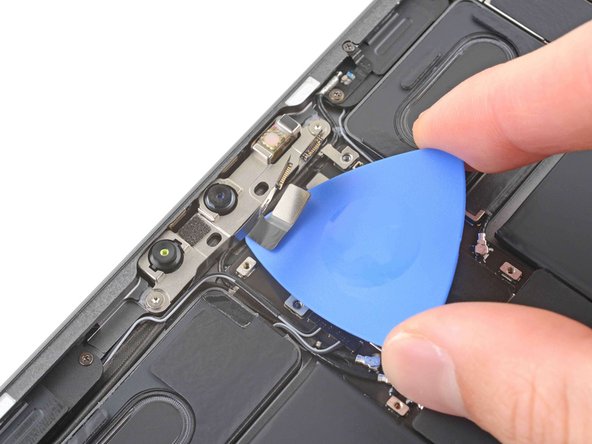
Slide the pick along the top right edge, stopping when you reach the right ambient light sensor.
-
Leave the pick to the right of the sensor to prevent the adhesive from re-sealing.
-
-
-
Apply a heated iOpener to the bottom edge of the screen for two minutes.
-
-
-
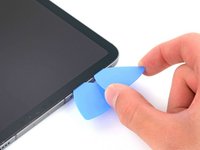
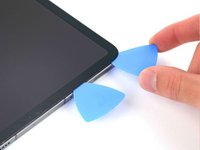
Insert a new opening pick in the bottom right corner below the existing pick.
-
Slide the pick around the bottom right corner to separate the adhesive.
-
-
-
Apply a heated iOpener to the left edge of the screen for two minutes.
-
-
-
The display cables are located within small indents of the frame and require an opening pick to be inserted at a 45° angle.
-
There are flat sections of the frame which require an opening pick to be inserted horizontally.
-
-
-
Insert an opening pick at a 45˚ angle just above the bottom left corner.
-
Carefully slide the pick along the left edge, stopping when you reach the flat section of the frame.
-
-
-
Separate the remaining adhesive, making sure to follow the instructions exactly as written.
-
Slide the pick at a 45˚ downward angle and don't insert the pick more than 5 mm.
-
Slide the pick horizontally and don't insert the pick more than 5 mm.
-
-
-
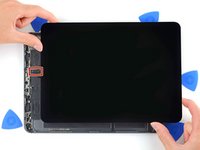
Grab two opposing corners of the screen and gently separate the rest of the adhesive.
-
Shift the screen towards the bottom right corner of the frame until the ambient light sensor ribbon cable near the top edge is uncovered.
-
-
Gereedschap gebruikt in deze stap:FixMat$36.95
-
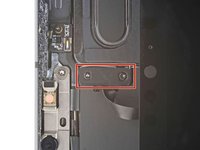
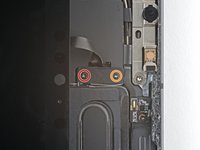
Use a Phillips screwdriver to remove the two screws securing the ambient light sensor cable bracket to the logic board:
-
One 1.3 mm screw
-
One 2.0 mm screw
-
-
Gereedschap gebruikt in deze stap:Tweezers$4.99
-
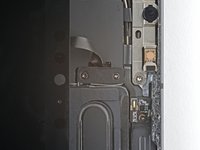
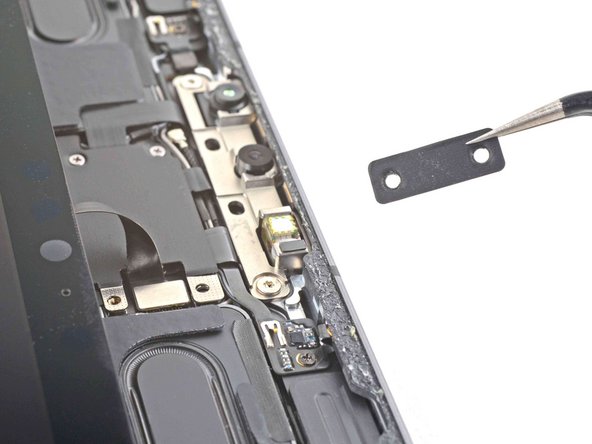
Use tweezers or your fingers to remove the bracket.
-
-
-
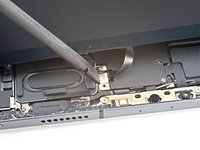
Use the flat end of a spudger to disconnect the ambient light sensor cable by lifting straight up on the press connector.
-
-
-
Grip the right edge of the screen and fold it open like a book.
-
Lay the screen down over the left edge of the iPad.
-
-
-
-
Use the pointed end of a spudger to pry up and disconnect the top two display cables.
-
-
-
Disconnect the two remaining display cables.
-
-
-
Use a Phillips screwdriver to remove the three 1.2 mm screws securing the bottom cable shield to the logic board.
This seems out of order.
Not really, 1st step release top ambient light cable , open iPad and remove the 3 screws
-
-
-
Use tweezers or your fingers to remove the bottom cable shield.
-
-
-
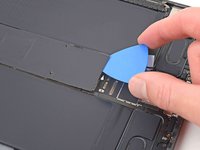
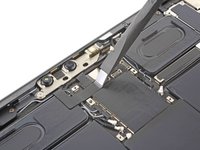
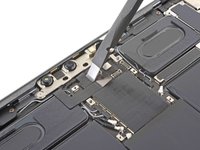
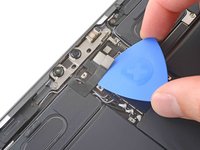
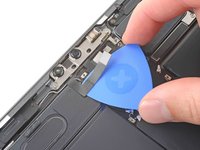
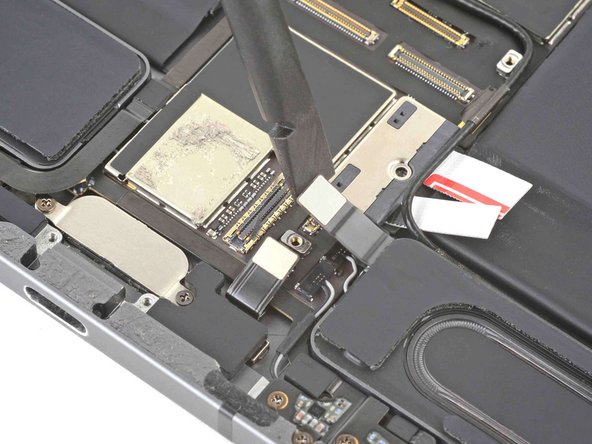
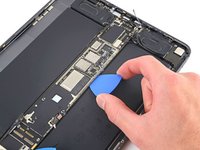
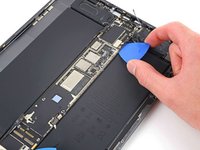
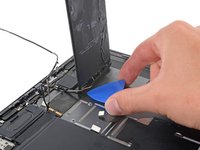
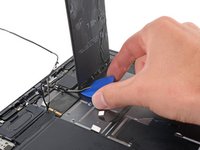
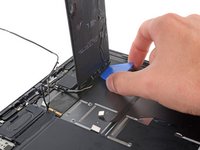
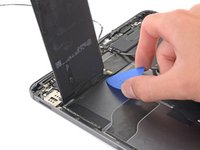
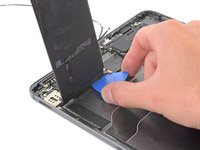
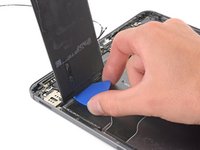
Use a Phillips screwdriver to remove the 1.8 mm screw securing the battery connector to the logic board.
There's a section missing here about inserting the playing cards to remove the connection to the battery. You can see these in the next screen nut it's not mentioned. Other users have reported shorts and damage due to missing this step. I'm not an expert but I noticed this and wanted to mention it.
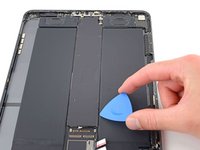
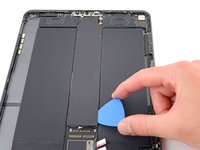
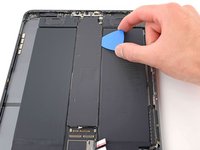
After removing the screw, slip a thin piece of plastic or playing card stock or a thin guitar pic under the mother board on the edge closest to the battery to separate the contact. THIS IS NOT A PRY-UP DISCONNECT, THE STAINLESS COVER IS PART OF THE MOTHERBOARD.
-
-
-
Use the flat end of a spudger to disconnect the USB-C port cable.
-
-
-
Slide an opening pick between the cable and the logic board to separate the adhesive.
-
-
-
Use a Phillips screwdriver to remove the two 1.9 mm screws securing the USB-C port to the frame.
-
-
Gereedschap gebruikt in deze stap:Tweezers$4.99
-
Use tweezers to remove the two grounding contacts from each side of the USB-C port.
-
-
-
Use a Phillips PH00 screwdriver to remove the eight screws securing the shield to the logic board:
-
Five 2 mm screws
-
Three 1.2 mm screws
-
-
-
Apply a heated iOpener to the top of the logic board for two minutes.
-
-
-
Insert an opening pick between the shield and the shielding gasket on the bottom edge of the logic board.
-
Slide the pick along the bottom edge to separate the adhesive.
-
-
-
Repeat the previous step for the right edge of the logic board shield.
-
-
-
Repeat the previous step for the left edge of the logic board shield.
-
-
-
Grip the logic board shield at the top and lift it up.
-
-
-
Use the pointed end of a spudger to disconnect the IR dot projector cable.
-
-
-
Use the pointed end of a spudger to disconnect the front-facing camera and Face ID camera.
-
-
-
Slide an opening pick between the IR camera cable and the logic board to separate it.
-
-
-
Use a Torx T3 screwdriver to remove the two 2.1 mm screws securing the front camera assembly to the frame.
-
-
-
Use the pointed end of a spudger to pry up and loosen the front camera assembly.
-
-
Gereedschap gebruikt in deze stap:Tweezers$4.99
-
Use tweezers or your fingers to remove the front camera assembly.
-
-
-
Use the flat end of a spudger to disconnect the rear camera interconnect cable.
-
Fold the interconnect cable over so the top right speaker cable is accessible.
-
-
-
Use the flat end of a spudger to disconnect the top microphone cable.
-
-
-
Use the pointed end of a spudger to disconnect the two cables for the top right speaker.
-
-
-
Repeat the previous step for the two top left speaker cables.
-
-
-
Use the pointed end of a spudger to disconnect the top interconnect board.
-
-
Gereedschap gebruikt in deze stap:Tweezers$4.99
-
Use the pointed end of a spudger to disconnect the top Wi-Fi antenna cable.
-
-
-
Use the flat end of a spudger to disconnect the Smart Connector and SIM card reader cables.
-
-
-
Follow the procedure in step 57 to disconnect the bottom right speaker.
-
-
-
Use tweezers to peel back the tape securing the bottom left speaker cable bracket to the logic board.
-
Slide the bracket out horizontally.
-
-
-
Use the pointed end of a spudger to disconnect the bottom left LTE wireless cable.
-
-
-
Follow the procedure in step 57 to disconnect the bottom right speaker.
-
-
-
Follow the procedure in 59 to disconnect the bottom interconnect cable.
-
-
-
Use the pointed end of a spudger to disconnect the bottom Wi-Fi antenna cable.
-
Peel the cable away from the logic board and reposition it to the right.
-
-
-
Use the pointed end of a spudger to disconnect the left microphone and Apple Pencil charger cables.
-
-
-
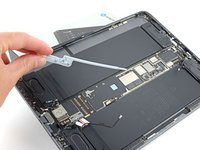
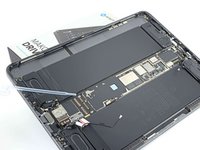
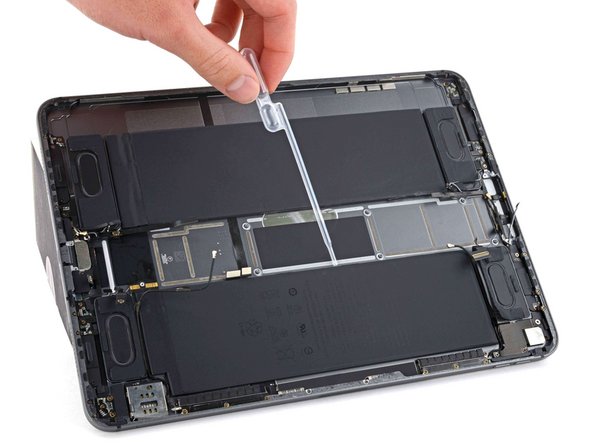
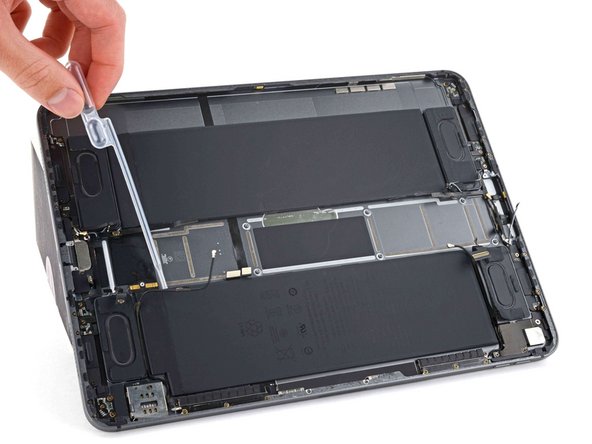
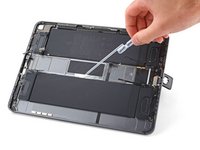
Prop the left side of the iPad up against an object so the isopropyl alcohol can flow under the logic board.
-
Apply a few drops of isopropyl alcohol along the left edge of the logic board.
-
Let the alcohol soak for one minute to soften the adhesive under the logic board.
-
-
-
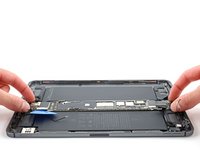
Insert the flat end of a spudger between the logic board and the bottom right speaker.
-
Slowly pry up the bottom of the logic board.
-
Replace the playing card strips with an opening pick to block the battery.
-
-
-
Slide an opening pick under the left edge of the logic board to loosen it.
-
Pry against the frame underneath the logic board to separate the adhesive.
-
-
Gereedschap gebruikt in deze stap:Tesa 61395 Tape$5.99
-
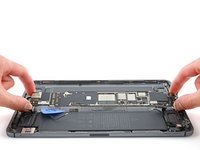
Grip the top and bottom edges of the logic board.
-
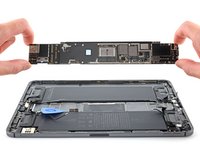
Remove the logic board.
-
-
Gereedschap gebruikt in deze stap:Tweezers$4.99
-
Six on the inside edge of the left battery cell
-
Five on the inside edge of the right battery cell
-
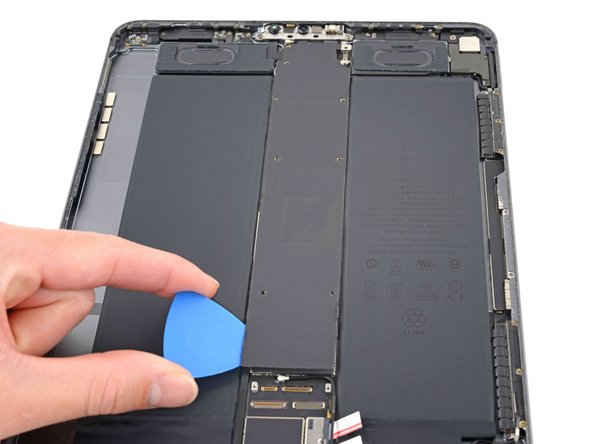
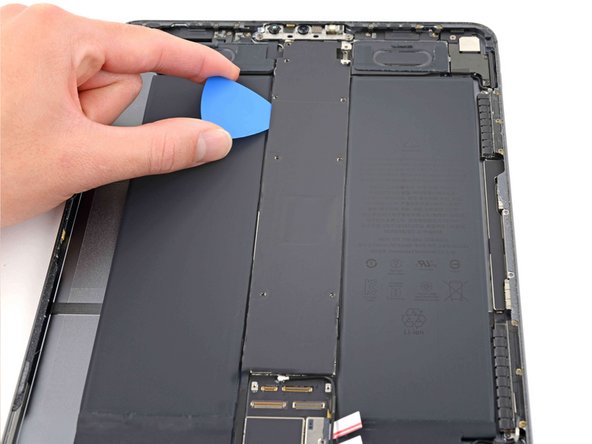
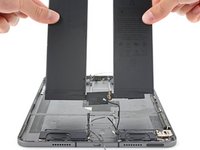
The remainder of the adhesive is located under the battery boards.
-
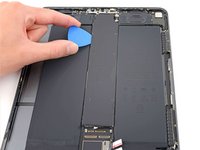
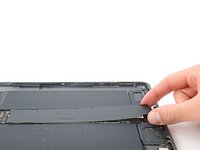
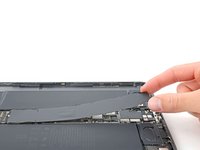
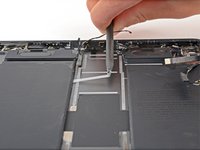
Use your fingernails or tweezers to peel each pull tab away from the edge of the battery.
Not sure if a difference between the Wi-Fi and cellular iPads, but my Wi-Fi version had long adhesive on outside near the edge.
Most of the pull tabs were pairwise connected in a loop, and removing them went okay.
However, our Wi-Fi version had this additional long adhesive on the outside as well, on the side that has the battery contacts (lower half in the step 73 picture, about a centimeter in width, and hThat made the battery very hard to remove. As a result of the mechanical stress, that side of the battery swelled up some days after. Luckily nothing was damaged and nobody was hurt.
Also make sure to mark the edges of the battery, such that you can glue in the new battery at the right location.
-
-
-
Pull the strip out slowly and steadily at a low angle. Give it plenty of time to stretch and un-stick from under the battery cells.
-
If the adhesive strip breaks off, try to retrieve it using your fingers or tweezers, and continue pulling.
-
-
-
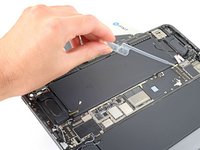
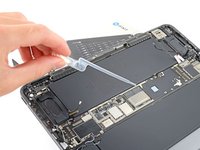
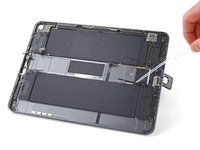
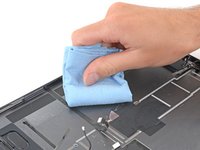
Prop the left side of the iPad up against an object so the isopropyl alcohol can flow under the right battery cell.
-
Apply high-strength (>90%) isopropyl alcohol along the inside edge of the right battery cell.
-
Let the alcohol soak for two minutes to soften the adhesive under the battery cell.
-
-
Gereedschap gebruikt in deze stap:Plastic Cards$2.99
-
Lay the iPad down flat on your work surface.
-
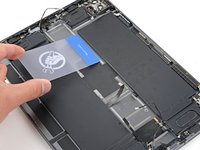
Starting at the top, insert a plastic card under the right battery cell.
-
Slide the plastic card toward the bottom of the iPad to separate the adhesive.
-
Stop sliding when you reach the Apple Pencil charger cable.
-
-
-
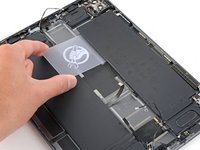
Repeat the previous step for the left battery.
-
Stop sliding when you reach the left microphone cable.
-
-
-
Lift up the left battery cell.
-
Insert an opening pick under the left battery board and separate the remaining adhesive securing it to the frame.
-
-
Gereedschap gebruikt in deze stap:Tesa 61395 Tape$12.99
-
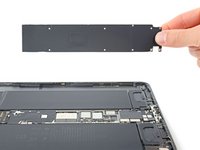
Lift both battery cells out of the iPad at the same time.
When inserting the new battery, make sure you position it correctly. This is not easy. If the new battery falls in place too close to the logic board it might not fit back in, or, if it is too far apart, the connection between the two batteries will be under tension.
You won't really have an option to correct this, because the glue will stick immediately, and if you try nonetheless, you might damage the new batteries.
Too bad the guide doesn't give hints for putting the device back together.
-
Compare your new replacement part to the original part—you may need to transfer remaining components or remove adhesive backings from the new part before installing.
For optimal performance, calibrate your newly installed battery after completing this guide.
To reassemble your device, follow these instructions in reverse order.
Take your e-waste to an R2 or e-Stewards certified recycler.
Repair didn’t go as planned? Try some basic troubleshooting, or ask our iPad Pro 11" 1st Gen answers community for help.
Annuleren: ik heb deze handleiding niet afgemaakt.
8 andere personen hebben deze handleiding voltooid.
7 opmerkingen
Extremely upset with this guide! It didn’t have me disconnect the battery first. When taking off the first display cable, the logic board sparked and shorted out, frying the whole thing! Not even my iPad which makes it so much worse.
I completed this and the screen powers on (goes dark blue) but isn’t showing anything. The iPad makes sounds. Anyone have any tips?
i followed this guide and my ipad turns on but does not charge. I wonder did i install a bad battery? Any way to check or troubleshoot this? Thanks
Using this guide and the screen replace guide, I successfully replaced the battery and screen on my iPad Pro 11.


