
iPad 7 Glass Digitizer Replacement

Inleiding
Ga naar stap 1This guide will walk you through replacing the glass digitizer on an iPad 7/8. The most difficult part of this repair is removing the original damaged glass of the screen. It is important to do so fully prior to placing a replacement screen to avoid an improper seal or damage to the new screen.
Wat je nodig hebt
Reparatieset
Deze set bevat alle onderdelen en tools om deze handleiding te voltooien.

Onderdelen

Gereedschap


Toon meer…
-
-
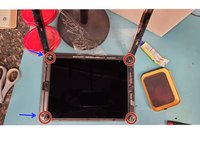
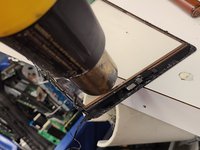
I prefer to use a heating pad to heat the screen enough in order to weaken the adhesive. You may also use a hair dryer and focus the heat onto the edges of the device in order to weaken the adhesive.
-
-
-
Gereedschap gebruikt in deze stap:Tweezers$4.99
-
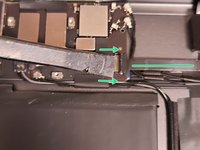
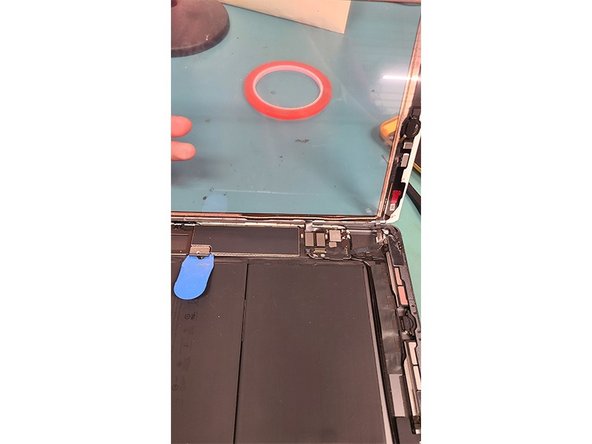
Disconnect the LCD ribbon cable.
-
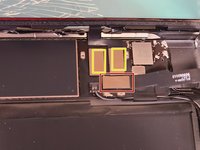
Disconnect the digitizer's two ribbon cable connections.
-
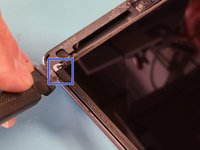
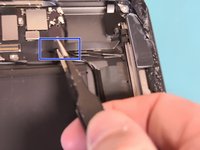
Swing open the lock which holds the home button ribbon cable in place.
-
Disconnect the home button ribbon cable with the flat end of a plastic spudger, or gently slide it out of the connection port with tweezers.
-
-
-
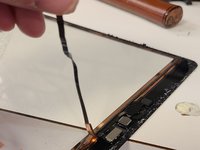
Use a heat gun or heating pad to heat up the home button for removal. A blow dryer may also work.
-
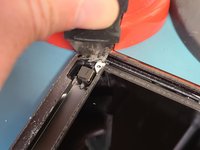
Lift the home button upwards pulling gently on the ribbon cable. Be careful to not damage the cable.
-
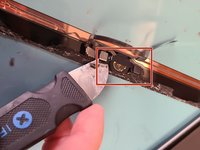
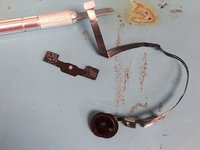
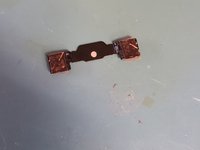
Gently pry off the metal home button bracket with a metal pry tool.
-
-
-
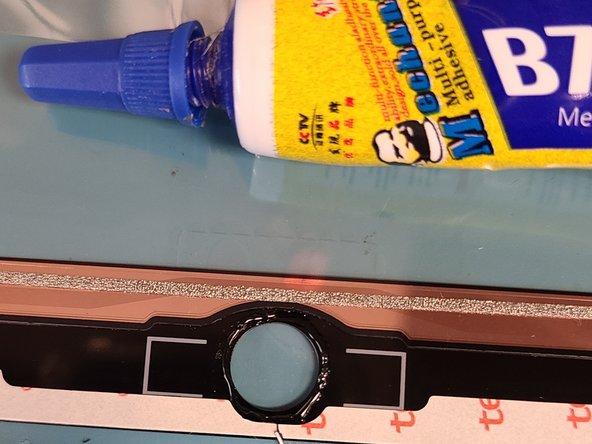
With the home button and bracket removed, apply liquid adhesive around the new glass digitizer's home buttonhole.
-
-
-
Place the home button down first, then place the metal bracket. Give the button some test clicks to insure it is mounted correctly and stable.
-
Prepare for testing, by reconnecting the home button and glass digitizer's ribbon cables in the same way they were disconnected in step 7.
-
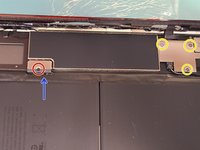
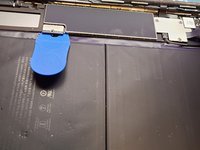
Remove the plastic pick from the battery connector and replace the PH000 screw.
-
Replace the display cable bracket with its 3 PH000 screws.
-
Remount the LCD using its 4 PH000 screws into the iPad housing.
-
-
-
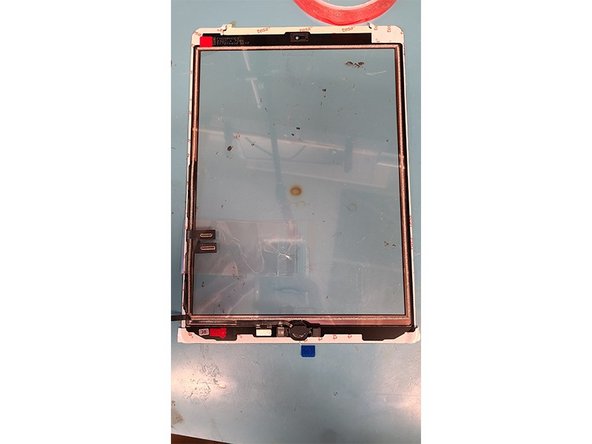
Lay the new digitizer into its groove.
-
Power on the iPad and verify the device is working properly.
-
Lift the digitizer back up gently, ensure the LCD and inside pane of the digitizer are clean.
-
Run a small bead of glue along the edge of the digitizer groove on the iPad housing.
-
Relay the digitizer into its groove and gently clamp until the glue sets.
-


The replaced screen should function identically to the original prior to the damage.
The replaced screen should function identically to the original prior to the damage.
Annuleren: ik heb deze handleiding niet afgemaakt.
17 andere personen hebben deze handleiding voltooid.
