Ga door naar hoofdinhoud

iPad 7 Glass Digitizer Replacement

Engels
Nederlands
Stap 11
iPad 7 Glass Digitizer Replacement: stap 0, afbeelding 1 van 3 iPad 7 Glass Digitizer Replacement: stap 0, afbeelding 2 van 3 iPad 7 Glass Digitizer Replacement: stap 0, afbeelding 3 van 3
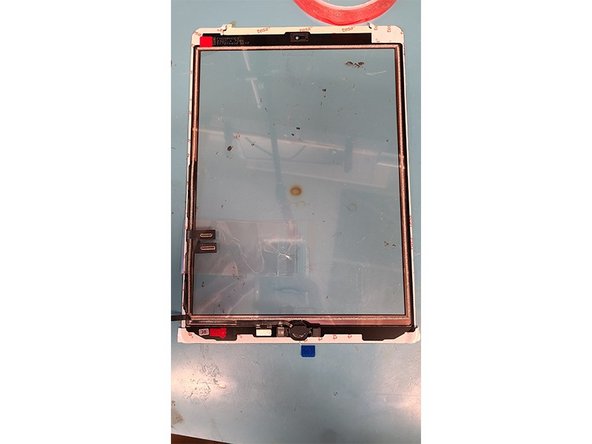
  • Place the home button down first, then place the metal bracket. Give the button some test clicks to insure it is mounted correctly and stable.

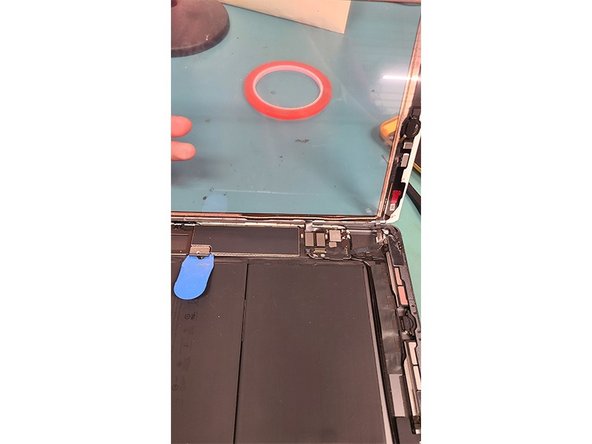
  • Prepare for testing, by reconnecting the home button and glass digitizer's ribbon cables in the same way they were disconnected in step 7.

  • Remove the plastic pick from the battery connector and replace the PH000 screw.

  • Replace the display cable bracket with its 3 PH000 screws.

  • Make sure you clean the edges before continuing. A Q-Tip with a very small amount of isopropanol can assist in this. Any debris in the digitizer groove can cause the digitizer to crack.

  • Remount the LCD using its 4 PH000 screws into the iPad housing.

Vertaling hier toevoegen

Vertaling hier toevoegen

Vertaling hier toevoegen

Vertaling hier toevoegen

Vertaling hier toevoegen

Vertaling hier toevoegen

Je bijdragen zijn gelicentieerd onder de open source Creative Commons-licentie.