Ga door naar hoofdinhoud
Word lid van de reparatiegemeenschap - Account aanmaken

Google Pixel 8 Front Camera Replacement

Wat je nodig hebt

  1. Google Pixel 8 Front Camera Replacement, Prepare your Pixel for disassembly: stap 1, afbeelding 1 van 3 Google Pixel 8 Front Camera Replacement, Prepare your Pixel for disassembly: stap 1, afbeelding 2 van 3 Google Pixel 8 Front Camera Replacement, Prepare your Pixel for disassembly: stap 1, afbeelding 3 van 3
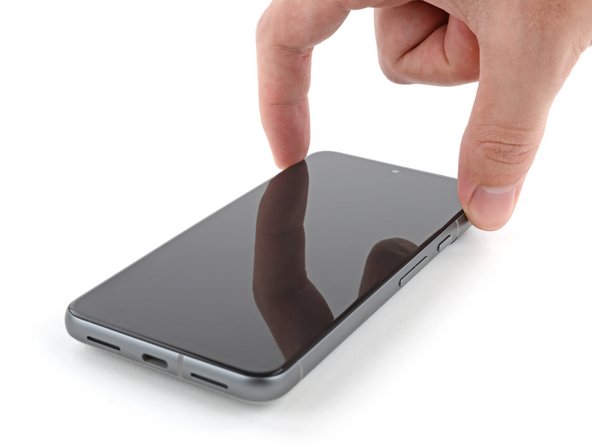
    • Let your Pixel's battery drain below 25% before starting this repair. A charged lithium‑ion battery may catch fire if damaged.

    • Unplug all cables from your phone.

    • Completely power off your phone.

    • Press the power and volume up buttons at the same time to bring up the shutdown menu.

    Vraag FixBot
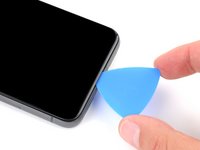
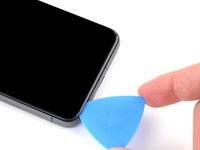
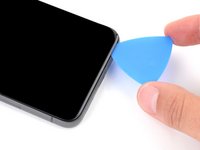
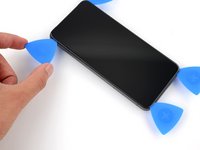
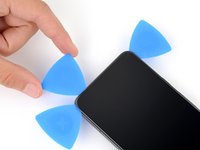
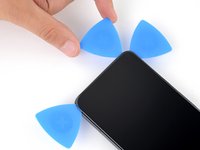
  2. Google Pixel 8 Front Camera Replacement, Mark your opening picks: stap 2, afbeelding 1 van 3 Google Pixel 8 Front Camera Replacement, Mark your opening picks: stap 2, afbeelding 2 van 3 Google Pixel 8 Front Camera Replacement, Mark your opening picks: stap 2, afbeelding 3 van 3
    • You'll be using opening picks to separate the screen from the frame. If inserted too far, a pick can damage your device. Follow this step to mark your pick and prevent damage.

    • Measure 3 mm from the tip and mark the opening pick with a permanent marker.

    • Alternatively, tape a coin to a pick 3 mm from the tip.

    Vraag FixBot
  3. Google Pixel 8 Front Camera Replacement, Heat the bottom edge adhesive: stap 3, afbeelding 1 van 1
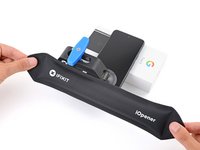
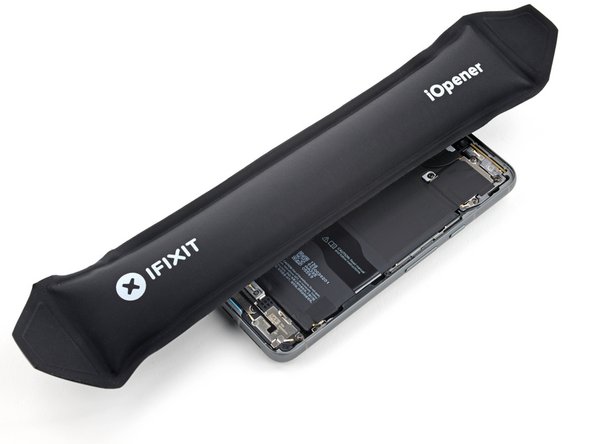
    • Adhesive and clips secure the screen to the frame. Heating the screen softens the adhesive, making it easier to separate.

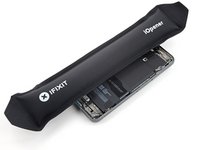
    • Heat an iOpener and lay it on the bottom edge of the screen for two minutes to soften the adhesive.

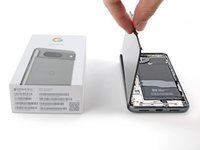
    • Alternatively, you can use a hair dryer, heat gun, or hot plate—but be careful as extreme heat can damage the screen and/or battery.

    Vraag FixBot
  4. Google Pixel 8 Front Camera Replacement, Secure the Anti-Clamp: stap 4, afbeelding 1 van 3 Google Pixel 8 Front Camera Replacement, Secure the Anti-Clamp: stap 4, afbeelding 2 van 3 Google Pixel 8 Front Camera Replacement, Secure the Anti-Clamp: stap 4, afbeelding 3 van 3
    Gereedschap gebruikt in deze stap:
    Clampy - Anti-Clamp
    $24.95
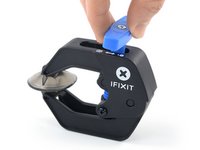
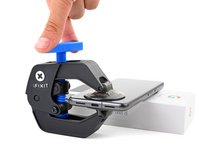
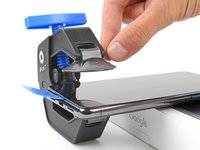
    • The next three steps demonstrate the Anti-Clamp, a tool we designed to make the opening procedure easier. If you aren't using the Anti-Clamp, skip down three steps for an alternate method.

    • For complete instructions on how to use the Anti-Clamp, check out this guide.

    • Pull the blue handle backwards to unlock the Anti-Clamp's arms.

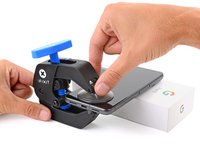
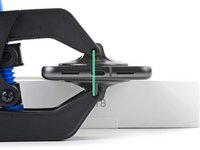
    • Place your phone screen side up on an object so it will rest level between the Anti-Clamp's arms—the bottom edge should be hanging off.

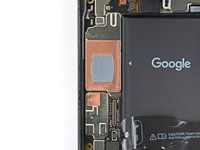
    • Slide the arms over the left edge of your phone, so you have access to the bottom edge.

    • Position the suction cups as close to the center of the bottom edge as possible.

    • Squeeze the cups together to create suction.

    Vraag FixBot
  5. Google Pixel 8 Front Camera Replacement, Twist the handle: stap 5, afbeelding 1 van 3 Google Pixel 8 Front Camera Replacement, Twist the handle: stap 5, afbeelding 2 van 3 Google Pixel 8 Front Camera Replacement, Twist the handle: stap 5, afbeelding 3 van 3
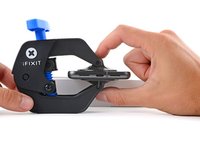
    • Pull the handle forward to lock the arms.

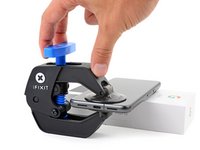
    • Turn the handle clockwise one full turn (360 degrees), or until the suction cups begin to stretch.

    • As the cups stretch, make sure they stay aligned with each other. If they keep slipping, remove the Anti-Clamp and apply tape for the cups to stick to.

    Vraag FixBot
  6. Google Pixel 8 Front Camera Replacement, Insert an opening pick: stap 6, afbeelding 1 van 3 Google Pixel 8 Front Camera Replacement, Insert an opening pick: stap 6, afbeelding 2 van 3 Google Pixel 8 Front Camera Replacement, Insert an opening pick: stap 6, afbeelding 3 van 3
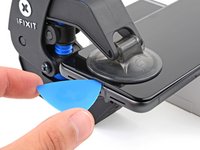
    • Wait one minute for a gap to form between the screen and frame.

    • If the adhesive doesn't separate, twist the handle clockwise one quarter turn and wait another minute. Apply more heat if the screen cools down.

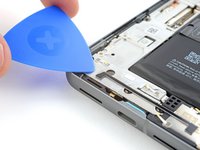
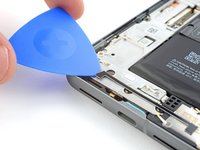
    • Insert an opening pick into the gap.

    • Don't insert your opening pick more than 3 mm to avoid damaging the spring contacts.

    • Pull the blue handle backwards to unlock the arms and remove the Anti-Clamp using the pull tabs on the suction cups.

    • Skip the next two steps.

    Vraag FixBot
  7. Google Pixel 8 Front Camera Replacement, Apply a suction cup: stap 7, afbeelding 1 van 2 Google Pixel 8 Front Camera Replacement, Apply a suction cup: stap 7, afbeelding 2 van 2
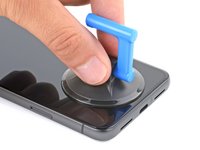
    • Apply a suction handle to the center of the screen's bottom edge.

    Vraag FixBot
  8. Google Pixel 8 Front Camera Replacement, Insert an opening pick: stap 8, afbeelding 1 van 3 Google Pixel 8 Front Camera Replacement, Insert an opening pick: stap 8, afbeelding 2 van 3 Google Pixel 8 Front Camera Replacement, Insert an opening pick: stap 8, afbeelding 3 van 3
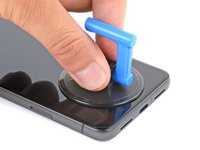
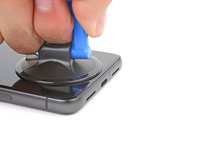
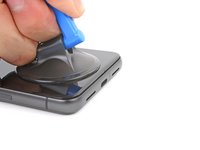
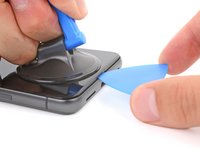
    • Pull up on the suction handle with strong, steady force until a gap forms between the screen and frame.

    • If you're having trouble creating a gap, apply more heat and try again.

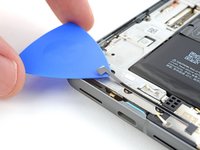
    • Insert an opening pick into the gap.

    Vraag FixBot
  9. Google Pixel 8 Front Camera Replacement, Prevent damage to your phone: stap 9, afbeelding 1 van 2 Google Pixel 8 Front Camera Replacement, Prevent damage to your phone: stap 9, afbeelding 2 van 2
    • To avoid damaging your phone, don't insert your pick more than 3 mm as you separate the screen adhesive. Note the following areas:

    • The screen cable is a little less than halfway up the left edge of the phone. Be very careful here to avoid tearing the cable.

    • There are many spring contacts around the perimeter of the phone. Be very careful in these areas to avoid bending the contacts.

    Vraag FixBot
  10. Google Pixel 8 Front Camera Replacement, Separate the bottom edge adhesive: stap 10, afbeelding 1 van 3 Google Pixel 8 Front Camera Replacement, Separate the bottom edge adhesive: stap 10, afbeelding 2 van 3 Google Pixel 8 Front Camera Replacement, Separate the bottom edge adhesive: stap 10, afbeelding 3 van 3
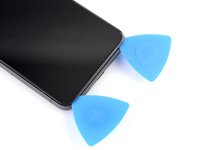
    • Slide the opening pick along the bottom edge to separate the adhesive securing it.

    • Leave the pick in the bottom right corner to prevent the adhesive from resealing.

    Vraag FixBot
  11. Google Pixel 8 Front Camera Replacement, Heat the right edge adhesive: stap 11, afbeelding 1 van 1
    • Apply a heated iOpener to the right edge of the screen for two minutes.

    • Alternatively, you can use a hair dryer, heat gun, or hot plate—but be careful as extreme heat can damage the screen and/or battery.

    Vraag FixBot
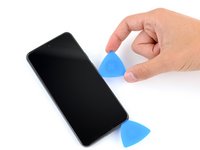
  12. Google Pixel 8 Front Camera Replacement, Separate the right edge adhesive: stap 12, afbeelding 1 van 3 Google Pixel 8 Front Camera Replacement, Separate the right edge adhesive: stap 12, afbeelding 2 van 3 Google Pixel 8 Front Camera Replacement, Separate the right edge adhesive: stap 12, afbeelding 3 van 3
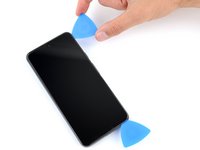
    • Insert a second opening pick under the bottom right corner of the screen.

    • Slide the new pick to the top right corner to separate the adhesive securing the screen's right edge.

    • Leave the pick in the top right corner to prevent the adhesive from resealing.

    Vraag FixBot
  13. Google Pixel 8 Front Camera Replacement, Leave a pick in the bottom left corner: stap 13, afbeelding 1 van 3 Google Pixel 8 Front Camera Replacement, Leave a pick in the bottom left corner: stap 13, afbeelding 2 van 3 Google Pixel 8 Front Camera Replacement, Leave a pick in the bottom left corner: stap 13, afbeelding 3 van 3
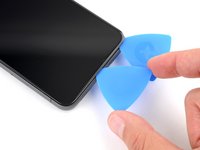
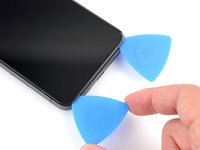
    • Insert a third opening pick under the bottom edge of the screen.

    • Slide the new pick to the bottom left corner.

    • Leave the pick in the bottom left corner to prevent the adhesive from resealing.

    Vraag FixBot
  14. Google Pixel 8 Front Camera Replacement, Heat the left edge adhesive: stap 14, afbeelding 1 van 1
    • Apply a heated iOpener to the left edge of the screen for two minutes.

    • Alternatively, you can use a hair dryer, heat gun, or hot plate—but be careful as extreme heat can damage the screen and/or battery.

    Vraag FixBot
  15. Google Pixel 8 Front Camera Replacement, Separate the left edge adhesive: stap 15, afbeelding 1 van 3 Google Pixel 8 Front Camera Replacement, Separate the left edge adhesive: stap 15, afbeelding 2 van 3 Google Pixel 8 Front Camera Replacement, Separate the left edge adhesive: stap 15, afbeelding 3 van 3
    • Insert a fourth opening pick under the bottom left corner of the screen.

    • Slide the new pick to the top left corner to separate the adhesive securing the screen's left edge.

    • Leave the pick in the top left corner to prevent the adhesive from resealing.

    Vraag FixBot
  16. Google Pixel 8 Front Camera Replacement, Heat the top edge adhesive: stap 16, afbeelding 1 van 1
    • Apply a heated iOpener to the top edge of the screen for two minutes.

    • Alternatively, you can use a hair dryer, heat gun, or hot plate—but be careful as extreme heat can damage the screen and/or battery.

    Vraag FixBot
  17. Google Pixel 8 Front Camera Replacement, Separate the top edge adhesive: stap 17, afbeelding 1 van 2 Google Pixel 8 Front Camera Replacement, Separate the top edge adhesive: stap 17, afbeelding 2 van 2
    • Insert a fifth opening pick under the top edge of the screen, near the left corner.

    • Slide the opening pick to the top right corner to separate the adhesive securing the screen's top edge.

    Vraag FixBot
  18. Google Pixel 8 Front Camera Replacement, Prop up the screen: stap 18, afbeelding 1 van 2 Google Pixel 8 Front Camera Replacement, Prop up the screen: stap 18, afbeelding 2 van 2
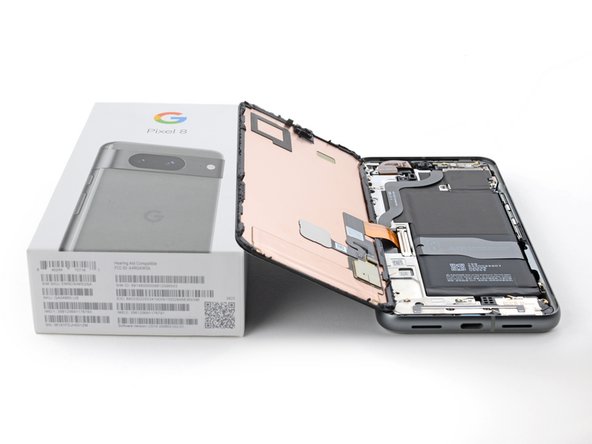
    • Place a small box or stack of books to the left of your phone so you can prop up the screen while disconnecting its cable.

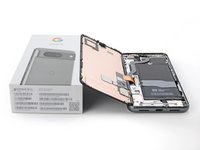
    • Swing up the right edge of the screen like the front cover of a book.

    • Be careful not to strain the screen cable.

    • If the screen feels stuck, go back around the perimeter with an opening pick to separate any remaining adhesive.

    • Prop up the screen so you can access the screen cable.

    Vraag FixBot
  19. Google Pixel 8 Front Camera Replacement, Remove the screen cable cover: stap 19, afbeelding 1 van 3 Google Pixel 8 Front Camera Replacement, Remove the screen cable cover: stap 19, afbeelding 2 van 3 Google Pixel 8 Front Camera Replacement, Remove the screen cable cover: stap 19, afbeelding 3 van 3
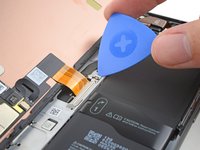
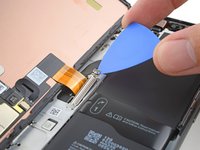
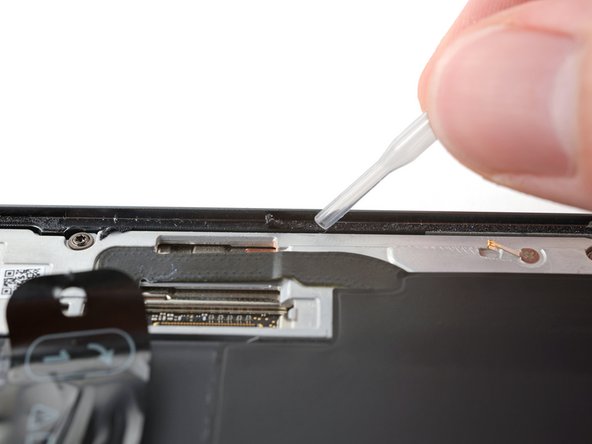
    • Use an opening pick to pry up the upper edge of the screen cable cover.

    • Remove the cover.

    Vraag FixBot
  20. Google Pixel 8 Front Camera Replacement, Disconnect the screen: stap 20, afbeelding 1 van 3 Google Pixel 8 Front Camera Replacement, Disconnect the screen: stap 20, afbeelding 2 van 3 Google Pixel 8 Front Camera Replacement, Disconnect the screen: stap 20, afbeelding 3 van 3
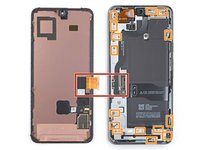
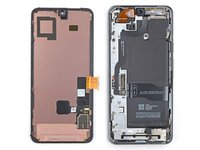
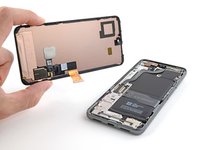
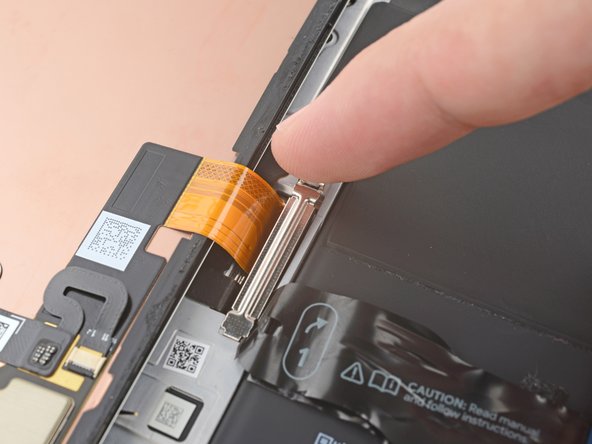
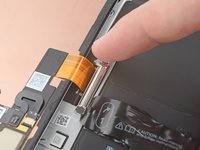
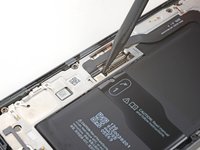
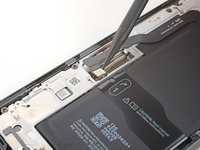
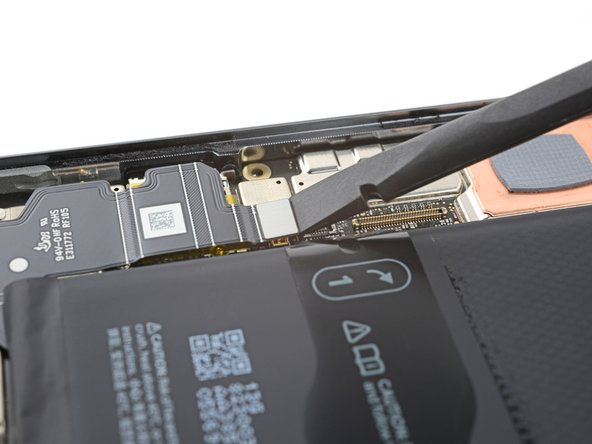
    • Insert the point of a spudger under the top left corner of the screen's press connector.

    • Gently pry up and disconnect the cable.

    • Remove the screen.

    • To reconnect a press connector, align it over its socket and gently press down on one side until it clicks into place, then press down on the other side. Don't press down in the middle. If the connector is misaligned, the pins can bend and cause permanent damage.

    Vraag FixBot
  21. Google Pixel 8 Front Camera Replacement, Screen information: stap 21, afbeelding 1 van 1
    • The back of the Pixel's screen is very fragile. Even a small scratch or dent can damage the screen.

    • To prevent damaging your screen or replacement screen:

    • When handling your screen, grip it by its edges.

    • When placing the screen on your work area, make sure nothing is touching the bottom of the screen. Consider placing it on a soft, lint-free cloth.

    Vraag FixBot
  22. Google Pixel 8 Front Camera Replacement, Reassembly information: stap 22, afbeelding 1 van 3 Google Pixel 8 Front Camera Replacement, Reassembly information: stap 22, afbeelding 2 van 3 Google Pixel 8 Front Camera Replacement, Reassembly information: stap 22, afbeelding 3 van 3
    • If you're installing a new screen with pre-installed adhesive, follow this step during reassembly. Otherwise, follow this guide to apply adhesive to your old screen.

    • Use the pull tabs to remove the liners covering the front camera cutout, the rear camera pad, the back of the screen, and the perimeter adhesive.

    • Reconnect the screen cable and reinstall its cover.

    • This is a good point to test your phone before sealing it up. Temporarily power on your phone and make sure it works as expected. Power it down before continuing.

    • Firmly press the screen into place on the frame. You should feel the clips "pop" into place.

    • Press firmly around the perimeter of the screen to secure it with the new adhesive.

    • Optionally, you can strengthen the adhesive bond by applying pressure evenly to the phone.

    • Follow this guide to calibrate the fingerprint sensor.

    Vraag FixBot
  23. Google Pixel 8 Front Camera Replacement, Disconnect the 5G mmWave antenna: stap 23, afbeelding 1 van 3 Google Pixel 8 Front Camera Replacement, Disconnect the 5G mmWave antenna: stap 23, afbeelding 2 van 3 Google Pixel 8 Front Camera Replacement, Disconnect the 5G mmWave antenna: stap 23, afbeelding 3 van 3
    • Use the point of the spudger to pry up and disconnect the 5G mmWave antenna cable from the logic board.

    Vraag FixBot
  24. Google Pixel 8 Front Camera Replacement, Heat the 5G mmWave antenna cable: stap 24, afbeelding 1 van 2 Google Pixel 8 Front Camera Replacement, Heat the 5G mmWave antenna cable: stap 24, afbeelding 2 van 2
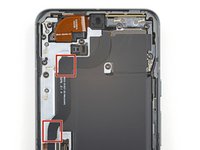
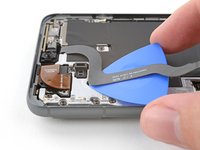
    • The 5G mmWave antenna cable is secured to the midframe with adhesive in two places.

    • Heat an iOpener and lay it on the left edge of the phone for two minutes to soften the cable adhesive.

    • Alternatively, you can use a hair dryer, heat gun, or hot plate—but be careful as, extreme heat can damage the battery.

    Vraag FixBot
  25. Google Pixel 8 Front Camera Replacement, Separate the adhesive: stap 25, afbeelding 1 van 3 Google Pixel 8 Front Camera Replacement, Separate the adhesive: stap 25, afbeelding 2 van 3 Google Pixel 8 Front Camera Replacement, Separate the adhesive: stap 25, afbeelding 3 van 3
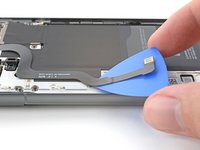
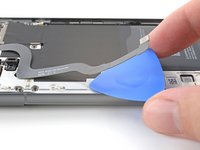
    • Insert an opening pick under the 5G mmWave antenna cable's bottom section of adhesive.

    • Slide the pick toward the top edge of the phone to separate the adhesive.

    Vraag FixBot
  26. Google Pixel 8 Front Camera Replacement: stap 26, afbeelding 1 van 2 Google Pixel 8 Front Camera Replacement: stap 26, afbeelding 2 van 2
    • Repeat the previous step for the upper section of adhesive.

    Vraag FixBot
  27. Google Pixel 8 Front Camera Replacement, Reposition the 5G mmWave antenna cable: stap 27, afbeelding 1 van 1
    • Move the 5G mmWave antenna cable over the top of the phone to keep it out of the way.

    • Don't fold or crease the cable—just move it enough so it doesn't interfere with disassembly.

    Vraag FixBot
  28. Google Pixel 8 Front Camera Replacement, Remove the graphite sheet: stap 28, afbeelding 1 van 3 Google Pixel 8 Front Camera Replacement, Remove the graphite sheet: stap 28, afbeelding 2 van 3 Google Pixel 8 Front Camera Replacement, Remove the graphite sheet: stap 28, afbeelding 3 van 3
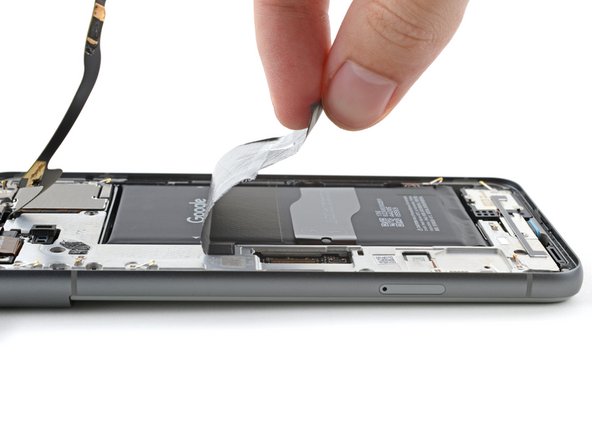
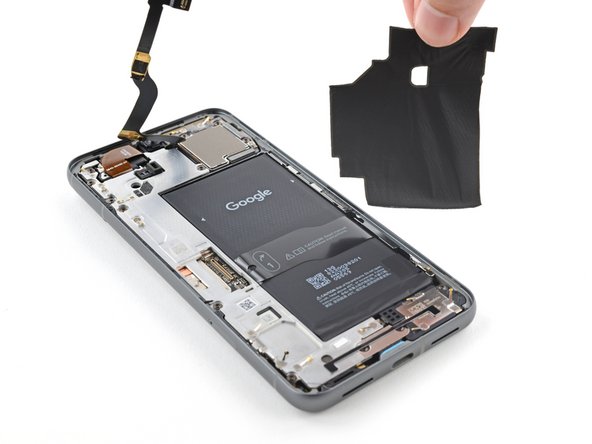
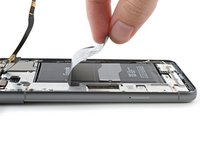
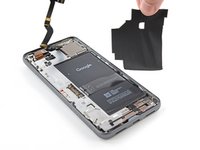
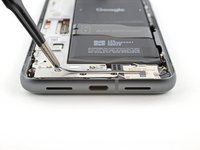
    • A large graphite sheet must be removed and replaced to complete this repair. It connects the upper part of the battery, midframe, and the rear cameras.

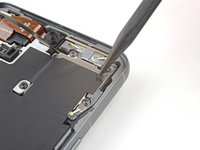
    • Insert the point of a spudger under the top right corner of the graphite sheet and lift until you can grip the sheet with your fingers.

    • Peel up and remove the entire graphite sheet.

    • If your sheet tears, don't worry! Grip the torn parts and remove the sheet in sections.

    • During reassembly, do not reuse the old graphite sheet. Follow this guide to replace the sheet.

    Vraag FixBot
  29. Google Pixel 8 Front Camera Replacement, Remove the shim: stap 29, afbeelding 1 van 3 Google Pixel 8 Front Camera Replacement, Remove the shim: stap 29, afbeelding 2 van 3 Google Pixel 8 Front Camera Replacement, Remove the shim: stap 29, afbeelding 3 van 3
    Gereedschap gebruikt in deze stap:
    Tweezers
    $4.99
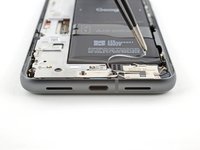
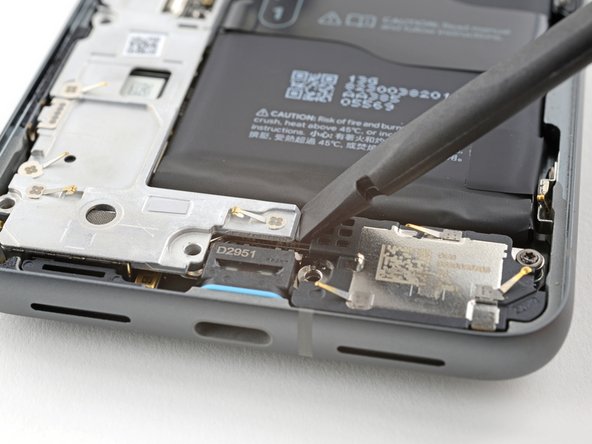
    • A plastic shim is lightly adhered to the midframe and bottom speaker.

    • Slide the tip of an opening pick under the plastic shim until you can grip it with tweezers or your fingers.

    Vraag FixBot
  30. Google Pixel 8 Front Camera Replacement: stap 30, afbeelding 1 van 3 Google Pixel 8 Front Camera Replacement: stap 30, afbeelding 2 van 3 Google Pixel 8 Front Camera Replacement: stap 30, afbeelding 3 van 3
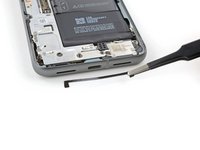
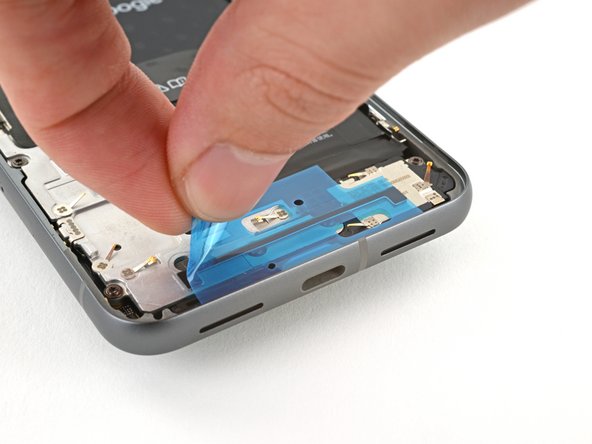
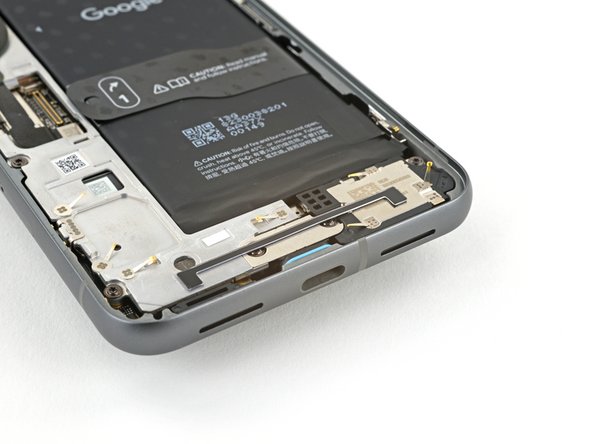
    • Use tweezers, or your fingers, to peel off and remove the shim from the midframe and the bottom speaker.

    Vraag FixBot
  31. Google Pixel 8 Front Camera Replacement, Unfasten the USB-C port bracket: stap 31, afbeelding 1 van 2 Google Pixel 8 Front Camera Replacement, Unfasten the USB-C port bracket: stap 31, afbeelding 2 van 2
    Gereedschap gebruikt in deze stap:
    FixMat
    $36.95
    • Throughout this repair, keep track of each screw and make sure it goes back exactly where it came from.

    • While the Pixel 8 uses Torx Plus screws, standard Torx bits will also work. Make sure to apply constant, downward force to prevent stripping.

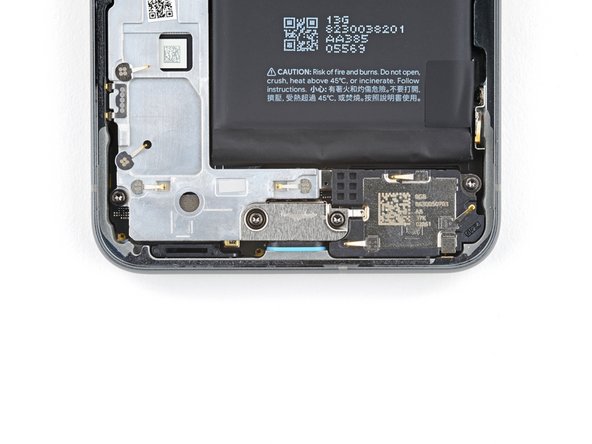
    • Use a T3 Torx driver to remove the two 5 mm‑long 3IP Torx Plus screws securing the USB‑C port bracket.

    Vraag FixBot
  32. Google Pixel 8 Front Camera Replacement, Remove the USB-C port bracket: stap 32, afbeelding 1 van 2 Google Pixel 8 Front Camera Replacement, Remove the USB-C port bracket: stap 32, afbeelding 2 van 2
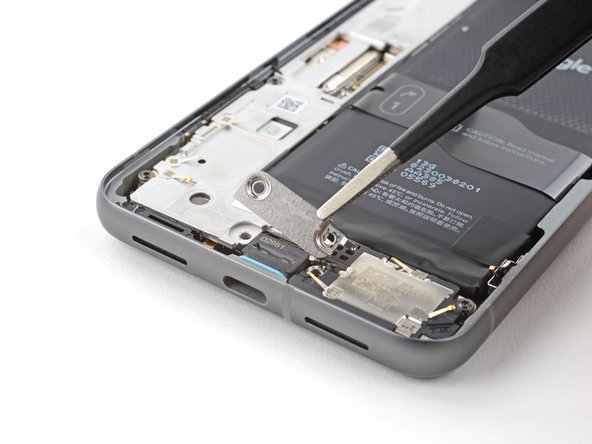
    • Use tweezers, or your fingers, to remove the USB-C port bracket.

    Vraag FixBot
  33. Google Pixel 8 Front Camera Replacement, Reassembly information: stap 33, afbeelding 1 van 3 Google Pixel 8 Front Camera Replacement, Reassembly information: stap 33, afbeelding 2 van 3 Google Pixel 8 Front Camera Replacement, Reassembly information: stap 33, afbeelding 3 van 3
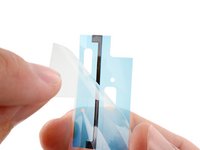
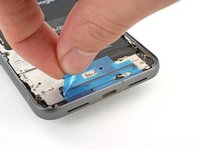
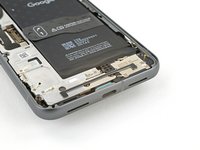
    • During reassembly, follow this step to replace the plastic shim that runs across the bottom of the midframe and loudspeaker. If you don't have a replacement, press the old one back into place.

    • Remove the clear liner from the shim.

    • Use the markings on the midframe to align the left side of the shim and press it into place.

    • Use the flat end of a spudger to firmly press down along the whole shim to secure it.

    • Remove the blue liner.

    Vraag FixBot
  34. Google Pixel 8 Front Camera Replacement, Unfasten the midframe: stap 34, afbeelding 1 van 1
    • Use a T3 Torx screwdriver to remove the eight 5.1 mm‑long 3IP Torx Plus screws securing the midframe.

    Vraag FixBot
  35. Google Pixel 8 Front Camera Replacement, Remove the midframe: stap 35, afbeelding 1 van 3 Google Pixel 8 Front Camera Replacement, Remove the midframe: stap 35, afbeelding 2 van 3 Google Pixel 8 Front Camera Replacement, Remove the midframe: stap 35, afbeelding 3 van 3
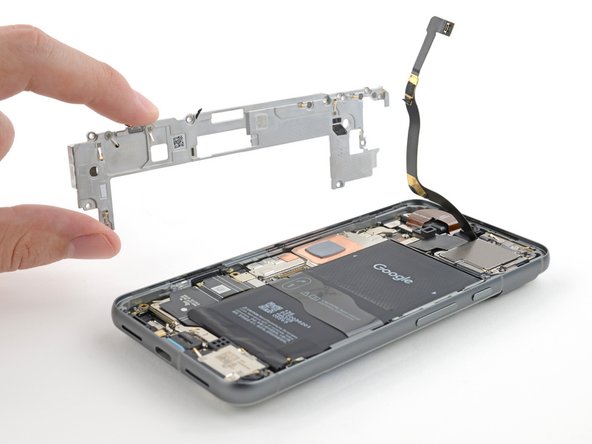
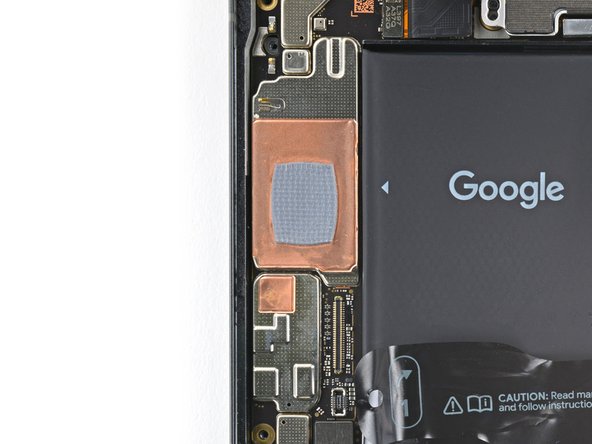
    • The center of the midframe is lightly bonded to a thermal pad.

    • Slide the flat end of a spudger under the bottom right corner of the midframe to separate it from the thermal pad.

    • You'll feel the midframe loosen once it separates completely.

    Vraag FixBot
  36. Google Pixel 8 Front Camera Replacement: stap 36, afbeelding 1 van 3 Google Pixel 8 Front Camera Replacement: stap 36, afbeelding 2 van 3 Google Pixel 8 Front Camera Replacement: stap 36, afbeelding 3 van 3
    • Lift the midframe off the frame and remove it.

    • During reassembly check the condition of the thermal pad. If it's damaged, remove the pad, clean the area with high-concentration (greater than 90%) isopropyl alcohol and a microfiber or lint-free cloth, and apply a new thermal pad.

    Vraag FixBot
  37. Google Pixel 8 Front Camera Replacement, Disconnect the battery: stap 37, afbeelding 1 van 2 Google Pixel 8 Front Camera Replacement, Disconnect the battery: stap 37, afbeelding 2 van 2
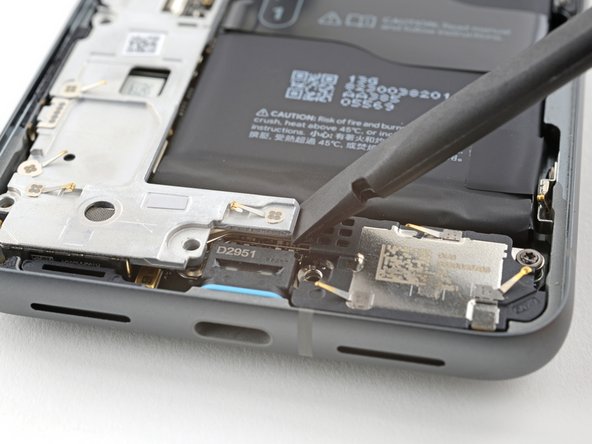
    • Use a spudger to pry up and disconnect the battery connector.

    Vraag FixBot
  38. Google Pixel 8 Front Camera Replacement, Disconnect the front camera: stap 38, afbeelding 1 van 2 Google Pixel 8 Front Camera Replacement, Disconnect the front camera: stap 38, afbeelding 2 van 2
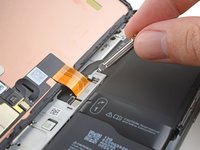
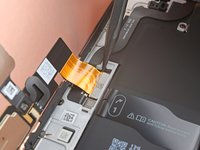
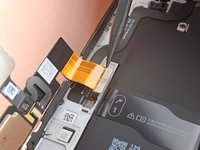
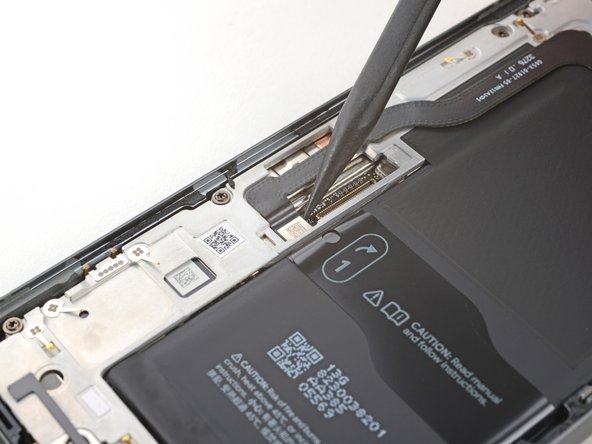
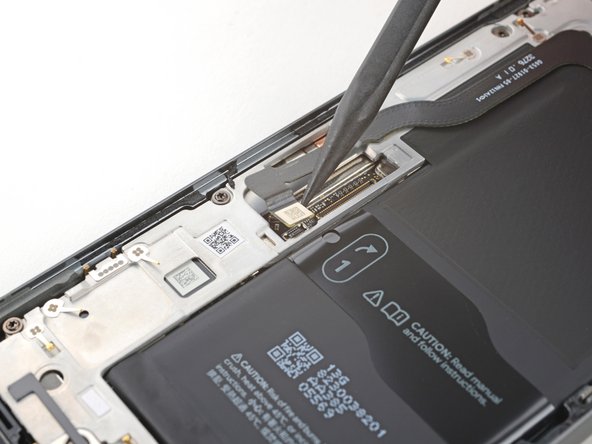
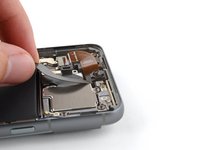
    • Use a spudger to pry up and disconnect the front camera press connector from the logic board.

    Vraag FixBot
  39. Google Pixel 8 Front Camera Replacement, Separate the adhesive: stap 39, afbeelding 1 van 2 Google Pixel 8 Front Camera Replacement, Separate the adhesive: stap 39, afbeelding 2 van 2
    Gereedschap gebruikt in deze stap:
    Tesa 61395 Tape
    $8.95
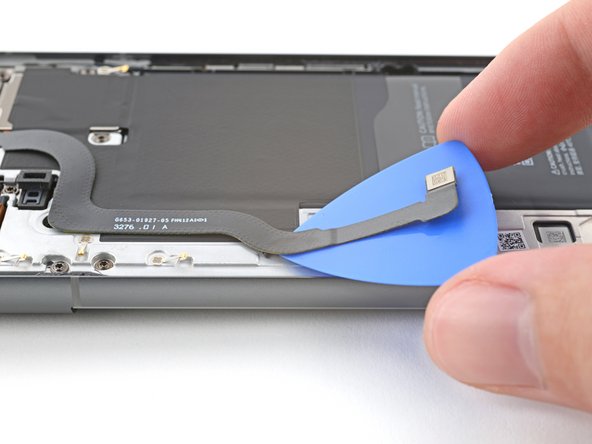
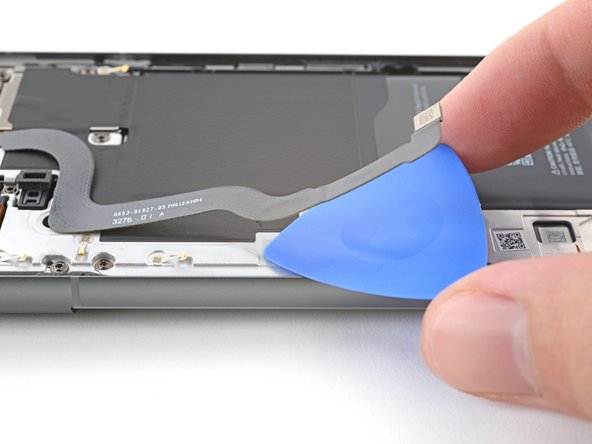
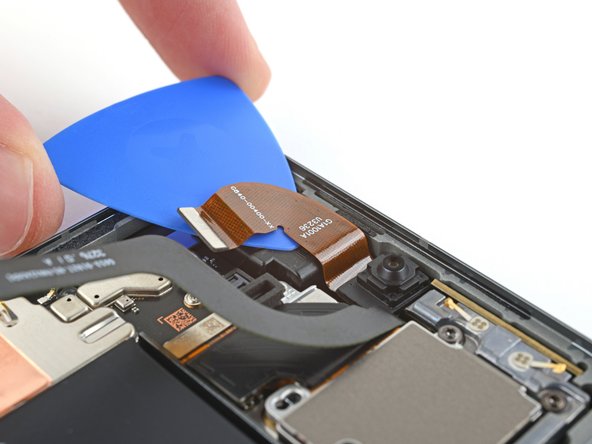
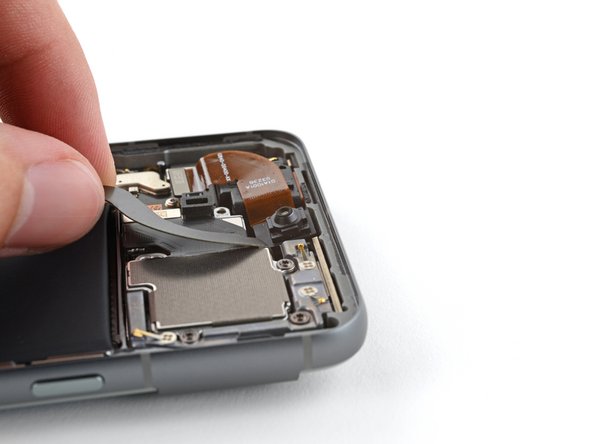
    • The front camera cable is lightly adhered to the earpiece speaker.

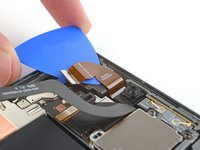
    • Slide an opening pick under the front camera cable to separate the adhesive.

    • During reassembly, reuse your old adhesive if it's still sticky. If not, use a double-sided tape like Tesa Tape to resecure the front camera.

    Vraag FixBot
  40. Google Pixel 8 Front Camera Replacement, Remove the front camera: stap 40, afbeelding 1 van 3 Google Pixel 8 Front Camera Replacement, Remove the front camera: stap 40, afbeelding 2 van 3 Google Pixel 8 Front Camera Replacement, Remove the front camera: stap 40, afbeelding 3 van 3
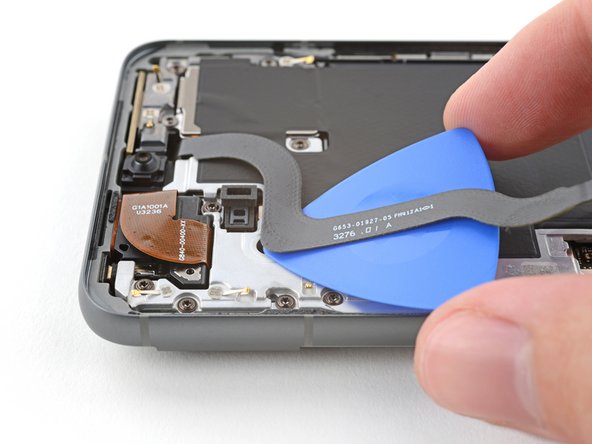
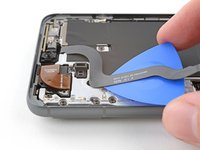
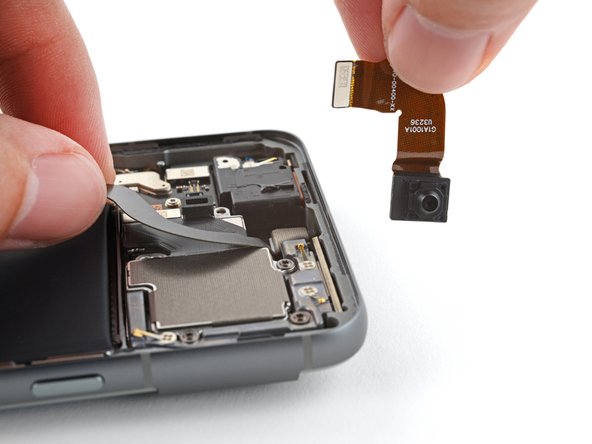
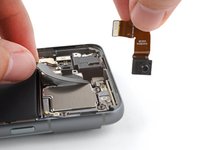
    • The 5G mmWave antenna cable overlaps the bottom edge of the front camera.

    • Move the antenna cable toward the right edge of the phone to free the front camera.

    • Remove the front camera.

    • During reassembly, make sure the front camera rests properly in its recess and under the antenna cable.

    Vraag FixBot
Conclusie

To reassemble your device, follow these instructions in reverse order.

To run a diagnostics test with the built-in Pixel Diagnostic tool, click here.

Take your e-waste to an R2 or e-Stewards certified recycler.

Repair didn’t go as planned? Try some basic troubleshooting, or ask our Google Pixel 8 Answers Community for help.

2 andere personen hebben deze handleiding voltooid.

Alex Diaz-Kokaisl

Lid sinds: 01/16/22

237.702 Reputatie

1.171 handleidingen geschreven

Team

iFixit Lid van iFixit

Staff

123 Leden

25.710 handleidingen geschreven

0Gids Commentaar

Voeg opmerking toe

Weergavestatistieken:

Afgelopen 24 uren: 5

Afgelopen 7 dagen: 29

Afgelopen 30 dagen: 114

Altijd: 2,120