Waarschuwing: Je bewerkt een vooraf vereiste handleiding. Alle wijzigingen die je hierin maakt, beïnvloeden alle 19 handleidingen die deze stap bevatten.
Stap 4 vertalen
Stap 4


-
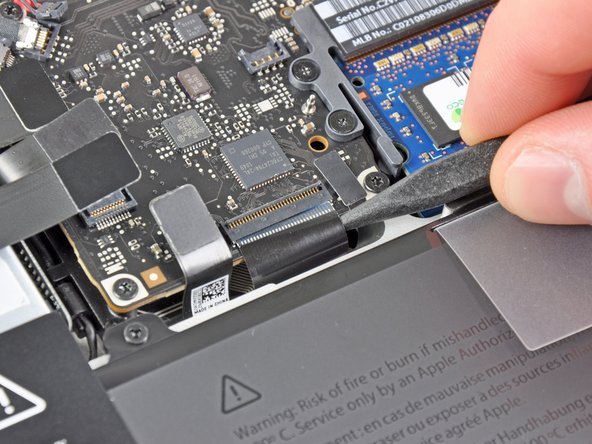
Use your fingernail to flip up the retaining flap on the keyboard ribbon cable ZIF socket.
-
Use the tip of a spudger to pull the keyboard ribbon cable out of its socket.
| [* black] Use your fingernail to flip up the retaining flap on the keyboard ribbon cable ZIF socket. | |
| [* icon_caution] Be sure you are prying up on the hinged retaining flap, ***not*** the socket itself. | |
| [* black] Use the tip of a spudger to pull the keyboard ribbon cable out of its socket. | |
| + | [* icon_reminder] The cable may be difficult to insert. If you are having trouble, temporarily attach a piece of tape to the cable to help you guide the cable into the socket. |
Je bijdragen zijn gelicentieerd onder de open source Creative Commons-licentie.