Inleiding
For an easier repair, use our fix kit and follow this shorter guide to replace your iPhone’s entire screen.
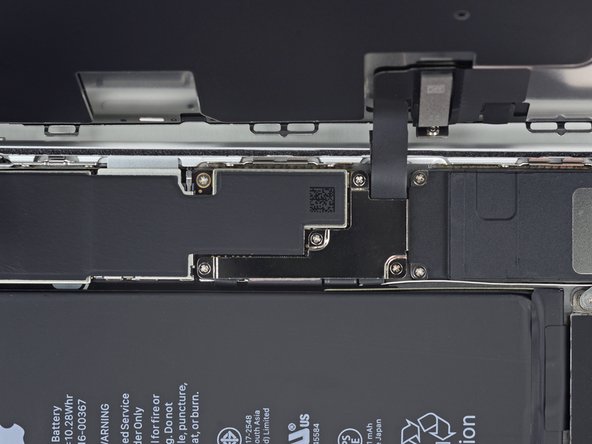
For more advanced fixers, this guide will help you replace only the iPhone 8 Plus LCD and digitizer assembly (a.k.a. the bare “front panel”). This requires you to transfer several components from your original screen to the new one before installing it—including the front-facing camera, earpiece speaker, LCD shield plate, and home button assembly.
For all screen/display repairs, it's important to carefully transfer the original home/Touch ID sensor onto the new display in order for it to function. The solid-state home button is paired to its original logic board by Apple, so replacing it will render it unusable.
Note: If your iPhone’s auto brightness feature does not work properly after your screen repair, make sure your iPhone is updated to iOS 12. True Tone functionality is disabled after a screen replacement, even when using an original Apple screen.
Gereedschap
-
-
Power off your iPhone before beginning disassembly.
-
Remove the two 3.5 mm pentalobe screws from the bottom edge of the iPhone.
-
-
-
If your display glass is cracked, keep further breakage contained and prevent bodily harm during your repair by taping over the glass.
-
Lay overlapping strips of clear packing tape over the iPhone's display until the whole face is covered.
-
If the broken glass makes it difficult to get a suction cup to stick in the next few steps, try folding a strong piece of tape (such as duct tape) into a handle and lifting the display with that instead.
Tape doesn’t hold. suction cup doesn’t work. Tape folded over doesn’t work as a handle. I’ve used 3m’ s Gorilla duct tape. The glass is so shattered I cant get a point started to remove the glass. Phone has been in an otter box for years. dropped it and shattered glass while replacing case. Now what?
When all else fails, you can superglue your suction cup (or tape) to the display, wait for it to cure, and pull.
I had issues getting the suction cup to stick on my cracked screen, so I tried using scotch tape (only tape I had around), but it didn’t work. This best thing I did was to forcefully pry the screen off (I wasn’t worried about damages because it’s already cracked) with the spudger. I think its best to find something stickier (like Duct Tape) and used that to lift up the screen.
Definitely surprised how sticky the adhesive was.
It’s amazing how a heat gun or hair dryer makes life easier to soften up the adhesive. Then use a thin iSesame opening tool to get in under the screen (start @ 90 degrees/vertical either side of the home button & slowly go horizontal) the need to use suction cups. Run the opening tool along the front and down both sides to cut the adhesive before trying to lift the screen.
Cheers Wayne
I didn’t have a hair dryer so I (gingerly) used an iron over some wet coffee filters (I mean , it is waterproof) . Then, quickly dried i off with paper towels, used gorilla tape and my fixit metal splunger . worked like a charm .
What about baby cracks? skip to step 3 or not…
-
-
-
Use a hairdryer or prepare an iOpener and apply it to the lower edge of the iPhone for about 90 seconds in order to soften up the adhesive underneath.
-
-
-
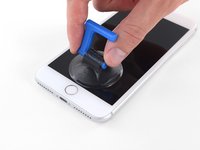
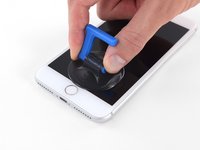
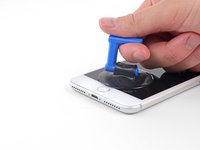
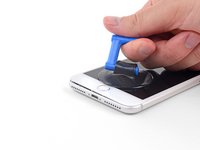
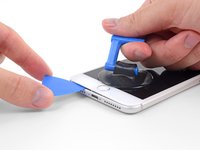
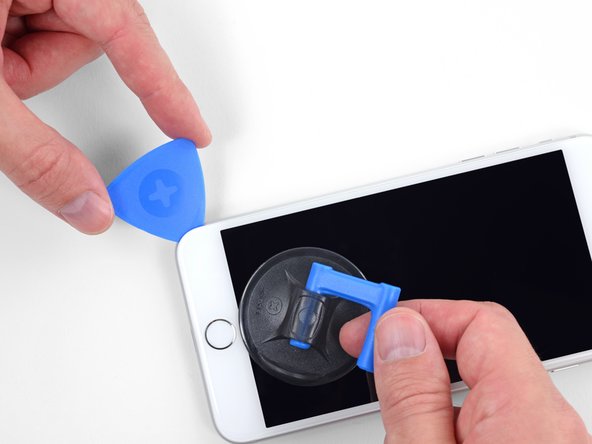
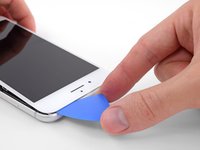
Apply a suction cup to the lower half of the front panel, just above the home button.
Using just the single suction cup that is included in the battery replacement kit probably wouldn’t open the device. An iOpener and an iSlack should be the recommended method. However, you can get it open with just the single suction cup and iOpener, but does take a lot of time.
Get an iOpener and iSlack with the battery replacement kit.
-
-
-
Re-insert your tool at the lower right corner of the iPhone, and slide it around the corner and up the right side of the phone to separate the adhesive.
I had really good luck using a hairdryer on some of the more stubborn portions of adhesive.
-
-
-
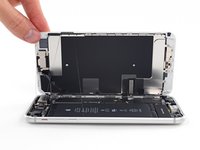
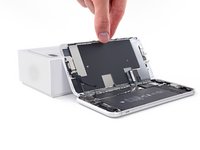
Open the iPhone by swinging the display up from the left side, like the back cover of a book.
-
Lean the display against something to keep it propped up while you're working on the phone.
-
-
-
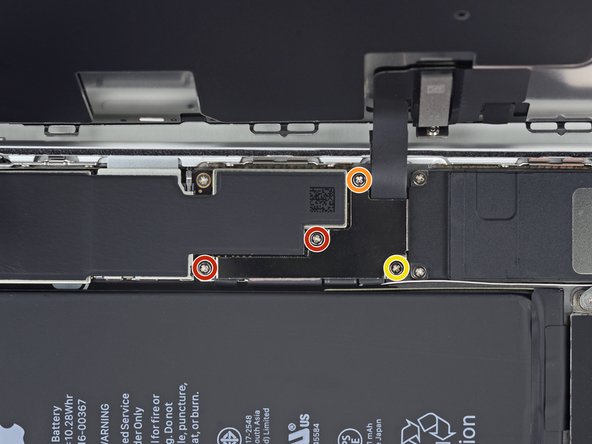
Remove four Phillips (JIS) screws securing the lower display cable bracket to the logic board, of the following lengths:
-
Two 1.3 mm screws
-
One 1.4 mm screw
-
One 2.7 mm screw
-
-
-
Use the point of a spudger to pry the battery connector up from its socket on the logic board.
-
Bend the connector cable up slightly to prevent it from accidentally making contact with the socket and providing power to the phone during your repair.
When I reassembled the iPhone 8 Plus, I had to plug it into a Lightning cable to wake it up (just pushing power button wasn’t sufficient).
-
-
-
Use the tip of a spudger or a fingernail to disconnect the large lower display connector by prying it straight up from its socket.
I got hold of a iPhone 8 Plus with cracked screen that I am planning to fix.
Here is my problem:
When I tried to take out the screen from my phone, (step 15-18) I was curious about the new screen, so I tried to connect it. It was completely dead! Then I tried the old cracked one, and suddenly that was dead to! This is a phone that some fool has been inside earlier and changed battery, but I suspect he has done some more really stupid things. The Taptic Engine is living its own life and vibrating every time I slightly touch the home button. (I have a new Taptic Engine) The phone is also full of dust and small particles that does not belong there. One tri-point Y000 screw (step 18) is even missing! Now the biggest problem is that both screens are black! I know the phone is on, because I hear voice command speak when I turn on the power. The screen worked before I tried to change it? And one last thing: My new LCD screen came with new flex cables. Is it possible to switch over, so I can use the old ones?
Hi,
Is your problem solved?
-
-
-
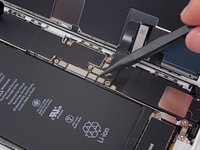
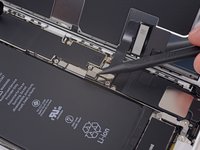
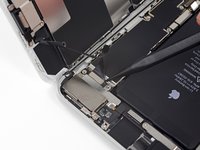
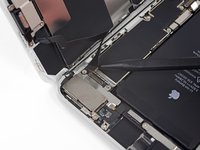
Disconnect the second lower display cable connector, directly behind the one you disconnected in the previous step.
I used the other end of the spudger on this connector and it seemed to work a little better for me. I came in from underneath the top-right edge instead of the bottom right.
-
-
-
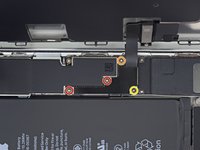
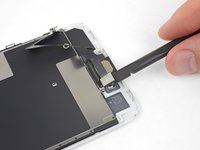
Remove the two tri-point Y000 screws securing the bracket over the front panel sensor assembly connector:
-
One 1.0 mm screw
-
One 1.2 mm screw
una vite da 1mm e due viti da 1.2 mm???
Ciao Matteo! Grazie per l’osservazione. Ho appena modificato il testo :) La traduzione è aperta a tutti. Hai quindi la possibilità di fare le tue suggestione direttamente nel testo e sei il benvenuto se vuoi usare di questa possibilità nel futuro. Grazie ancora per la vigilanza! Saluti, Claire
The tool kit does include a 1.0 or1.2mm screwdriver! How am I supposed to remove those screws?
Bought the screwdriver that supposedly fits these screws and it still doesn’t work.
My bracket looks different. Can’t get these screws out.
-
-
-
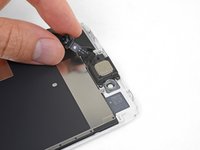
Remove the five Phillips screws securing the earpiece speaker bracket:
-
Two 1.8 mm screws
-
One 2.3 mm screw
-
One 2.4 mm screw
-
One 2.8 mm screw
-
-
-
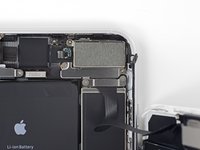
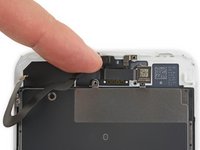
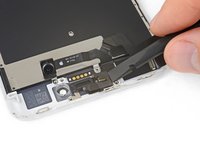
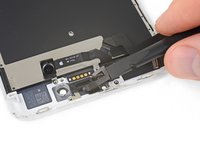
Gently fold the camera and attached ribbon cable toward the bottom of the iPhone to allow access to the components underneath.
-
-
-
Use a hairdryer or heat gun or prepare an iOpener and apply it to the top front of the display for about a minute, in order to soften the adhesive securing the sensors.
-
-
-
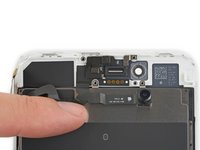
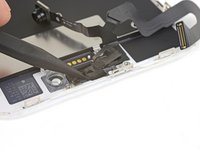
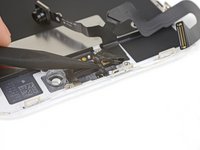
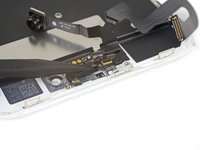
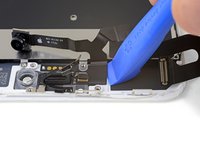
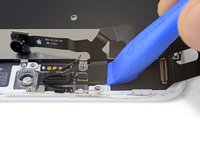
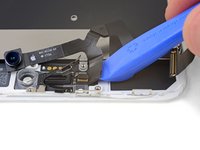
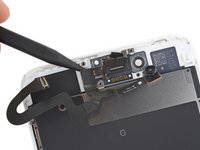
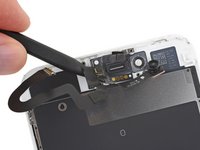
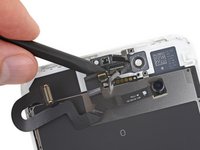
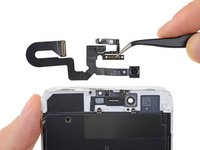
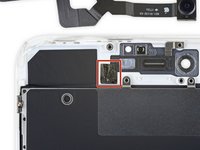
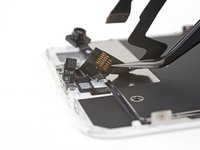
Remove the front camera and sensor cable assembly.
-
A piece of black double-sided insulating tape lies between the display and three rows of copper contacts on the back of the camera/sensor cable. It may remain stuck to the display, or it may come off with the cable.
Why is the insulating tape needed, and what other materials should I using instead of it if I loose the tape?
I moved the insulating tape from the broken screen to the new screen.
Don’t forget to check if your new screen assembly has the two plastic pieces for the camera and proximity detector. You’ll need to move them from the old screen if it doesn’t have them.
Hi, is it possible for the flex cable to work without placing he tape over the contacts?
Thanks
I forgot to add move the double sided tape over and I’m wondering if that was why my ear speaker wasn’t working. I opened it back up and put the tape on the new screen but the speaker is still not working. Any ideas? Did the speaker “short” out?
Mine the same , did you solve the problem? Thank you
I bought the ifixit tool kit iPhone plus 8 screen. Do i need to skip this step ? (not sure)
-
-
-
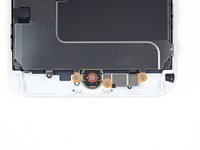
Remove the four Y000 screws securing the bracket over the home/Touch ID sensor:
-
One 1.2 mm screw
-
Three 1.3 mm screws
The 1.2mm screw on the home button stripped for me. I ended up bending the bracket on each side in order to remove the home button. I then bent it back as best I could during reassembly and screwing it down.
-
-
-
Flip the display assembly over. Use a hairdryer or prepare an iOpener and apply it to the lower edge of the display for about 90 seconds in order to soften up the adhesive underneath.
-
-
-
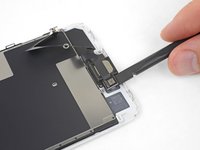
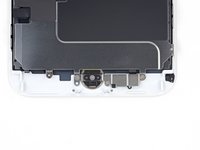
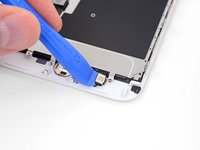
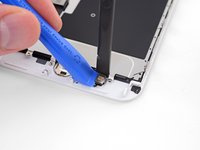
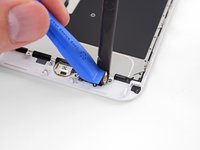
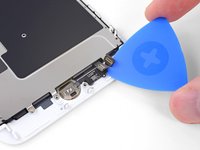
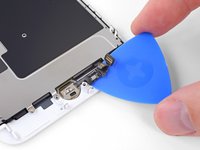
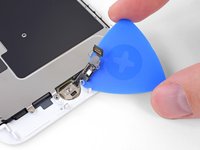
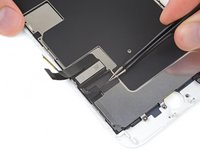
Use an opening pick to gently separate the adhesive holding the home/Touch ID sensor cable to the back side of the display panel.
This did not work for me…. ended up breaking the connector from the home button. Most likely messed up the customer’s iPhone… the adhesive would not pry up with just pick… does iFixit offer a home button replacement?
did not work for me either, also ended up breaking the connector, just use the tweezer to separate it. do not use opening pick!!!!! it’s too thick for it!!
Isopropanol and heat will loosen the adhesive and its possible to gently remove with plastic pick, metal tweezers risk damaging the Home button cable and disabling the Touch facility.
-
-
-
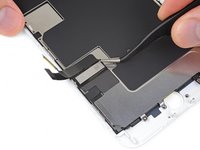
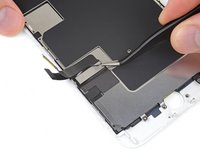
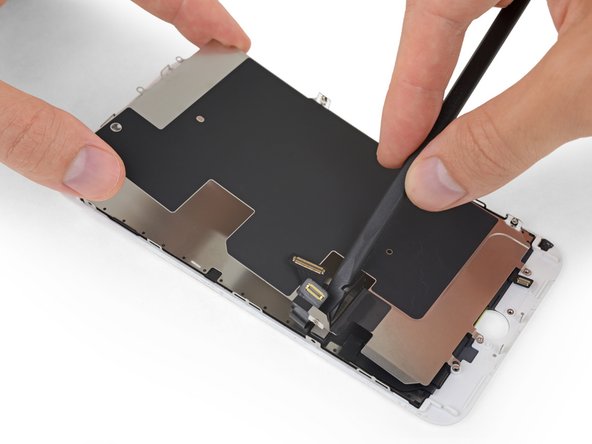
Peel back the upper, rectangular portion of the LCD shield plate sticker to separate it from the flex cable underneath.
Not sure what this sticker is for exactly. It broke during reassembly. So far, so good.
-
-
-
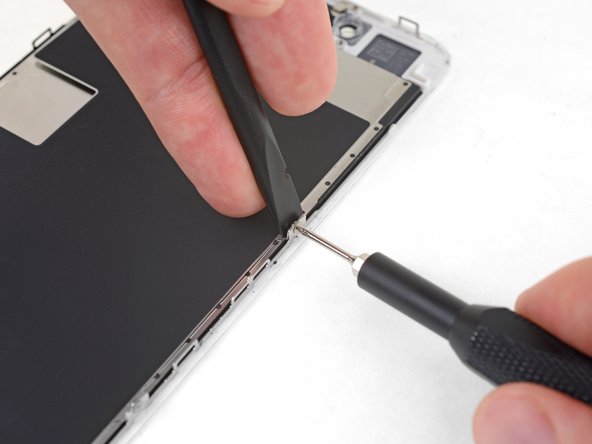
Lift the LCD shield plate while pressing down on the flex cable it surrounds.
-
Feed the flex cable through the cutout in the LCD shield plate, being careful not to snag it.
My new LCD screen came with new flex cables. Is it possible to switch over, so I can use the old ones?
When I tried to take out the screen from my phone, (step 15-18) I was curious about the new screen, so I tried to connect it. It was completely dead! Then I tried the old cracked one, and suddenly that was dead to! This is a phone that some fool has been inside earlier and changed battery, but I suspect he has done some more really stupid things. The Taptic Engine is living its own life and vibrating every time I slightly touch the home button. (I have a new Taptic Engine) Now the biggest problem is that both screens are pitch black! I know the phone is on, because I hear voice command speak when I turn on the power. What could this be? The screen worked before I tried to change it?!…
-
Compare your new replacement part to the original part—you may need to transfer remaining components or remove adhesive backings from the new part before installing.
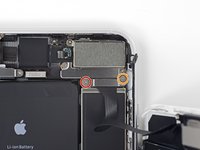
To reassemble your device, follow the above steps in reverse order.
Take your e-waste to an R2 or e-Stewards certified recycler.
Repair didn’t go as planned? Check out our Answers community for troubleshooting help.
Annuleren: ik heb deze handleiding niet afgemaakt.
53 andere personen hebben deze handleiding voltooid.
4 Opmerkingen
I got hold of a iPhone 8 Plus with cracked screen that I am planning to fix.
Already got all new part that I think I need.
Here is my problem:
When I tried to take out the screen from my phone, (step 15-18) I was curious about the new screen, so I tried to connect it. It was completely dead! Then I tried the old cracked one, and suddenly that was dead to! This is a phone that some fool has been inside earlier and changed battery, but I suspect he has done some more really stupid things. The Taptic Engine is living its own life and vibrating every time I slightly touch the home button. (I have a new Taptic Engine) The phone is also full of dust and small particles that does not belong there. One tri-point Y000 screw (step 18) is even missing! Now the biggest problem is that both screens are pitch black! I know the phone is on, because I hear voice command speak when I turn on the power. What could this be? The screen worked before I tried to change it?!…
Hi smikalsen,
Did you disconnect the battery when you swapped the screens? If not, there is a chance that the screen backlight circuits are damaged as a result of disconnecting/reconnecting to a powered phone. With a screen connected and the phone powered on, shine a bright light directly at the screen. If you can faintly see the screen, it means that the LCD is working but the backlight is broken.
what do I do about super stripped screws?
Ean Palacios - Antwoord
Do you need a toolkit like the essential toolkit
Adam Palmer - Antwoord