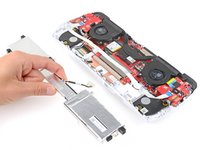
Asus ROG Ally Battery Replacement
Inleiding
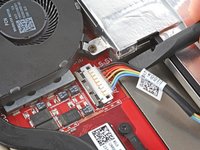
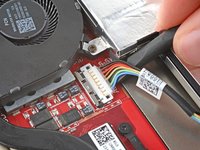
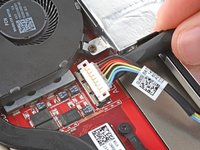
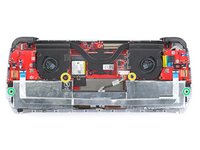
Ga naar stap 1Follow this guide to replace a dead or malfunctioning battery in your Asus ROG Ally.
Lithium-ion batteries have a limited lifespan. If your device doesn't hold a charge or dies unexpectedly, it might be time to replace the battery.
Wat je nodig hebt
Reparatieset
Deze set bevat alle onderdelen en tools om deze handleiding te voltooien.
Onderdelen
Gereedschap
Toon meer…
-
-
Completely power off your device and unplug all cables.
-
-
Gereedschap gebruikt in deze stap:FixMat$36.95
-
Use a Phillips #0 screwdriver to remove the five 17.2 mm‑long screws securing the top edge and bottom corners of the back cover.
-
Use a Phillips #0 screwdriver to fully loosen the remaining captive screw at the center of the bottom edge. This should create a small gap between the back cover and chassis.
-
-
-
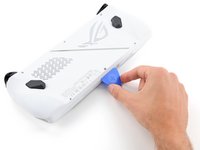
Insert the flat edge of an opening pick between the bottom edge of the back cover and chassis, near the captive screw.
-
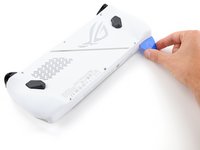
Angle the pick upward and push it under the back cover.
-
-
-
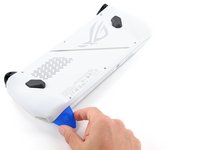
Slide the opening pick along the bottom edge and around the corners of the back cover to release the clips securing it.
-
-
-
-
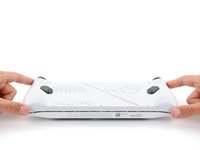
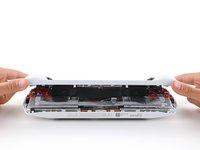
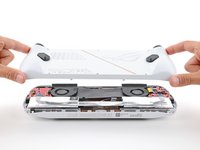
Lift the bottom edge of the back cover off the chassis to release the remaining clips.
-
Remove the back cover.
-
-
-
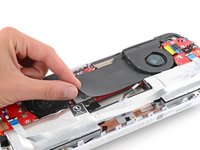
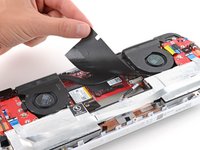
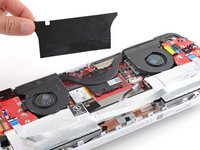
Use your fingers to peel up and remove the black plastic cover between the fans.
-
-
-
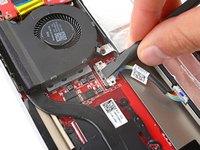
Use the flat end of a spudger to gently push the locking bar away from the connector to unlatch it.
-
-
-
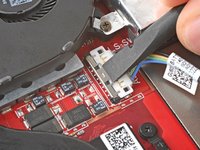
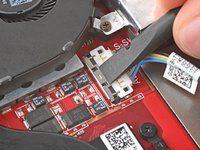
Insert the flat end of a spudger under the center of the battery connector.
-
Lift the connector straight up and out of its socket to disconnect the battery.
-
-
Gereedschap gebruikt in deze stap:Tweezers$4.99
-
Use a Phillips #00 screwdriver to remove the four screws securing the battery:
-
Two 9.6 mm‑long screws near the center of the top edge
-
Two 3.4 mm‑long screws at the left and right edges
-
-
-
With one hand, hold the ribbon cable that runs along the top of the battery out of the way.
-
With your free hand, lift the battery straight up and remove it.
-
-
-
With one hand, firmly secure the outer battery cells.
-
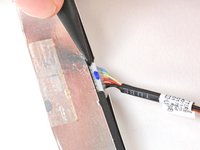
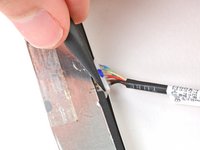
With your free hand, use the point of a spudger to push on alternating sides of the battery connector to walk it out of its socket.
-
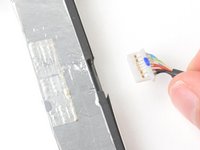
Gently push the connector partially into its socket.
-
Use a spudger to push in the outer edges of the connector until it slides fully into its socket.
-
To reassemble your device, follow these instructions in reverse order.
Take your e-waste to an R2 or e-Stewards certified recycler.
For optimal performance, calibrate your newly installed battery after completing this guide.
Repair didn’t go as planned? Try some basic troubleshooting, or ask our Answers community for help.
Annuleren: ik heb deze handleiding niet afgemaakt.
4 andere personen hebben deze handleiding voltooid.


