Waarschuwing: Je bewerkt een vooraf vereiste handleiding. Alle wijzigingen die je hierin maakt, beïnvloeden alle 8 handleidingen die deze stap bevatten.
Stap 12 vertalen
-
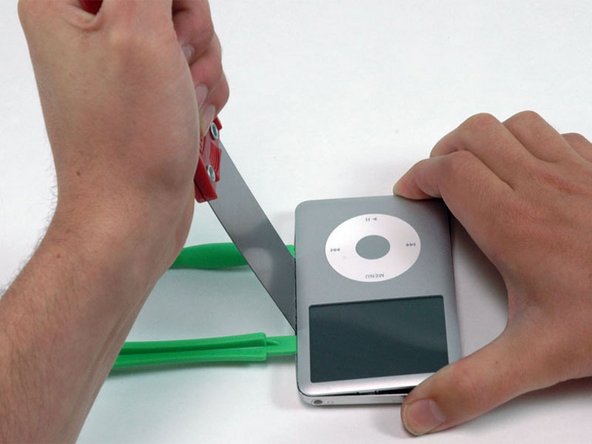
At an angle, carefully insert a putty knife about 1/8 inch into the seam between the two opening tools.
-
Once the putty knife has cleared the lip of the rear panel, angle the putty knife so that it is vertical, and carefully (but firmly) wiggle it straight down into the iPod via the gap between the plastic opening tools.
-
Push with your fingers on the rear panel behind the putty knife to minimize bending. Ever so slightly flex the putty knife to ensure that most of the metal tabs on this side of the iPod are disengaged.
Je bijdragen zijn gelicentieerd onder de open source Creative Commons-licentie.