Waarschuwing: Je bewerkt een vooraf vereiste handleiding. Alle wijzigingen die je hierin maakt, beïnvloeden alle 6 handleidingen die deze stap bevatten.
Stap 3 vertalen
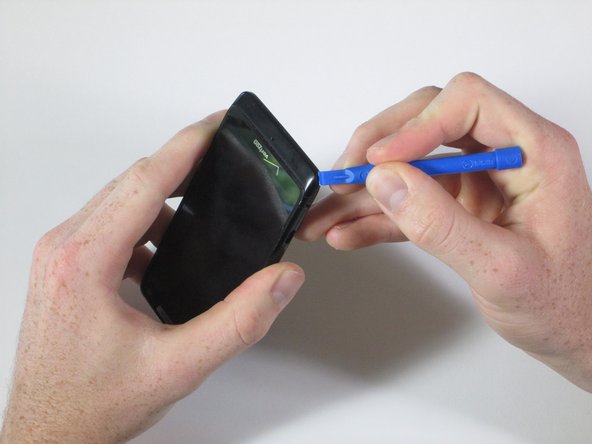
Stap 3


-
Run the plastic opening tool under the bottom edge of the phone to detach the small plastic cover below the Verizon logo.
-
It will take some force to remove this piece. Work around the bottom corners to unlatch the two hooks holding the piece in place.
-
Once the plastic cover is detached, pull the piece away with your fingers.
Je bijdragen zijn gelicentieerd onder de open source Creative Commons-licentie.