Inleiding
Is your phone not detecting your charging cable? Does your charging port feel loose? Has the microphone gone deaf? It might be time to replace your Lightning connector assembly. Use this guide to replace the Lightning connector assembly which includes the lower microphones, antenna cable, and Lightning connector.
Note that this repair does require a fair amount of disassembly, and it will require time and caution.
Wat je nodig hebt
Video overzicht
-
-
Power off your iPhone before beginning disassembly.
-
Remove the two 3.4 mm pentalobe screws on the bottom edge of the iPhone.
-
-
-
Use a hairdryer or prepare an iOpener and apply it to the lower edge of the iPhone for about a minute in order to soften up the adhesive underneath.
-
-
-
Remove four tri-point Y000 screws securing the lower connector bracket, of the following lengths:
-
Three 1.2 mm screws
-
One 2.4 mm screw
-
-
-
Use a spudger or a fingernail to disconnect the two lower display connectors by prying them straight up from their sockets on the logic board.
-
-
-
Remove the two 1.9 mm Phillips screws securing the barometric vent to the rear case.
-
-
-
Use the flat end of a spudger to disconnect the Taptic Engine connector from its socket on the logic board.
-
-
-
-
Remove the Phillips screw securing the Wi-Fi diversity antenna to the rear case:
-
One 3.2 mm screw
-
-
-
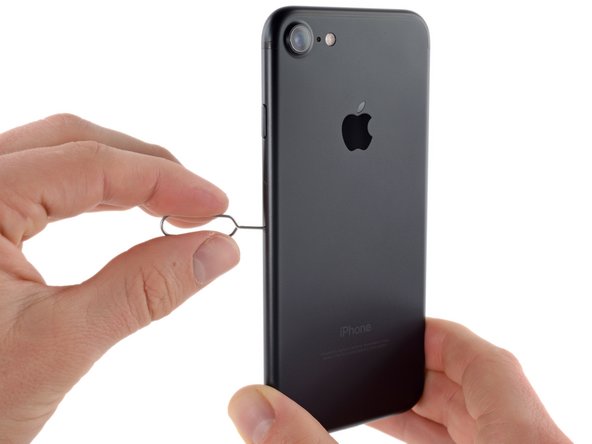
Insert a SIM card eject tool or a paperclip into the small hole in the SIM card tray.
-
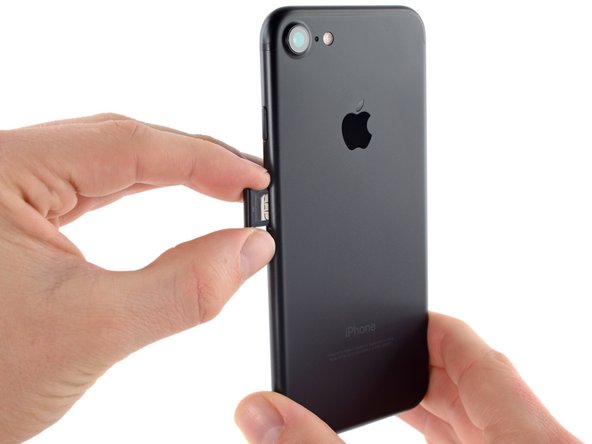
Press to eject the tray.
-
Remove the SIM card tray assembly from the iPhone.
-
-
-
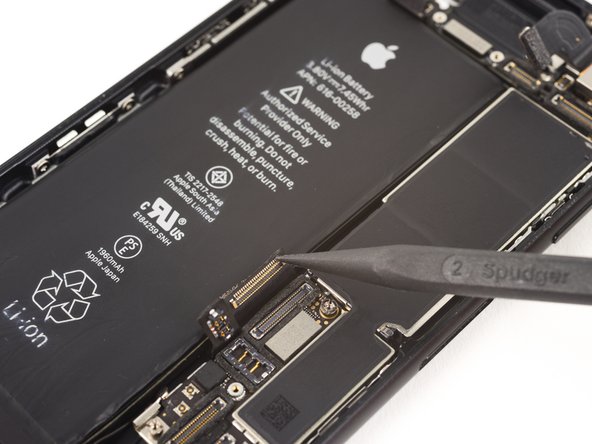
Use the flat end of a spudger to disconnect the rear-facing camera connector.
-
-
-
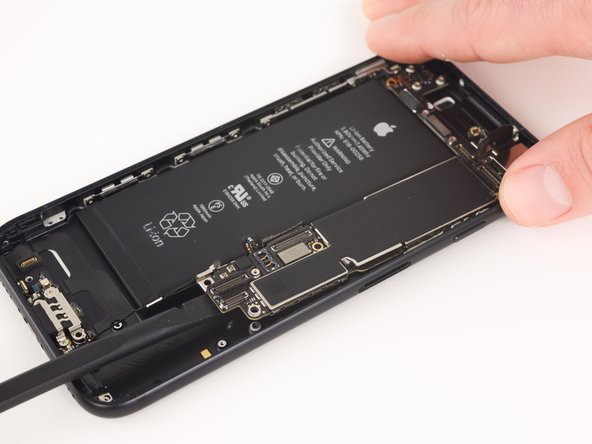
Use the point of a spudger to disconnect the lower cable connector.
-
-
-
Use a hairdryer or reheat your iOpener to heat the lower edge of the phone.
-
Wait for about a minute, allowing the adhesive to warm up before proceeding to the next step.
-
-
-
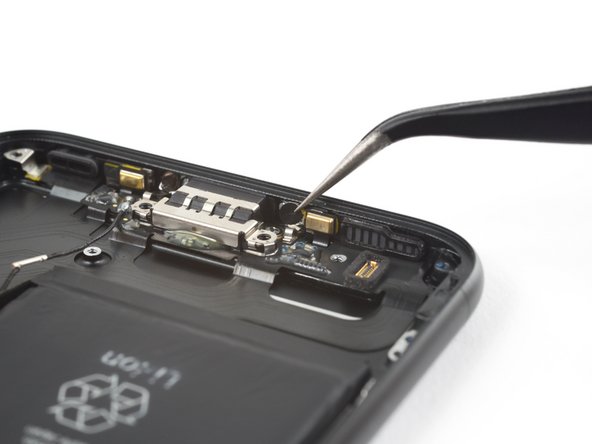
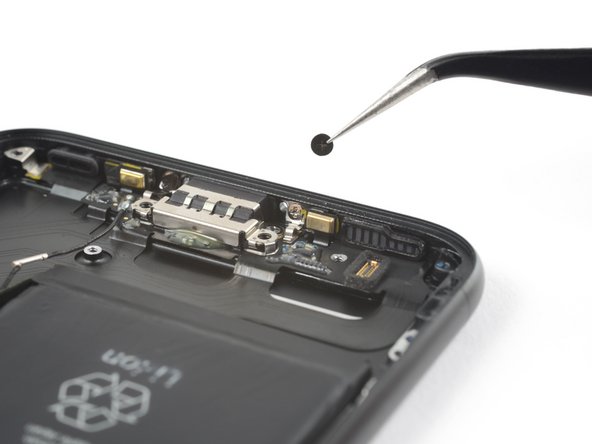
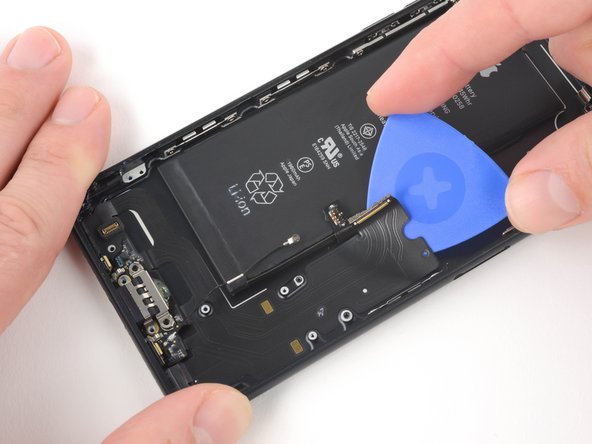
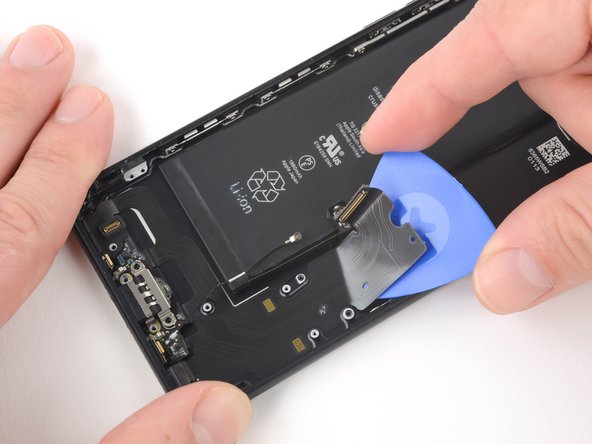
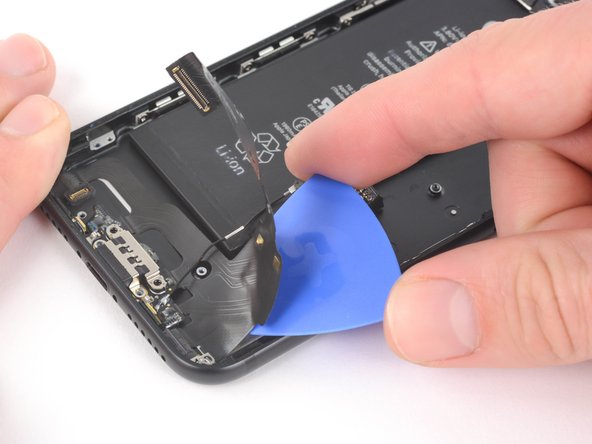
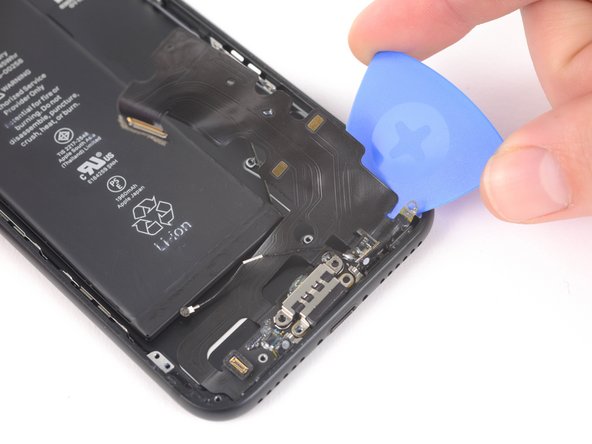
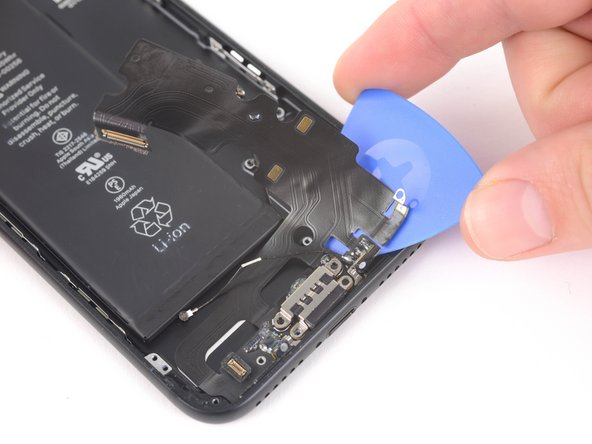
Remove the lightning connector assembly.
-
Use a plastic tool to scour any bits of adhesive residue from the rear case.
-
Make sure the Lightning connector assembly is correctly positioned so that the two white dots on the iPhone's rear case show through the two circular cutouts in the Lightning flex cable. If they don't, the flex cable will remain misaligned and you won't be able to reconnect it to its socket on the logic board.
-
To reassemble your device, follow these instructions in reverse order. Don't forget to reapply the display adhesive before reinstalling the display.
Take your e-waste to an R2 or e-Stewards certified recycler.
Repair didn’t go as planned? Try some basic troubleshooting, or ask our iPhone 7 Answers community for troubleshooting help.
Annuleren: ik heb deze handleiding niet afgemaakt.
273 andere personen hebben deze handleiding voltooid.
53 opmerkingen
The old ones were so easy! Why did Apple have to put the thing under the board!!!???
Prob to discourage people from replacing it themselves instead of sending to apple
I dunno. It was a pain, but surprisingly I got mine fixed. When I took it to the apple store they flat out told me that they wouldn’t fix it at all. I couldn’t even send it in to them. Something about no communication with the logic board and they refused to touch it. Thankfully the guides are detailed enough for goofs like me to be successful.
Ho un problema dopo aver installato il nuovo connettore. Quando l’iphone e scarico, inserendo il cavo, appare sul display il simbolo batteria. Una volta acceso il cavo non viene più segnalato e la ricarica non continua. Cosa può essere?
Salve ho lo stesso problema,qual è il problema?


