
Repair a Cracked or Buckled Polyurethane Surfboard

Inleiding
Ga naar stap 1This guide will walk you through the process of repairing major damage to your polyurethane surfboard (not epoxy). Steps will cover removal of damaged fiberglass and foam, preparation for repair, foam replacement, re-glassing, and sanding to finish. This is a long and challenging process and will likely take more then one day if you've never done any internal repair.
Wat je nodig hebt
Onderdelen
Gereedschap


Toon meer…
-
-
Set up your work area.
-
It is nice to have a stable, firm platform to work on. I happened to have a homemade surfboard-shaping stand to work on.
-
-
-
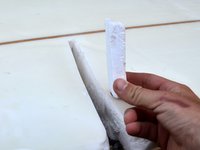
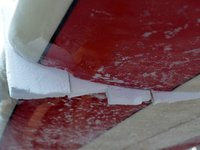
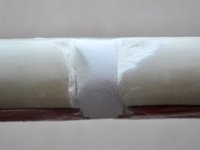
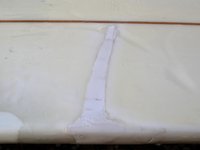
You will fill the crack with a series of small foam wedges.
-
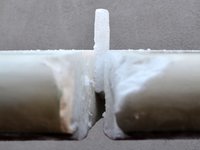
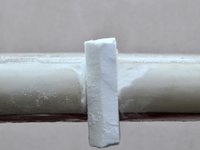
Use the surform to grind down the sides of the piece so that they are flat and parallel.
-
You want the wedge to barely fit into its position. You will really have to jam it in with some force. Be careful not to snap it though, as the foam is very brittle.
-
The wedge should be tall enough so that it extends out both the top and bottom of your repair area. The portion hanging out will be sanded down in a later step.
-
-
-
-
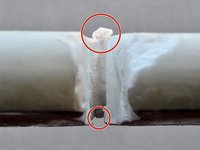
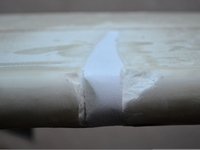
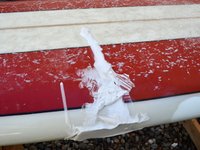
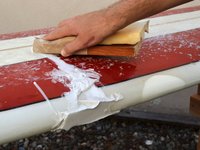
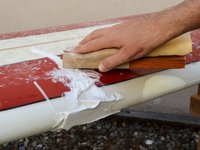
Sand the overhanging foam down with rough sand paper. Don't be afraid to hit the fiberglass, it will be fine.
-
Sand the foam so that there is a slight concave relative to the deck (or bottom of the board). This will be where the resin will sit.
-
Be careful around the rail. Use the fiberglass of the non-damaged rail to guide the shape of the foam here.
-
-
-
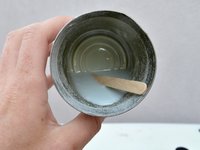
In your mixing cup, pour enough resin to cover the entire area thoroughly.
-
Mix in an even amount of Q-Cell filler and stir until well-mixed.
-
Once well mixed, add catalyst (hardener) as normal : i.e., 5-6 drops per 20ml of resin (a drop or two more if the weather is cold; a drop or two less if the weather is warm).
-
-
-
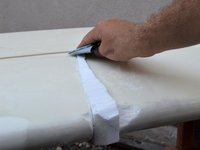
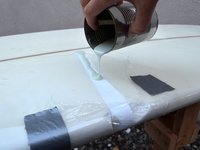
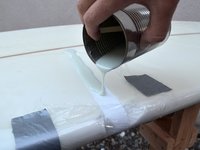
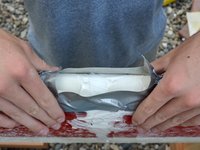
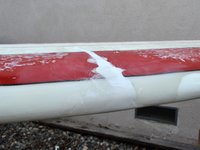
To glass the rail, make a 'dam' out of tape. This will catch the resin and create a pool to cover all areas of the rail.
-
Using the same mixture ratio as in the previous step, fill the dam. When pouring in the mixture, make sure the top of the liquid is flush with the rest of the rail.
-
Wait and hour and a half for the resin to cure.
-


Annuleren: ik heb deze handleiding niet afgemaakt.
Één andere persoon heeft deze handleiding voltooid.

Team

Cal Poly, Team 14-5, Green Fall 2015 Lid van Cal Poly, Team 14-5, Green Fall 2015
CPSU-GREEN-F15S14G5
4 Leden
5 handleidingen geschreven
Één opmerking
This guide showed how to fill the gash, but stopped before showing/explaining how to re-glass over that area. If this repair is “done” without reglassing over the gash, that board will break soon, since the skin provides most of the structural strength and the gash interrupts that structure.