Ga door naar hoofdinhoud
Word lid van de reparatiegemeenschap - Account aanmaken

Moto Z Speaker Replacement

Wat je nodig hebt

  1. Moto Z Speaker Replacement, Display Assembly: stap 1, afbeelding 1 van 1
    • Heat an iOpener and apply it to the left edge of the phone for at least 90 seconds.

    • A hair dryer, heat gun, or hot plate may also be used, but be careful not to overheat the phone—the OLED display and internal battery are both susceptible to heat damage.

    • As you're waiting for the adhesive to soften, move on and read the following step to get an idea of where to pry.

    Vraag FixBot
  2. Moto Z Speaker Replacement: stap 2, afbeelding 1 van 2 Moto Z Speaker Replacement: stap 2, afbeelding 2 van 2
    • In the following steps you will be cutting through the adhesive around the edge of the display assembly.

    • To avoid damage, do not cut in the following areas:

    • The OLED panel

    • The home button

    • The flash unit

    Vraag FixBot
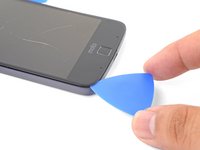
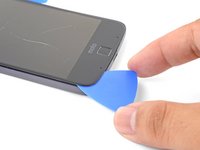
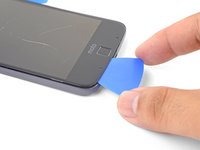
  3. Moto Z Speaker Replacement: stap 3, afbeelding 1 van 3 Moto Z Speaker Replacement: stap 3, afbeelding 2 van 3 Moto Z Speaker Replacement: stap 3, afbeelding 3 van 3
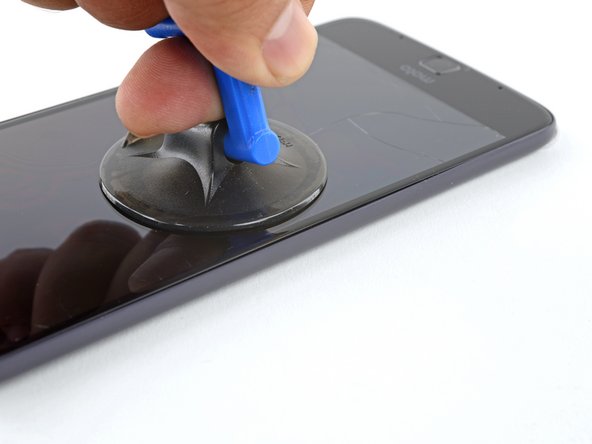
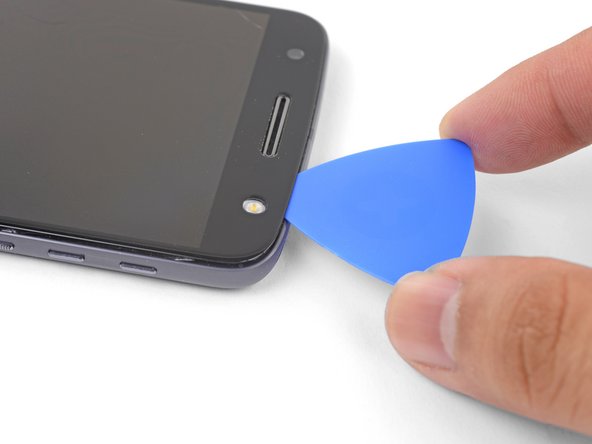
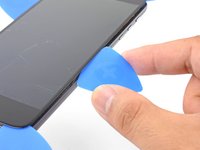
    • Apply a suction cup as close to the heated edge as possible.

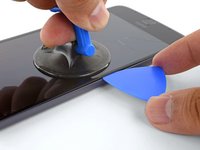
    • Lift on the suction cup and insert the tip of an opening pick into the gap.

    • Do not insert the pick more than 1/16" (1.5 mm). Over-inserting the pick may damage the OLED panel.

    Vraag FixBot
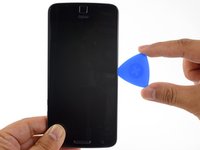
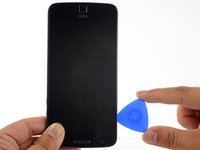
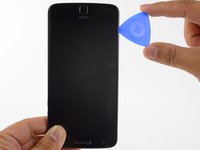
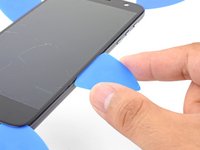
  4. Moto Z Speaker Replacement: stap 4, afbeelding 1 van 3 Moto Z Speaker Replacement: stap 4, afbeelding 2 van 3 Moto Z Speaker Replacement: stap 4, afbeelding 3 van 3
    • Carefully slide the tip of the opening pick down and up the side of the phone, making sure not to cut deeper than 1/16" (1.5 mm).

    • As you run the pick along the side, you will feel the tip of the pick press against the edge of the OLED panel. That is as far as the pick should go without damaging the panel.

    • Once you have separated the adhesive, leave an opening pick in the side to keep the adhesive from resealing.

    Vraag FixBot
  5. Moto Z Speaker Replacement: stap 5, afbeelding 1 van 1
    • Repeat the heating, lifting, and cutting steps for the remaining long edge of the phone.

    Vraag FixBot
  6. Moto Z Speaker Replacement: stap 6, afbeelding 1 van 1
    Vraag FixBot
  7. Moto Z Speaker Replacement: stap 7, afbeelding 1 van 2 Moto Z Speaker Replacement: stap 7, afbeelding 2 van 2
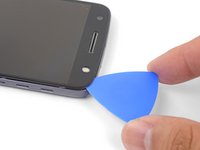
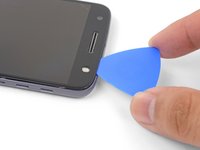
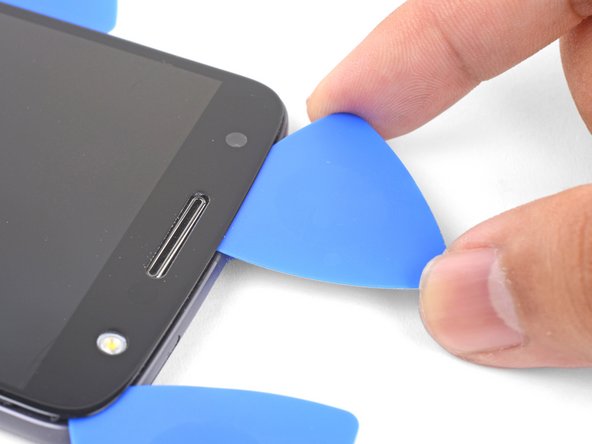
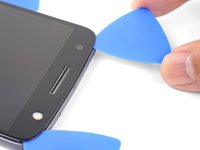
    • Insert an opening pick into the flash side corner of the phone and carefully slice around the flash unit.

    • Do not insert the pick more than 1/16" (1.5 mm) into the edge.

    • Once you are done cutting, leave the pick in the corner to prevent the adhesive from resealing.

    Vraag FixBot
  8. Moto Z Speaker Replacement: stap 8, afbeelding 1 van 3 Moto Z Speaker Replacement: stap 8, afbeelding 2 van 3 Moto Z Speaker Replacement: stap 8, afbeelding 3 van 3
    • Insert an opening pick into the remaining top corner of the phone.

    • Carefully slice through the adhesive across the top of the phone.

    • Do not insert the pick beyond 1/2" (12.5 mm).

    Vraag FixBot
  9. Moto Z Speaker Replacement: stap 9, afbeelding 1 van 1
    • Apply a heated iOpener to the bottom edge of the phone for at least 90 seconds.

    Vraag FixBot
  10. Moto Z Speaker Replacement: stap 10, afbeelding 1 van 3 Moto Z Speaker Replacement: stap 10, afbeelding 2 van 3 Moto Z Speaker Replacement: stap 10, afbeelding 3 van 3
    • Insert an opening pick into a bottom corner and slice towards the home button, stopping before you reach it.

    • Once you're done with the corner, leave a pick in place to prevent the adhesive from sealing.

    • Repeat the process for the other bottom corner.

    Vraag FixBot
  11. Moto Z Speaker Replacement: stap 11, afbeelding 1 van 2 Moto Z Speaker Replacement: stap 11, afbeelding 2 van 2
    • Carefully twist the first opening pick slightly to help release the edge adhesive.

    • Repeat the same process for each remaining pick, moving them as necessary and twisting slightly to release the adhesive.

    Vraag FixBot
  12. Moto Z Speaker Replacement: stap 12, afbeelding 1 van 3 Moto Z Speaker Replacement: stap 12, afbeelding 2 van 3 Moto Z Speaker Replacement: stap 12, afbeelding 3 van 3
    • Lift the earpiece end of the display up to provide access to the display cables.

    • Do not open the display beyond 90 degrees, and always support the display panel.

    Vraag FixBot
  13. Moto Z Speaker Replacement: stap 13, afbeelding 1 van 3 Moto Z Speaker Replacement: stap 13, afbeelding 2 van 3 Moto Z Speaker Replacement: stap 13, afbeelding 3 van 3
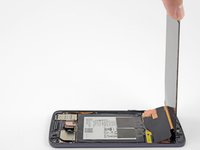
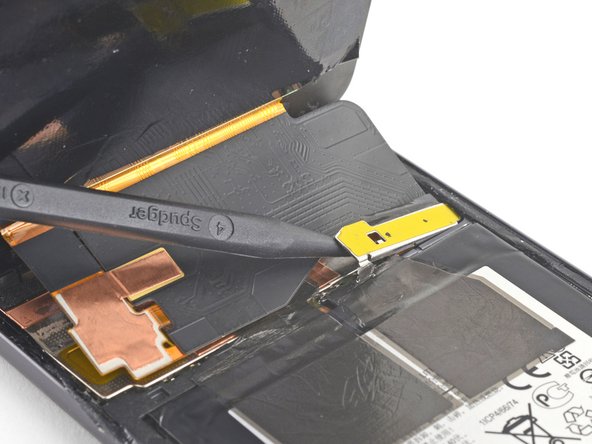
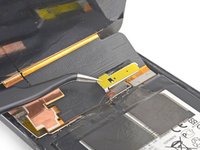
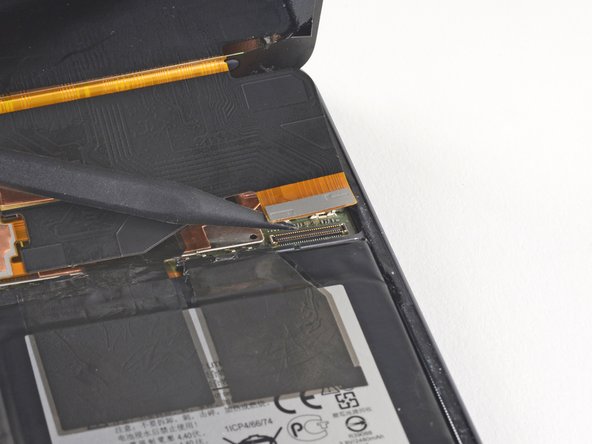
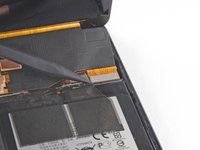
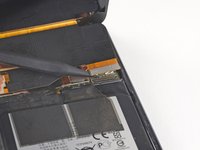
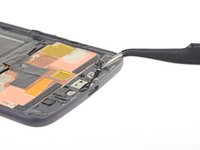
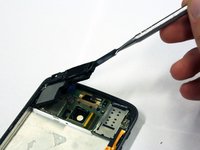
    • Use the point of a spudger to pry the display cable shield up.

    • Remove the display cable shield.

    Vraag FixBot
  14. Moto Z Speaker Replacement: stap 14, afbeelding 1 van 2 Moto Z Speaker Replacement: stap 14, afbeelding 2 van 2
    • Use the point of the spudger to lift and disconnect the display cable connector from its socket.

    Vraag FixBot
  15. Moto Z Speaker Replacement: stap 15, afbeelding 1 van 2 Moto Z Speaker Replacement: stap 15, afbeelding 2 van 2
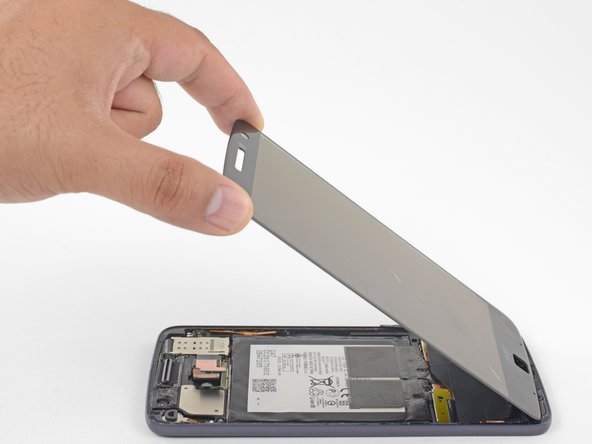
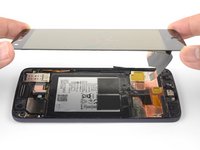
    • Remove the display assembly.

    • Compare your new replacement part to the original part. You may need to transfer remaining components (such as the flash lens) or remove adhesive backings from the new part before installing.

    • Before you reinstall the display assembly, thoroughly remove any remaining adhesive and glass from the frame.

    • After removing all traces of glue and glass from the frame, clean the adhesion areas with 90% (or higher) isopropyl alcohol and a lint-free cloth or coffee filter.

    • Be sure to turn on your phone and test your repair before installing new adhesive and resealing the phone.

    • Use the Motorola Moto Z display adhesive to reseal your phone. Follow this guide for instructions on how to apply adhesive to the replacement screen.

    Vraag FixBot
  16. Moto Z Speaker Replacement, Speaker: stap 16, afbeelding 1 van 1
    Vraag FixBot
  17. Moto Z Speaker Replacement: stap 17, afbeelding 1 van 2 Moto Z Speaker Replacement: stap 17, afbeelding 2 van 2
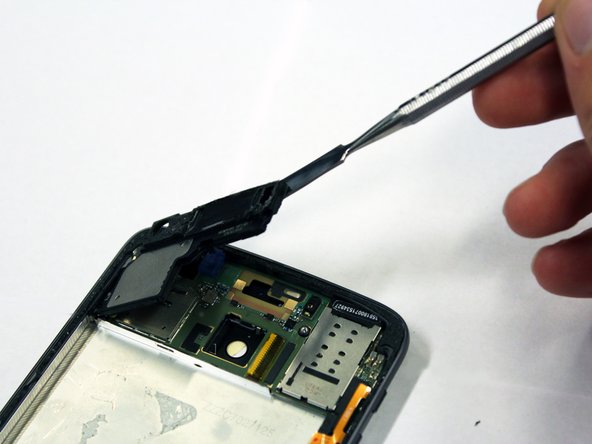
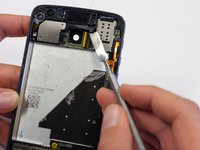
    • Lift up and remove the speaker with the spudger.

    • It's best to use the blue iFixit opening tool to pry off the speaker. Metal tools can be dangerous.

    Vraag FixBot
Conclusie

Compare your new replacement part to the original part. You may need to transfer remaining components or remove adhesive backings from the new part before installing.

To reassemble your device, follow these instructions in reverse order.

Take your e-waste to an R2 or e-Stewards certified recycler.

Repair didn’t go as planned? Check out our Motorola Moto Z Answers community for troubleshooting help.

2 andere personen hebben deze handleiding voltooid.

Miriam Lam

Lid sinds: 01/24/18

1.188 Reputatie

5 handleidingen geschreven

Team

Cal Poly, Team S2-G2, Livingston Winter 2018 Lid van Cal Poly, Team S2-G2, Livingston Winter 2018

CPSU-LIVINGSTON-W18S2G2

4 Leden

10 handleidingen geschreven

0Gids Commentaar

Voeg opmerking toe

Weergavestatistieken:

Afgelopen 24 uren: 1

Afgelopen 7 dagen: 21

Afgelopen 30 dagen: 98

Altijd: 2,809