
Lenovo Thinkpad Screen Replacement
Wat je nodig hebt
Gereedschap


-
-
This cover is glued to the laptop. Please use caution as you use a spudger to disconnect the glue from the edge of the computer screen. Make sure the glue stays in tact on the cover.
-
Use the spudger all the way around to pry the cover loose.
-
-
-
Once the cover is off, you will see the screen is held in with 4 Phillips head screws.
-
Remove all 4 screws as shown.
-
-
-
-
Once you have removed the screws, the monitor will be free.
-
The best way to take the monitor out is to gently pull the top of it away from the case. As you can see it is connected at the bottom by the video connection.
-
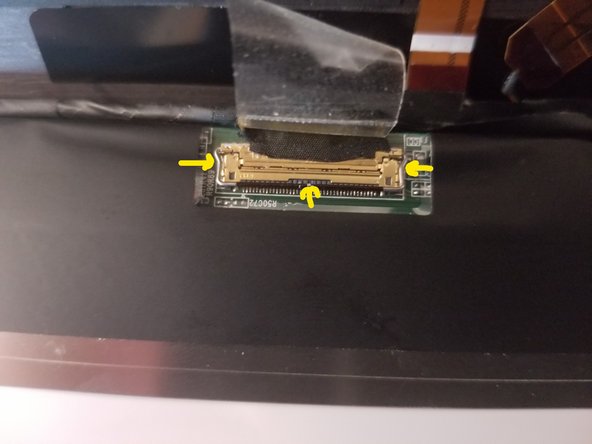
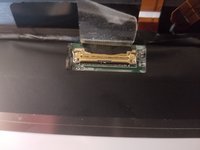
To remove the screen completely you must disconnect this video connection. There is a very thin metal tab (see picture) that will pry up and allow the connection to disconnect.
-
-
-
The screen is now disconnected.
-
Once you have a replacement screen you can connect it in reverse order.
-


To reassemble your device, follow these instructions in reverse order.
To reassemble your device, follow these instructions in reverse order.
Annuleren: ik heb deze handleiding niet afgemaakt.
4 andere personen hebben deze handleiding voltooid.
7 opmerkingen
Thanks for posting - this is much easier than I expected and your posting made it truly a simple task!!
Will a screen of a T460s or aT470s fit a T480s ?
I haven’t had a chance to check the T480 screen to see if it is the same connection.
Bill -
Do you need to apply some type of adhesive to put the front panel back on after replacing the screen?
No, you just need to put the screws back
I tried this with the ThinkPad T420i, and I used a T420s replacement screen. but when I turn it on, the screen turns white and blank
Of course, my screen is not held in by 4 screws, it has clips of some sort on top.
Just great!
Maybe it will be busted out and siliconed back in! Works every time!!