
Lenovo ThinkPad T470s Motherboard Replacement

Inleiding
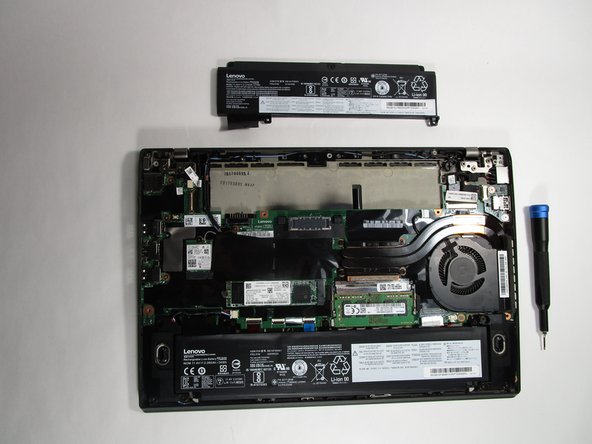
Ga naar stap 1This guide will walk you through the steps for replacing the motherboard in your Lenovo ThinkPad T470s.
The motherboard works as a nervous system for the computer; it allows components, such as the Wi-Fi card and RAM, to "communicate," running the operating system and your computer.
Motherboards can be damaged by rough handling, drops, water damage, or power surges.
Some possible indications of a failing motherboard are: your external USB devices are no longer being read by the laptop correctly, if at all; the laptop is operating much slower than usual; the computer boots with the blue screen of death, and/or any burning smell coming from the laptop while operating.
Power off and unplug your device before beginning.
Wat je nodig hebt


-
-
Use a Phillips #000 screwdriver to remove the five 7 mm screws from the bottom of the laptop.
-
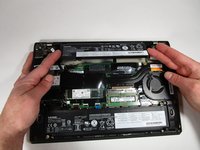
Lift the bottom panel up and off the laptop.
-
-
-
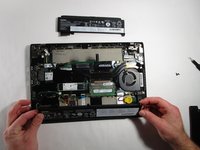
Remove two screws on the bottom of the upper battery using a Phillips #000 screwdriver.
-
Remove three screws on the top of the lower battery using a Phillips #000 screwdriver.
-
Peel back connecting supporting tape on each of the batteries.
-
-
-
Loosen the four screws from the heatsink with a Phillips #000 screwdriver.
-
-
-
-
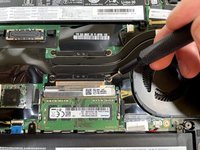
Use a Phillips #0 screwdriver to remove the single 2.9 mm screw securing the Wi-Fi card.
-
-
-
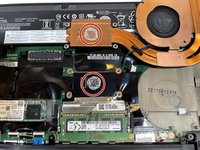
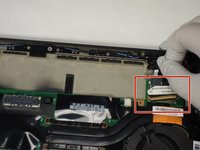
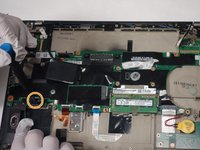
Locate the SSD slot between the large battery and fan.
-
Remove the screw securing the SSD using a Phillips #000 screwdriver.
-
-
-
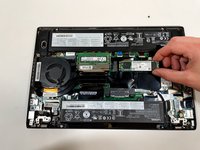
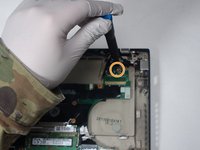
Flip up the locking gate, then pull the cable directly out of its port.
-
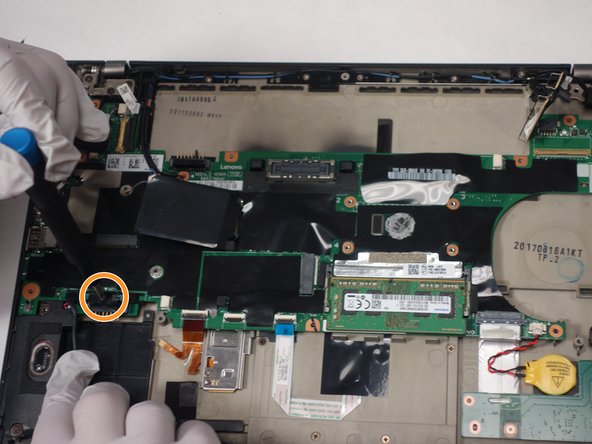
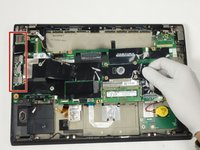
Use a Phillips #0 screwdriver to remove the single 3.3 mm screw on the top right corner of the motherboard.
-


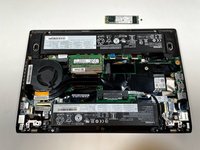


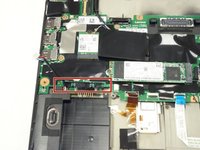


To reassemble your device, follow these instructions in reverse order.
To reassemble your device, follow these instructions in reverse order.
Annuleren: ik heb deze handleiding niet afgemaakt.
2 andere personen hebben deze handleiding voltooid.

Team

The Citadel Military College of South Carolina, Team 2-16, Eggleston Spring 2022 Lid van The Citadel Military College of South Carolina, Team 2-16, Eggleston Spring 2022
CMCSC-EGGLESTON-S22S2G16
3 Leden
6 handleidingen geschreven