
2009 Subaru Impreza WRX Front Door Panel Replacement
Inleiding
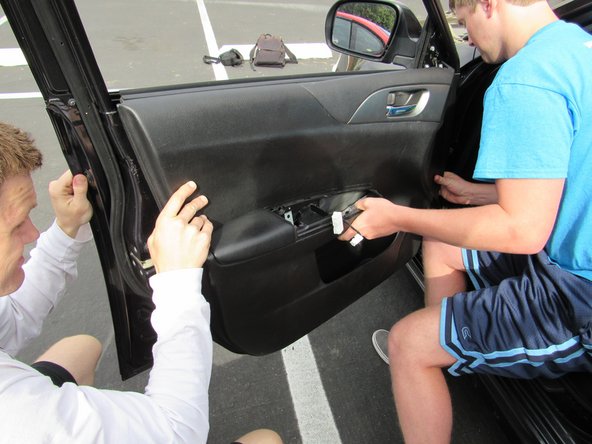
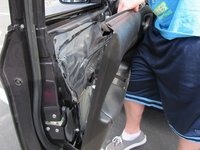
Ga naar stap 1If followed, this guide for front door panel replacement will result in the successful removal of the front door panel. Allowing you to reach the interior parts of the door, or replace a broken panel.
Wat je nodig hebt


-
-
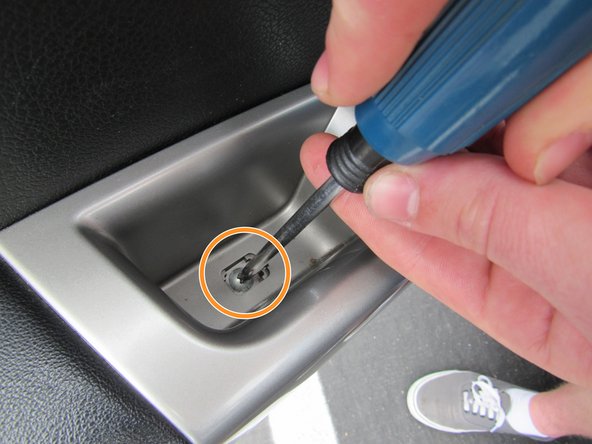
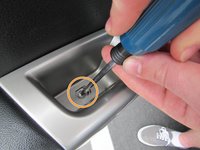
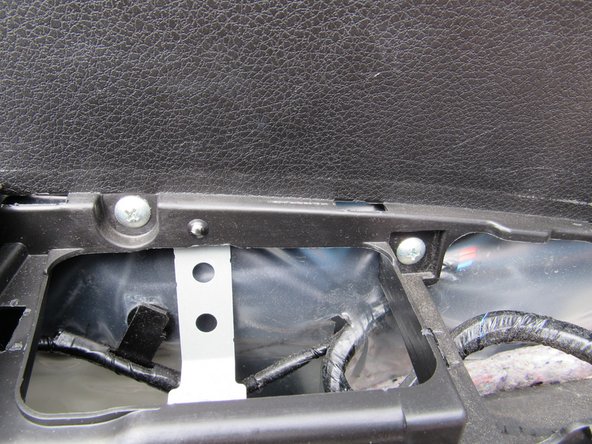
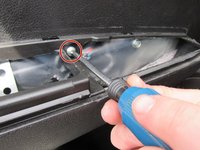
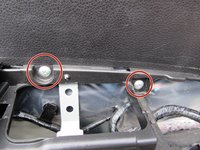
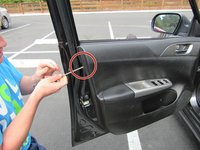
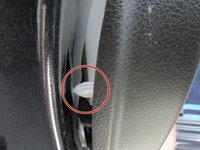
Pry up the plastic tab from inside the handle located on the front door armrest.
-
-


To reassemble your device, follow these instructions in reverse order.
To reassemble your device, follow these instructions in reverse order.
Annuleren: ik heb deze handleiding niet afgemaakt.
2 andere personen hebben deze handleiding voltooid.
Team

Cal Poly, Team 8-3, Regan Spring 2015 Lid van Cal Poly, Team 8-3, Regan Spring 2015
CPSU-REGAN-S15S8G3
5 Leden
5 handleidingen geschreven