Stap 15 vertalen
Stap 15


-
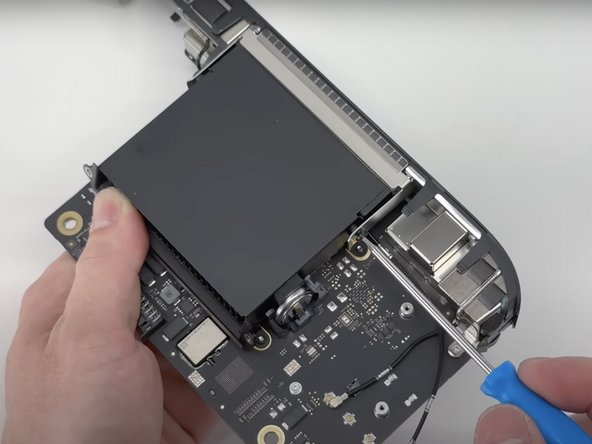
Once all the cables have been undone, the only thing that is holding the I/O wall in place is five T6 Torx screws. Once the screw is attached to the logic board, the other four are attached to both sides of the heat sink's shroud.
Je bijdragen zijn gelicentieerd onder de open source Creative Commons-licentie.