Inleiding
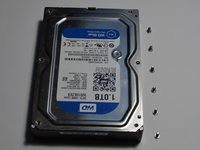
Ga naar stap 1Western digital Hard drive tear down
-
-
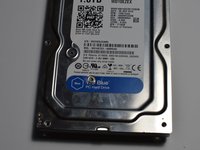
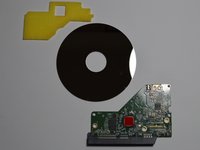
Remove four screws and circuit board lifts out
-
-
-
Motor contacts
-
Head contacts
-
-
-
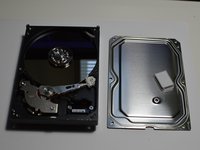
Remove 6 perimeter screws
-
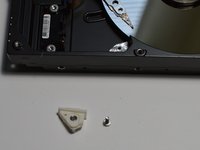
Remove screw from under sticker
-
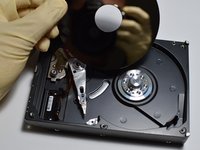
Lift cover off
-
-
-
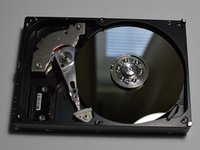
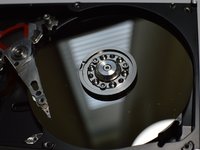
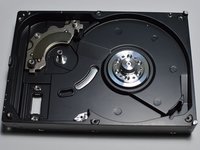
Inside of hard drive
-
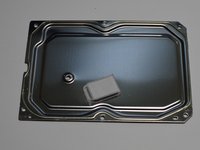
Desiccant packet removed from lower right corner
-
Inside of cover
-
-
-
-
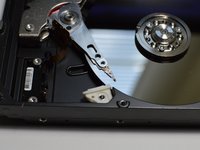
Head in dock
-
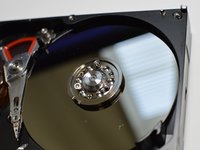
Head on disk
-
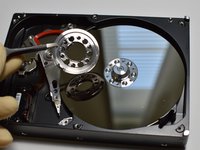
Dock removed
-
-
-
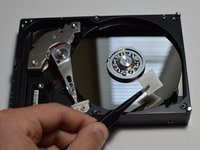
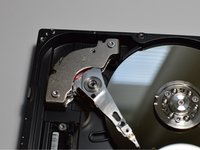
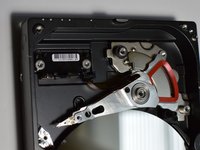
Head before bridge removed
-
Remove two screws
-
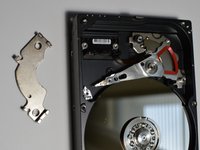
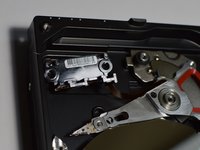
Lift bridge away
-
-
-
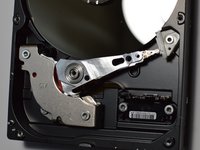
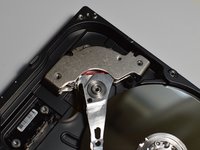
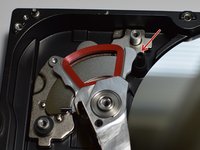
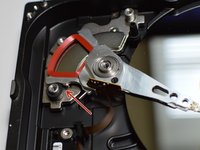
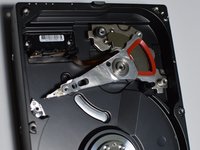
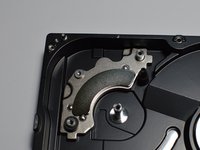
Stops to limit head travel
-
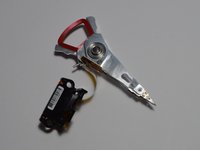
Red coil over magnet cause the head to rotate
-
-
-
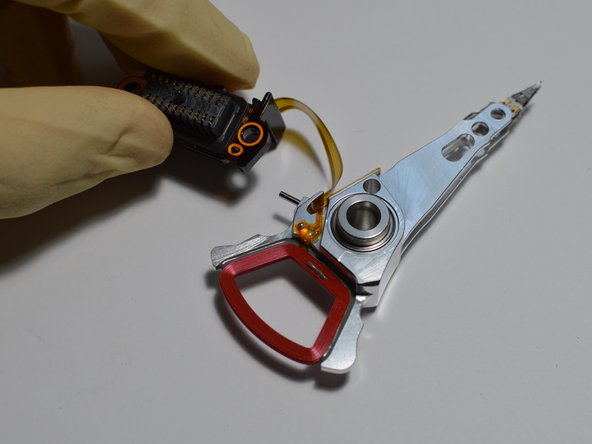
Contact block installed
-
Remove two screws, contact block is now loose but connected to head by a ribbon cable
-
-
-
Disk installed
-
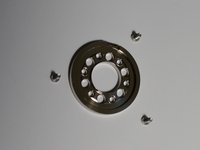
Remove 3 screws holding down collar
-
Remove collar
-
-
-
Head installed, simply lift head out of case
-
Remove head
-
Case without head
-
-
-
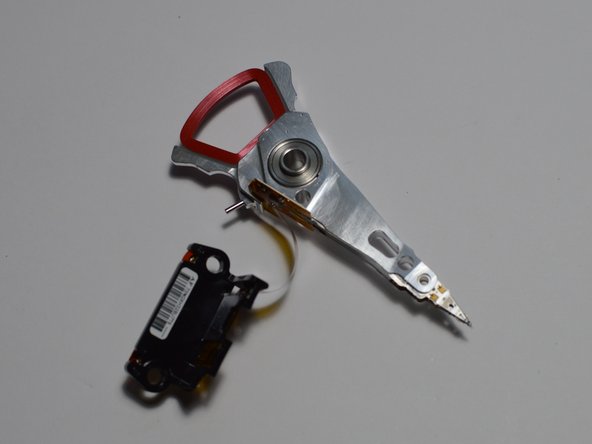
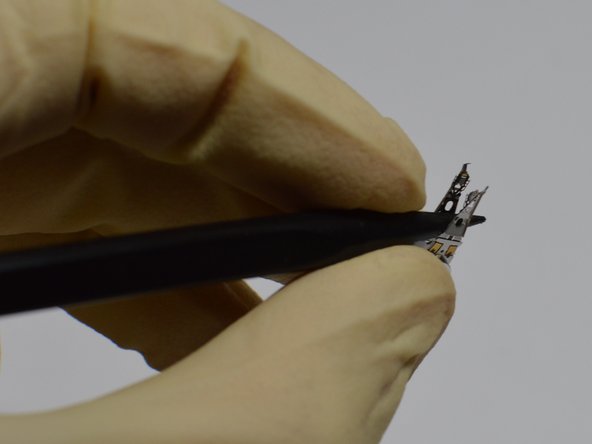
Removed head
-
Contacts for data and head control
-
Head interface to disk
-
-
-
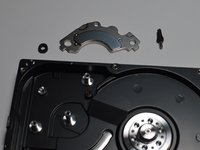
Remove magnet
-
Remove stop for head on disk
-
Remove head docked stop
-