Ga door naar hoofdinhoud

Sostituzione batteria iPad Pro 12.9" 5° Gen

Stap 3
iPad Pro 12.9" 5th Gen Battery Replacement: stap 0, afbeelding 1 van 3 iPad Pro 12.9" 5th Gen Battery Replacement: stap 0, afbeelding 2 van 3 iPad Pro 12.9" 5th Gen Battery Replacement: stap 0, afbeelding 3 van 3
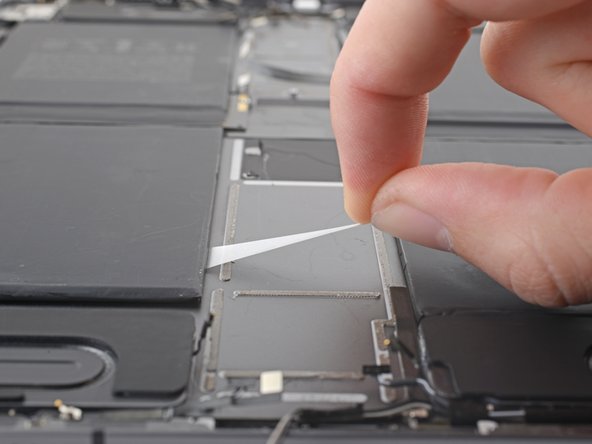
  • Pull the strip out slowly and steadily at a low angle. Give it plenty of time to stretch and un-stick from under the battery.

  • If the adhesive strip breaks off, try to retrieve it using your fingers or blunt tweezers, and continue pulling—but do not pry under the battery.

  • Repeat the process on all nine stretch-release adhesive strips.

  • If you removed all of the stretch-release adhesive, skip to this step. Otherwise, follow the next two steps for each battery cell with remaining adhesive.

Tira la striscia lentamente e con forza costante mantenendo un angolo basso. Dagli abbastanza tempo per estendersi e staccarsi da sotto la batteria.

Se la striscia si rompe, prova a prenderla usando le dita o delle pinzette a punta smussata e continua a tirare, ma non fare leva sotto la batteria.

Ripeti il processo su tutte le nove strisce adesive estensibili.

Se hai rimosso tutto l'adesivo estensibile, salta fino a questo passo. Altrimenti, segui i prossimi due passi per ciascuna cella della batteria con adesivo rimasto.

Je bijdragen zijn gelicentieerd onder de open source Creative Commons-licentie.