Ga door naar hoofdinhoud

Remplacement du panneau frontal de l'iPod touch 5ème génération

Waarschuwing: Je bewerkt een vooraf vereiste handleiding. Alle wijzigingen die je hierin maakt, beïnvloeden alle 21 handleidingen die deze stap bevatten.

Stap 5
iPod Touch 5th Generation Front Panel Replacement: stap 0, afbeelding 1 van 3 iPod Touch 5th Generation Front Panel Replacement: stap 0, afbeelding 2 van 3 iPod Touch 5th Generation Front Panel Replacement: stap 0, afbeelding 3 van 3
  • In the following steps, you will be loosening and freeing the plastic frame that surrounds the screen. It is connected to the rear case with several clips.

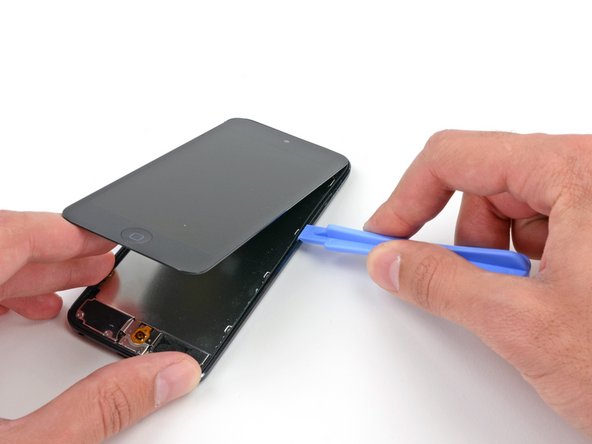
  • Starting at the top right of the device, insert a plastic opening tool into the gap between the plastic frame and the aluminum rear case.

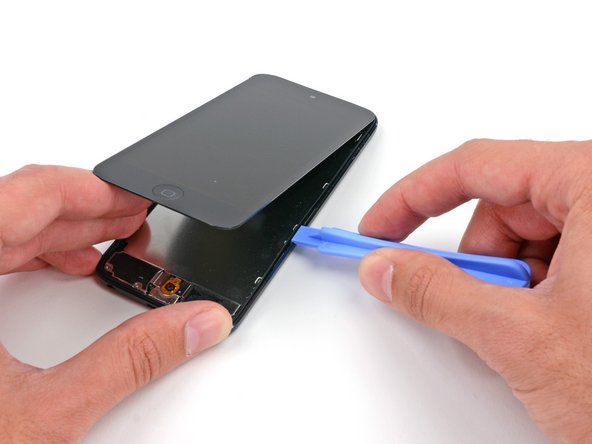
  • Slide the tool down this crack, loosening the frame from the case.

Dans les étapes suivantes, vous relâchez et dégagez le cadre en plastique qui entoure l'écran. Il est fixé à la coque arrière avec plusieurs clips.

En commençant en haut à droite de l'appareil, insérez un outil d'ouverture en plastique dans l'espace entre le cadre en plastique et la coque arrière en aluminium.

Faites glisser l'outil dans cette fissure pour séparer le cadre et la coque.

Je bijdragen zijn gelicentieerd onder de open source Creative Commons-licentie.