Inleiding
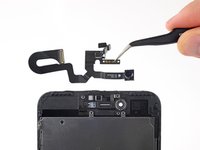
Use this guide to replace a faulty front camera on your iPhone 7 Plus. This camera is part of a larger assembly containing a microphone and proximity/ambient light sensors, all of which is replaced as a single unit.
Wat je nodig hebt
-
-
Power off your iPhone before beginning disassembly.
-
Remove the two 3.4 mm pentalobe screws at the bottom edge of the iPhone.
-
-
-
Measure 3 mm from the tip and mark the opening pick with a permanent marker.
-
-
Gereedschap gebruikt in deze stap:Clampy - Anti-Clamp$24.95
-
Pull the blue handle backwards to unlock the Anti-Clamp's arms.
-
Slide the arms over either the left or right edge of your iPhone.
-
Position the suction cups near the bottom edge of the iPhone just above the home button—one on the front, and one on the back.
-
Squeeze the cups together to apply suction to the desired area.
-
-
-
Heat an iOpener and thread it through the arms of the Anti-Clamp.
-
Fold the iOpener so it lays on the bottom edge of the iPhone.
-
Wait one minute to give the adhesive a chance to release and present an opening gap.
-
Insert an opening pick into the gap.
-
Skip the next three steps.
-
-
-
Heating the lower edge of the iPhone will help soften the adhesive securing the display, making it easier to open.
-
Use a hairdryer or prepare an iOpener and apply it to the lower edge of the phone for about 90 seconds in order to soften up the adhesive underneath.
-
-
-
Apply a suction cup to the lower half of the front panel, just above the home button.
-
-
-
-
Remove the following four tri-point Y000 screws securing the lower display cable bracket to the logic board:
-
Three 1.2 mm screws
-
One 2.6 mm screw
-
-
-
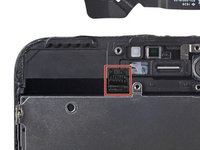
Use the flat end of a spudger or a fingernail to disconnect the two lower display connectors by prying them straight up from their sockets on the logic board.
-
-
-
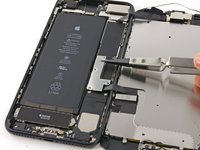
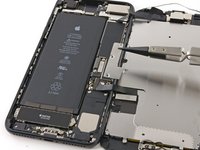
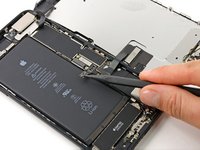
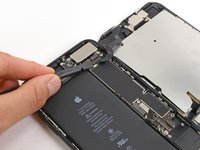
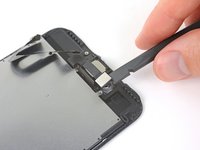
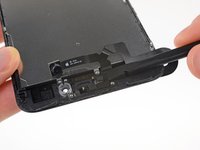
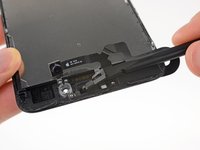
Remove the five Phillips screws securing the earpiece speaker bracket:
-
Two 1.8 mm screws
-
One 2.3 mm screw
-
One 2.4 mm screw
-
One 2.8 mm screw
-
-
-
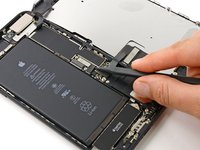
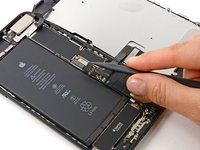
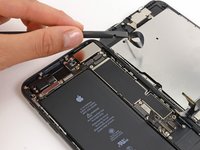
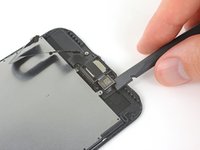
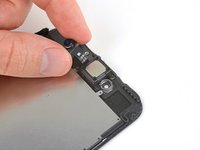
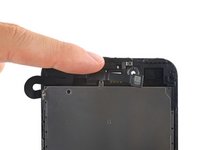
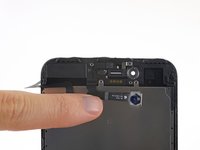
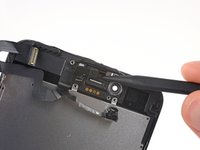
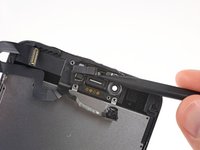
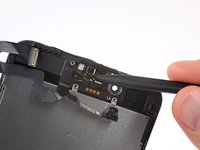
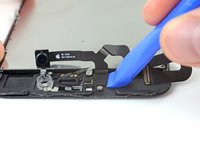
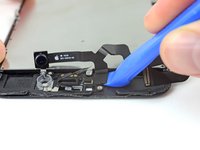
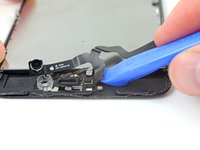
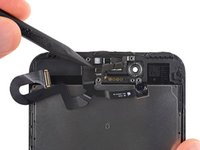
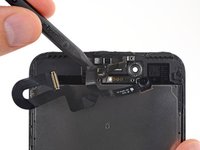
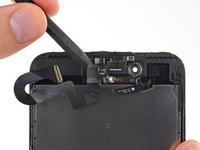
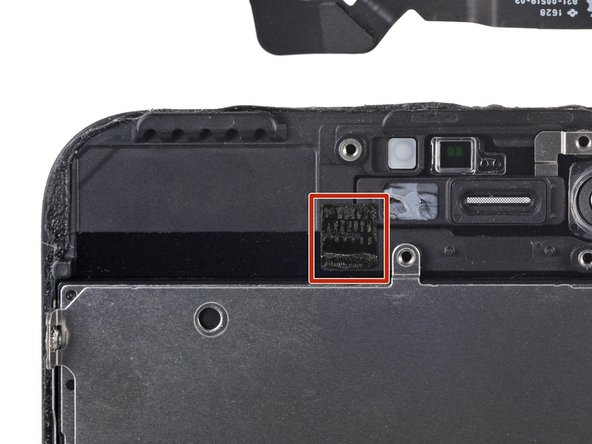
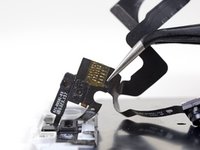
Gently fold the camera and attached ribbon cable toward the bottom of the iPhone to allow access to the components underneath.
-


To reassemble your device, follow these instructions in reverse order.
To reassemble your device, follow these instructions in reverse order.
Annuleren: ik heb deze handleiding niet afgemaakt.
117 andere personen hebben deze handleiding voltooid.


18 opmerkingen
Do I have to do this if i buy a new phone screen or do they usually come with one?
If this Speaker is Not Working or it has any Noise Issues, Apple will Replace whole Front Display Section. Under their Policy, they won’t repair it. Neither Fully Replace your iPhone, only Front Panel Replacement.
macktm -
Does 7 and 7plus has the same camera/sensor strip?
No, it’s a bit different.
The spacing between the metal dots for the earspeaker isn’t there on the 7+ model, but is on the 7.
Anybody got a solution to earpiece not working after ribbon swap?
Seems to be mega common with this repair. I’ve heard a few ideas but nothing concrete. More advice about this issue would be greatly appreciated by me and a bunch of people.