Ga door naar hoofdinhoud

Sony TCM-450 Speaker Replacement

Wat je nodig hebt

  1. Sony TCM-450 Speaker Replacement, Back Cabinet: stap 1, afbeelding 1 van 3 Sony TCM-450 Speaker Replacement, Back Cabinet: stap 1, afbeelding 2 van 3 Sony TCM-450 Speaker Replacement, Back Cabinet: stap 1, afbeelding 3 van 3
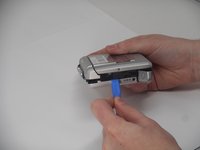
    • Remove the two 3.5 mm Phillips #00 screws from the bottom of the device.

    • Caution: Ensure the device is off and unplugged if using the power adapter, as it is unsafe to remove the cabinet while on and will cause damage and potential harm to the user.

  2. Sony TCM-450 Speaker Replacement: stap 2, afbeelding 1 van 3 Sony TCM-450 Speaker Replacement: stap 2, afbeelding 2 van 3 Sony TCM-450 Speaker Replacement: stap 2, afbeelding 3 van 3
    • Open the lid, and carefully remove the two 9.7 mm Phillips #0 screws from the inside of the front cabinet.

    • Exercise caution while removing these screws, as damage to essential parts may occur and other minor damages may occur if the screwdriver slips.

  3. Sony TCM-450 Speaker Replacement: stap 3, afbeelding 1 van 3 Sony TCM-450 Speaker Replacement: stap 3, afbeelding 2 van 3 Sony TCM-450 Speaker Replacement: stap 3, afbeelding 3 van 3
    • Open the battery cover, and gently remove the back cabinet with the iFixit Opening tool.

    • The device will make a popping sound when removing the back cabinet. The back cabinet may feel as if it is not loose. However, as long as the back cabinet looks disconnected from the lid, it is safe to remove.

  4. Sony TCM-450 Speaker Replacement, Speaker: stap 4, afbeelding 1 van 1
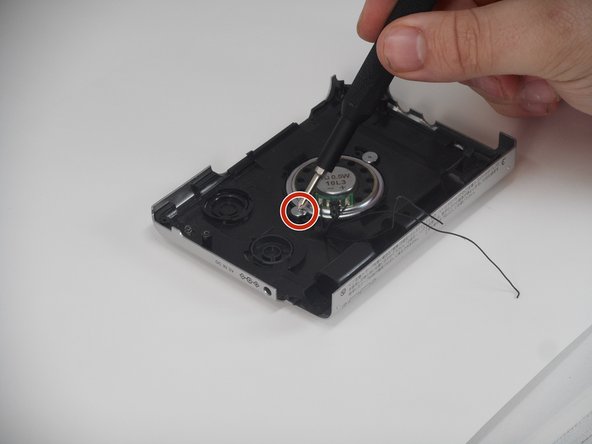
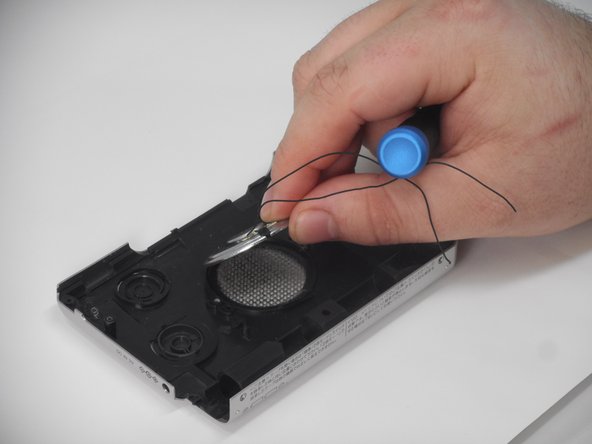
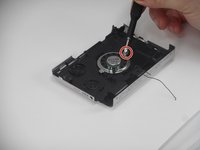
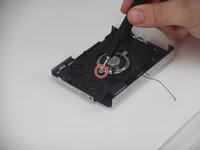
    • Carefully desolder the two connections for the speaker and then carefully remove the wires.

    • If you are unfamiliar with desoldering and soldering, please consult the iFixit Soldering Guide.

  5. Sony TCM-450 Speaker Replacement: stap 5, afbeelding 1 van 3 Sony TCM-450 Speaker Replacement: stap 5, afbeelding 2 van 3 Sony TCM-450 Speaker Replacement: stap 5, afbeelding 3 van 3
    • Remove the two 3.1 mm Phillips #00 screws.

    • Gently lift and remove the speaker from its slot.

Conclusie

To reassemble your device, follow the above steps in reverse order.
Take your e-waste to an R2 or e-Stewards certified recycler.
Repair didn’t go as planned? Try some basic troubleshooting or ask our Answers community for help.

Callie Ann Brigance

Lid sinds: 09/25/24

453 Reputatie

4 handleidingen geschreven

0 opmerkingen

Voeg opmerking toe

Weergavestatistieken:

Afgelopen 24 uren: 0

Afgelopen 7 dagen: 2

Afgelopen 30 dagen: 4

Altijd: 54