
Repairing Sony SL-HF750 Open/Eject Mechinism

Inleiding
Ga naar stap 1This guide will show you how to fix intermittent or non-working open and eject functions on the venerable Sony Sl-HF750 betamax player due to a cracked gear on the shaft of the transport motor.
Wat je nodig hebt
Gereedschap


Toon meer…
-
-
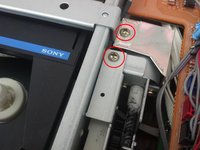
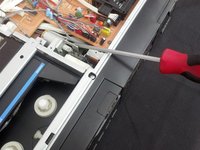
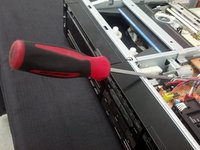
It's very simple to open up. Just remove the 2 philips #2 screws on each side of the unit and remove the top metal case.
-
-
-
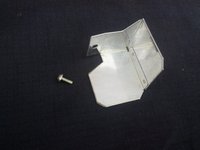
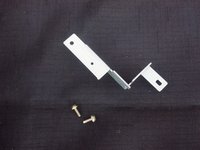
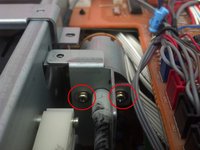
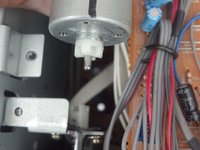
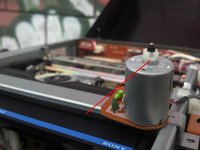
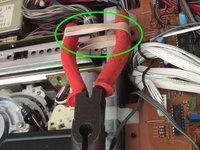
Remove the bracket screws and then the bracket. Please note that the whole motor assembly is loose now. If you do it right, it will stay in one place, but for safeties sake pay close attention to how everything is lined up, as if you pull the gears outta sync, you will have to realign them, which is not too hard do, but be aware!
-
-
-
-
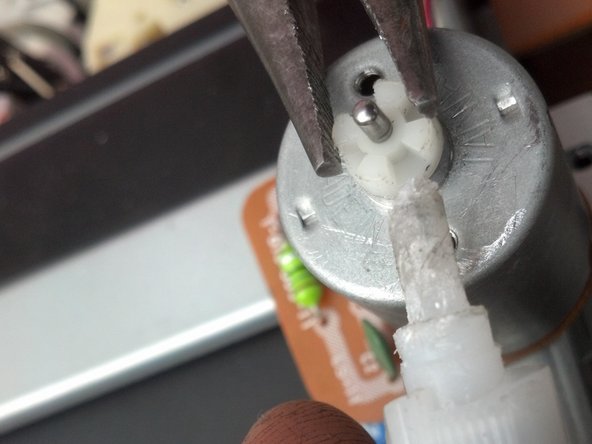
First, its probably a good idea to clean the crack first with some alcohol, just in case there is any lubricant leftover on there as it will prevent the glue from adhering well.
-
Next get a pair of needle nose pliers(preferably ones with grooved "teeth") Then wrap a rubber band around them so they hold tension. The tension should be something you can fight against, but not so tight it may crack the gear.
-
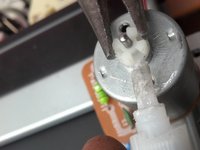
Fill in the crack with a little bit of super glue. Then use the pliers to push the crack in the gear back together slightly.
-
Necessary NOTE: Use a thicker type of super glue. I recommend Loctite gel type. If its too thin it will get in the motor bearing, then you are SOL. Also a little bit goes along way. I used a dental pick to work it into the crack.
-
I also wanna reiterate NOT to get glue on the Bottom of the gear or onto the main part of the motor. IF you do, immediately remove it before it dries. There is super glue remover available, but I find if a little gets in the way, just turn the shaft to break it free and clean it with an Exacto knife.
-
-
-
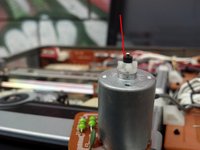
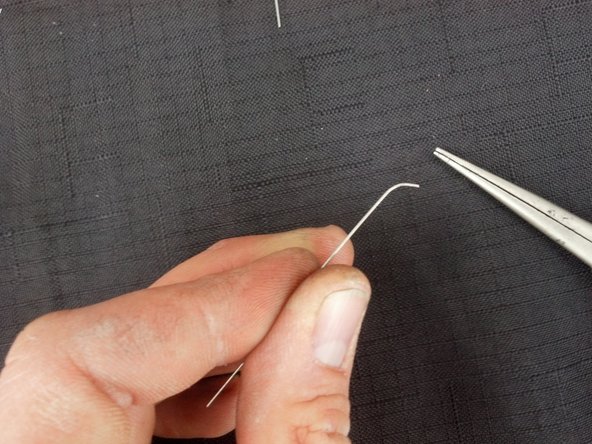
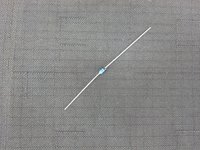
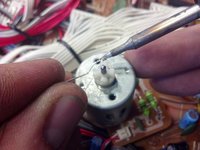
Now heat the component lead. Then line it up so it is perpendicular to the crack and equally spaced on both sides of the crack.
-
Melt it evenly and gently into the gear across the crack. Try to only press it in 1-2mm, so most of it is beyond the edge of the gear, but don't push it in too far that it touches the shaft.
-
Let it cool for 3-5 seconds and then move. Moving beforehand may weaken the bond between the metal and plastic.
-
Necessary note: This is an art and may take time to get right, I highly suggest practicing with other plastic pieces you care less about first. Plan your attempts first. Its not quite a do or die thing, but you will start to render the plastic useless if you do not properly insert the lead.
-
-
-
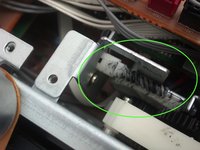
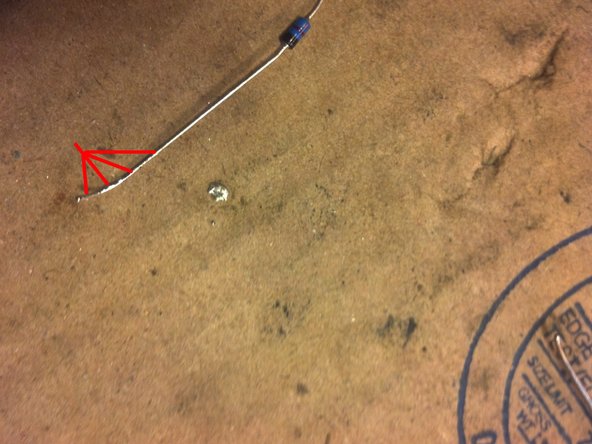
Now file the nubs only going in the direction the leads are sticking out. In the end you should shape it similar to the roundness of the gear.
-
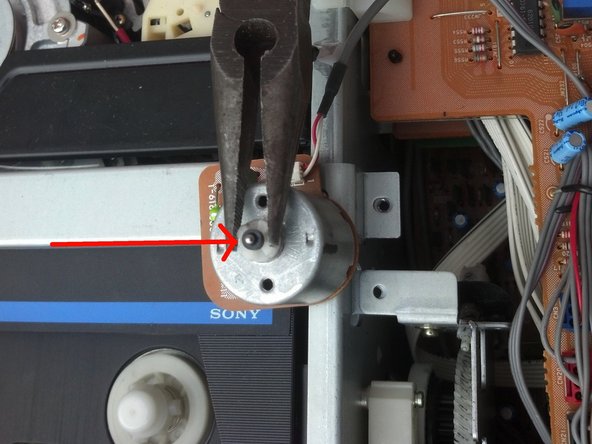
The Blue Arrows point to the ends of the leads that need to be filed.
-
The Green Arrow Points to the center of the crack.
-
The Red Arrows indicates the direction you should go to prevent pushing the lead you placed in there out. Please note the direction is the opposite on the side not indicated in this picture.
-


To reassemble your device, follow these instructions in reverse order.
To reassemble your device, follow these instructions in reverse order.
Annuleren: ik heb deze handleiding niet afgemaakt.
6 andere personen hebben deze handleiding voltooid.
