Inleiding
This guide outlines how to remove the lithium-ion battery in the Razer Blade Stealth 2017. Battery replacement may be necessary if the battery is not charging, not powering the computer, swollen, leaking, or not lasting as long as you would like. Some tools are required for this replacement.
Wat je nodig hebt
-
-
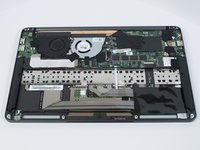
Use a Torx T5 screwdriver to remove the eight, 3mm screws on the bottom cover of the laptop.
-
-
-
-
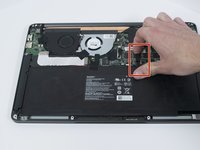
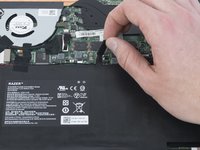
Use a Phillips #00 screwdriver to remove the six, 5mm screws securing the battery.
Do you have to remove the battery before swapping the wifi card? Is disconnecting the power not enough?
Hi Charles,
If you’re swapping the Wi-Fi card, you don’t need to remove the battery. Disconnecting it will suffice.
Are two of these screws shorter than the other four? And if so, where do the two shorter screws go?
Looks like the two shorter screws go where the trackpad is!
-
-
-
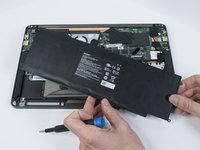
Use the plastic spudger to pry out the battery.
-
To reassemble your device, follow these instructions in reverse order.
For optimal performance, after completing this guide, calibrate your newly installed battery.
Take your e-waste to an R2 or e-Stewards certified recycler.
Repair didn’t go as planned? Try some basic troubleshooting, or ask our Answers community for help.
Annuleren: ik heb deze handleiding niet afgemaakt.
16 andere personen hebben deze handleiding voltooid.
2 opmerkingen
Where did you get the replacement battery? The replacement we purchased for two Razer units about a year ago worked fine, but a replacement battery purchased online about a month and a half ago from Amazon is showing the same issue. Essentially, it's not detected by the operating system at all, or only very rarely. Looks like a bad batch of batteries from wherever these sellers are getting their supply.


