Inleiding
Use this guide to replace a dead or faulty battery in your Moto Z Force Droid.
Before you begin, download the Rescue and Smart Assistant app to backup your device and diagnose whether your problem is software or hardware related.
For your safety, discharge your existing battery below 25% before disassembling your phone. This reduces the risk of a dangerous thermal event if the battery is accidentally damaged during the repair.
If your battery is swollen, take appropriate precautions.
Wat je nodig hebt
-
-
Apply a heated iOpener to the lower glass panel on the back of the phone for five minutes.
-
-
-
-
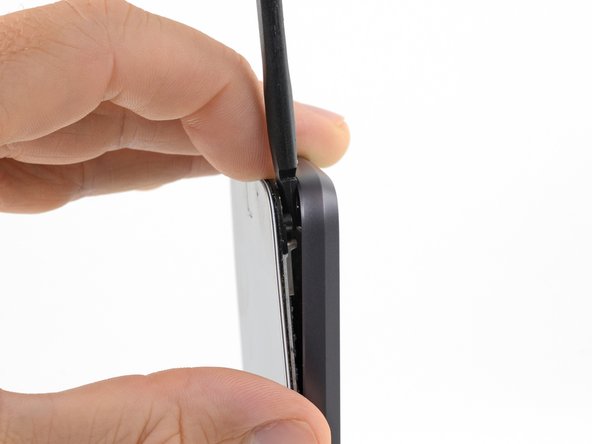
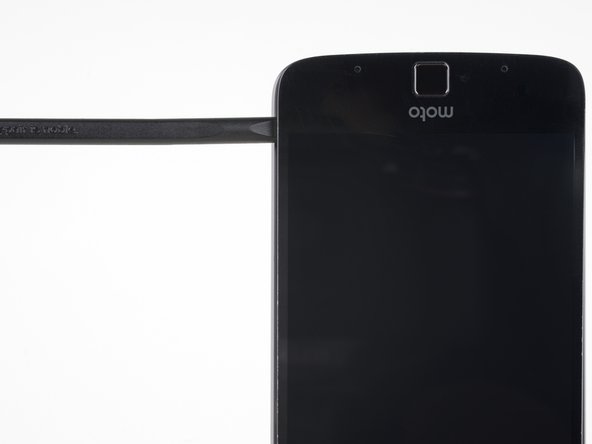
Slide the spudger along the side of the phone until you get to the clip securing the display to the rear case.
-
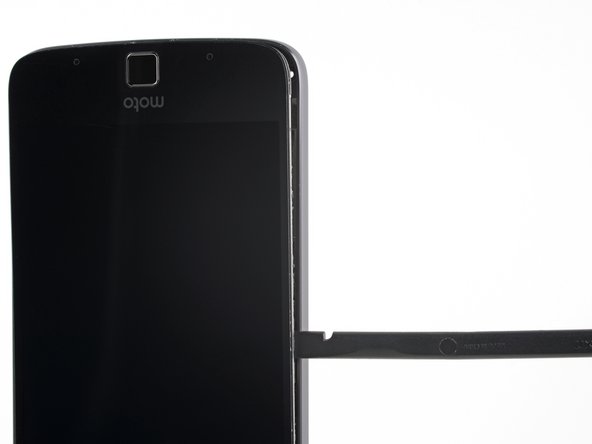
With the spudger right next to the clip, carefully twist the spudger to pry the display away from the rear case and release the clip.
-
-
-
Tilt the top right corner of the display down to disengage one of the tabs that secure the top of the display.
-
Tilt the other corner down next, to disengage the other tab.
-
-
-
Lift the right edge of the display to hinge the phone open like a book, no more than 45°.
-
Gently lift the display enough to clear the clip from the edge of the rear case, maintaining the 45º angle.
-
Rest the display on the table behind the phone and open to 90º to allow access to the display cable.
-
-
Gereedschap gebruikt in deze stap:Tweezers$4.99
-
Use tweezers to peel the black tape on the top of the battery up from the motherboard EMI shielding.
-
-
-
Use tweezers to gently peel the battery pull tab up enough to grab.
-
Use your fingers to grip the battery pull tab and lift the battery up from the phone.
-
If the pull tab breaks, use the flat end of a spudger or an old credit card to pry up carefully on the edges of the battery until it comes loose.
-


To reassemble your device, follow the above steps in reverse order.
After completing this guide, calibrate your newly-installed battery.
Take your e-waste to an R2 or e-Stewards certified recycler.
Repair didn’t go as planned? Check out our Answers community for troubleshooting help.
To reassemble your device, follow the above steps in reverse order.
After completing this guide, calibrate your newly-installed battery.
Take your e-waste to an R2 or e-Stewards certified recycler.
Repair didn’t go as planned? Check out our Answers community for troubleshooting help.
Annuleren: ik heb deze handleiding niet afgemaakt.
40 andere personen hebben deze handleiding voltooid.

14 opmerkingen
You mention discharging the battery below 25%, but my battery is at the point where it shuts off within 30 seconds if it isn’t plugged into a power source. The charge percentage on my phone always hovers just below 100% if plugged in, but if I unplug it and try to turn it on several times without an adequate power source that percentage can vary wildly. Should I just assume at this point that if it isn’t plugged in and has shut off on its own, it’s discharged?
Hi Greg, if the phone shuts off on its own, it’s usually safe to assume the battery is drained below 25%. It sounds like there’s a problem with the control board on your battery causing a faulty capacity reading. As always, be careful not to bend or puncture the battery. Discharging the battery is a precaution to prevent a thermal event if the battery is punctured, but the best safety measure you can take is to just handle the battery carefully. Good luck on your repair!
Only issue I ran into, and no fault of the author, was the little glass top panel. Cracked it to oblivion with one slip. But ebay has replacements for $9 for the set, so can’t complain. The rest of the description was FANTASTIC and got me through the installation with no problem. Took and hour total. Thank you!
The user comments greatly expanded the already decent instructions; READ THEM! IMHO, just buy the back glass beforehand. Once I broke the bottom one and ordered replacements, the job moved right along. I took about 1:45, most of which I spent heating those two stupid little pieces of glass.