
MacBook Air 11" Mid 2012 I/O Board Cable Replacement
Inleiding
Ga naar stap 1Use this guide to replace a damaged I/O board ribbon cable.
Wat je nodig hebt
Onderdelen

Gereedschap


Toon meer…
-
Gereedschap gebruikt in deze stap:P5 Pentalobe Screwdriver Retina MacBook Pro and Air$5.99
-
Remove the following ten screws:
-
Two 8 mm 5-point Pentalobe screws
-
Eight 2.5 mm 5-point Pentalobe screws
-
-
-
-
Use the flat end of a spudger to pry both short sides of the battery connector upward to disconnect it from its socket on the logic board.
-
Bend the battery cable slightly away from the logic board so the connector will not accidentally contact its socket.
-
-
-
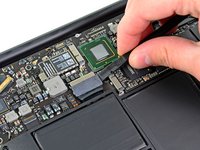
Use the flat end of a spudger to pry the I/O board cable connector upward out of its socket on the I/O board.
-
-
-
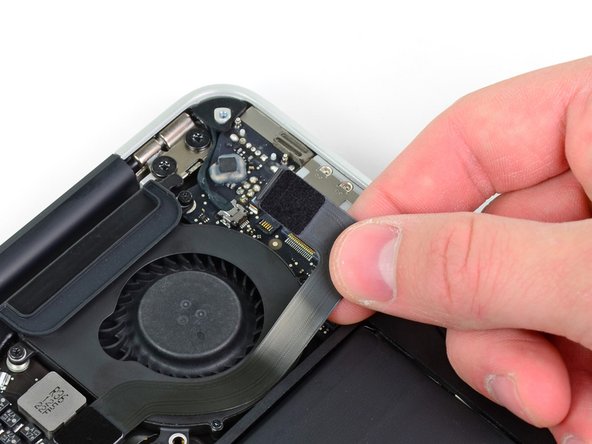
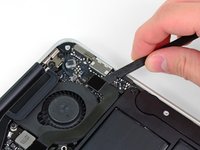
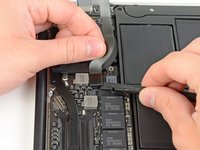
The following connector has an especially deep socket. Use care when disconnecting it.
-
While gently pulling the I/O board cable upward near its connection to the logic board, use the tip of a spudger to pry upward on alternating sides of the connector to help "walk" it out of its socket.
-
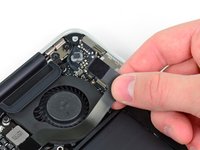
Remove the I/O board cable.
-


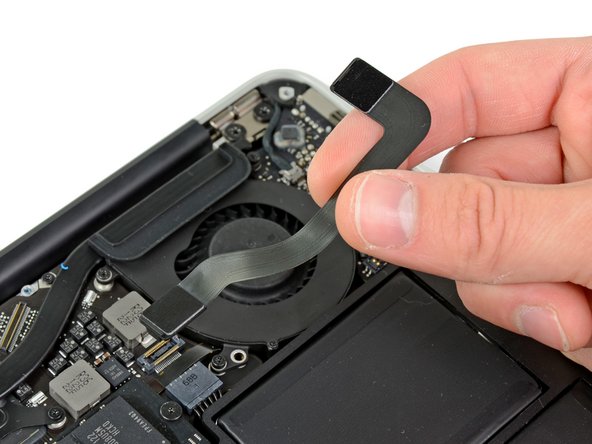

To reassemble your device, follow these instructions in reverse order.
To reassemble your device, follow these instructions in reverse order.
Annuleren: ik heb deze handleiding niet afgemaakt.
3 andere personen hebben deze handleiding voltooid.

Één opmerking
You only show the basic part of the removal. You do not show how to actually remove that board. You should have shown more steps.