Inleiding
Gebruik deze handleiding om de batterij van je Logitech MX Master-muis te vervangen.
Lithium-ionbatterijen hebben een beperkte levensduur. Als je muis snel uitvalt, is het tijd om de batterij te vervangen.
Zorg dat je je batterij, voor je eigen veiligheid, tot onder de 25% ontlaadt voordat je aan deze reparatie begint. Hoewel de MX Master-muis een relatief kleine batterij bevat, vormt iedere geladen batterij een potentieel veiligheidsrisico als deze per ongeluk beschadigd raakt.
Wat je nodig hebt
-
-
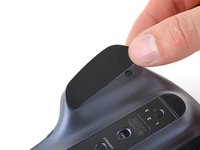
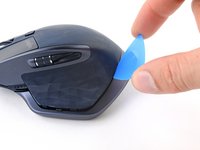
Schakel de muis uit, koppel alle kabels los en draai de muis om zodat de voetjes naar boven wijzen.
-
Leg een verwarmde iOpener gedurende een minuut op voetjes aan de linker- en rechterzijkant van de muis.
-
-
-
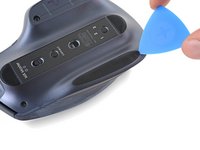
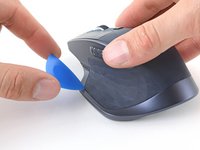
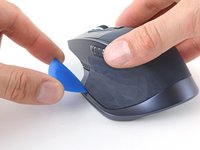
Steek een openingsplectrum tussen het linkervoetje en de behuizing.
-
Schuif je plectrum onder het voetje om deze los te maken tot je het voetje met je vingers vast kunt pakken.
-
-
-
Trek het linkervoetje van de muis af.
-
-
-
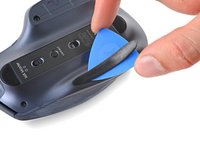
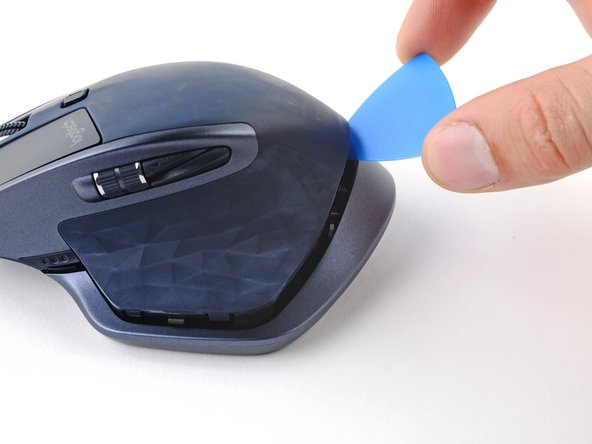
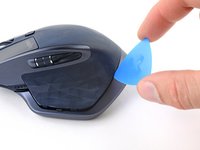
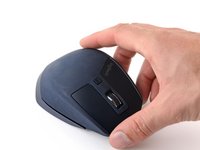
Steek je openingsplectrum onder het rechtervoetje van de muis om deze los te maken van de behuizing.
-
Verwijder het voetje aan de rechterkant.
-
-
Gereedschap gebruikt in deze stap:Tweezers$4.99
-
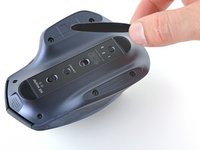
Gebruik je een pincet of een spudger om eerst alle lijmresten te verwijderen.
-
Maak je de onderkant van de muis schoon met isopropylalcohol en een pluisvrije doek. Laat vervolgens alles goed drogen alvorens je verdergaat.
-
Verwijder je de beschermfolie van de nieuwe voetjes en plaats je ze op de juiste plek.
-
-
-
Gebruik een kruiskopschroevendraaier om de vier 6 mm lange schroeven, waarmee de onderste helft van de onderste behuizing bevestigd is, te verwijderen.
-
Gebruik een T5 Torx-schroevendraaier om de twee 4.3 mm lange schroeven, waarmee de bovenste helft van de behuizing bevestigd is, te verwijderen.
-
-
-
-
Steek je plectrum in de naad tussen de ruimte waar normaal gesproken je duim rust en de onderste behuizing.
-
Wrik omhoog met je plectrum en trek de bovenste behuizing van het onderste deel weg met je andere hand tot je ziet dat de klem van de gebarenknop los is.
-
-
-
Steek je openingsplectrum tussen de achterkant van de bovenste behuizing en de onderste behuizing.
-
Schuif je plectrum naar rechts, weg van de plek waar je duim normaal rust en wrik je plectrum omhoog om de twee klemmen die de achterkant van de bovenste behuizing vasthouden los te maken.
-
-
-
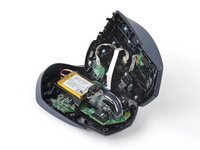
Til de bovenste behuizing van de onderste behuizing weg en leg de bovenkant aan de kant van waar je je duim rust.
-
-
-
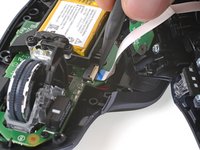
Gebruik de punt van je spudger om de witte vergrendeling op de ZIF-aansluiting van de interconnectkabel omhoog te duwen.
-
Trek de kabel in een rechte beweging uit het contact weg.
-
-
-
Scheid de bovenste behuizing van de onderste behuizing.
-
-
-
Gebruik een kruiskopschroevendraaier om de drie 6 mm lange schroeven, die de batterijbehuizing in de muis bevestigen, te verwijderen.
-
-
-
Til de batterijbehuizing omhoog en leg deze over de achterkant van de onderste behuizing heen.
-
-
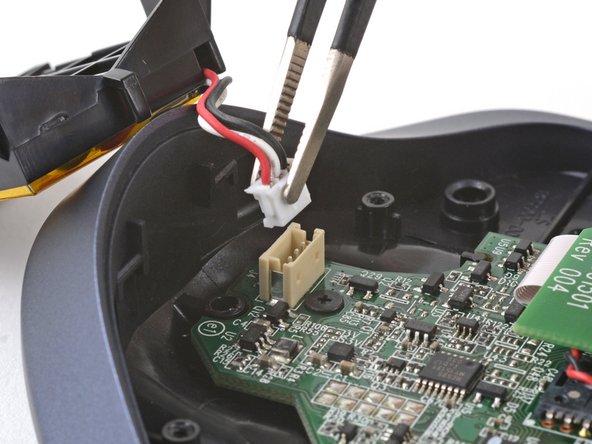
Gereedschap gebruikt in deze stap:Tweezers$4.99
-
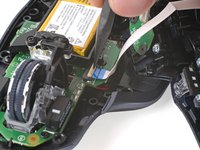
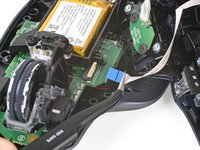
Gebruik een pincet of je vingers om de bovenkant van de batterijaansluiting vast te pakken.
-
Verwijder de batterijaansluiting door de connector telkens aan een kant uit het contact weg te trekken. Zo 'loop' je de connector als het ware uit het contact.
-
-
-
Draai de batterijbehuizing om zodat de batterij naar beneden gericht is.
-
Leg een verwarmde iOpener gedurende twee minuten op de batterijbehuizing om de lijm onder de batterij te verzwakken.
-
-
-
Steek je plectrum tussen de lange zijde van de batterij en de behuizing, tegenover de kabel.
-
Schuif je plectrum onder de batterij om de lijm onder de batterij door te snijden.
-
Trek de batterij omhoog om deze van de lijm los te trekken.
-
-
Gereedschap gebruikt in deze stap:Tesa 61395 Tape$5.99
-
Verwijder de batterij.
-
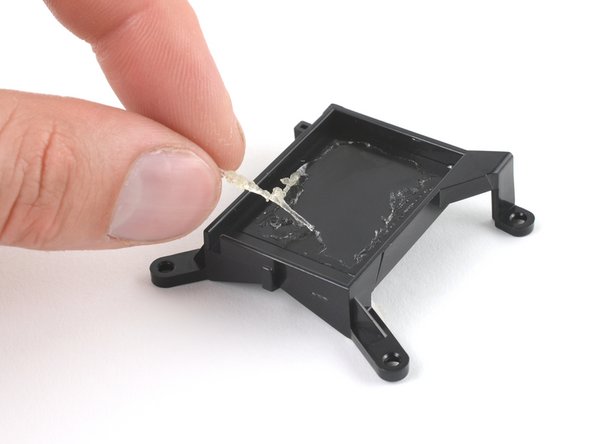
Gebruik je een spudger of je vingers om eerst de lijmresten uit de behuizing te verwijderen. De behuizing moet volledig schoon zijn.
-
Als je nieuwe batterij niet met vooraf bevestige kleefstrips wordt geleverd, plaats je een aantal stukken dubbelzijdige tape in de batterijbehuizing.
-
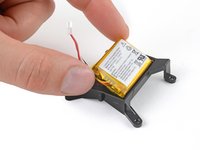
Plaats de nieuwe batterij zo dat de kabels door de uitsnede in de hoek van de behuizing passen. Druk de batterij vervolgens stevig op z'n plek.
-


Vergelijk je nieuwe onderdeel met het origineel om te zien of je nog meer onderdelen mee over moet zetten om het nieuwe onderdeel te completeren. Kijk ook of je de beschermfolie moet verwijderen alvorens je je nieuwe onderdeel plaatst.
Volg bovenstaande instructies in omgekeerde volgorde om je toestel weer in elkaar te zetten.
Kalibreer je nieuwe batterij na het voltooien van deze handleiding. Zo stel je je batterij in staat optimaal te functioneren.
Breng je e-afval naar een door R2 of e-Stewards gecertificeerd recyclepunt.
Ging je reparatie niet helemaal volgens plan? Bezoek dan onze algemene probleemoplossingspagina of stel je vraag op ons antwoordenforum voor hulp bij het oplossen van je probleem.
Annuleren: ik heb deze handleiding niet afgemaakt.
17 andere personen hebben deze handleiding voltooid.
Met dank aan deze vertalers:
100%

Thomas Keulemans helpt ons de wereld te repareren! Doe je mee?
Begin met vertalen ›

Team

5Gids Commentaar
Thank you so much for this guide! My MX Master’s battery life has been slowly dwindling. I made the mistake of not verifying my original battery’s dimensions, roughly 1” x 1.25”, about a third of the size of the replacement I ordered. Was still able to swap batteries (from 500mah to 1150mah) by swapping connectors and removing the battery holder compartment. The new battery’s size is sufficient to avoid movement, but used a drop of adhesive just in case.
Does anyone know where to find the correct size replacement battery? Thanks
I used a larger Lipo battery of the same voltage, and soldered the cables from the original... upgrade!
The battery in my MX Master P/N 810-004457 is larger than the one in this guide and provided in the kit. The connector is also different otherwise it wouldn't be a big deal. Looks like I will be soldering the new smaller battery in...
Please where did you get the smaller battery from? I also have a MX Master P/N 810-004457