Ga door naar hoofdinhoud
Inner Frame

Inner Frame

Joe Kendall

Joe Kendall en 2 andere bijdragers

Voor het laatst geüpdatet op September 10, 2019

5 minuten
Gemiddeld
Alleen vereisten
Deze handleiding is alleen bedoeld als vereiste voor andere handleidingen. Het staat niet op zichzelf.

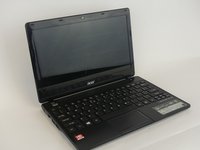
In order to access the core components of the Acer Aspire One 725-0845, you will need to remove the inner frame, detailed here.

Wat je nodig hebt

Gereedschap

  • Spudger
    Spudger
  • iFixit Opening Tool
    iFixit Opening Tool

Toon meer…

  1. Inner Frame, Battery: stap 1, afbeelding 1 van 1
    • Ensure the device is powered off by holding down the power button on the top left-hand side.

    • On a flat, level surface, flip the device over so that the back-plate is accessible.

  2. Inner Frame: stap 2, afbeelding 1 van 3 Inner Frame: stap 2, afbeelding 2 van 3 Inner Frame: stap 2, afbeelding 3 van 3
    • Using a spudger or any fine-pointed tool, push the release slide away from the center of the device.

    • Simultaneously pull the battery out and away from the device.

  3. Inner Frame, Back Plate: stap 3, afbeelding 1 van 3 Inner Frame, Back Plate: stap 3, afbeelding 2 van 3 Inner Frame, Back Plate: stap 3, afbeelding 3 van 3
    • Using the JIS J1 Screwdriver Bit and Driver, remove the center screw (7.0 mm) from the back-plate.

    • Using your hands, slide the back-plate away from the center of the device and remove.

  4. Inner Frame, Hard Drive: stap 4, afbeelding 1 van 2 Inner Frame, Hard Drive: stap 4, afbeelding 2 van 2
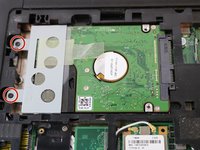
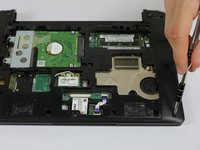
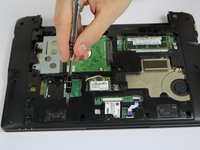
    • Using the JIS J1 Screwdriver Bit and Driver, remove the two screws (9.0 mm) from the outward side of the hard drive.

  5. Inner Frame: stap 5, afbeelding 1 van 1
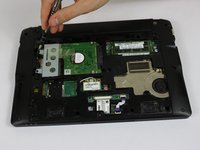
    • Using your hand, slide the hard drive away from the center of the device until it disconnects from the motherboard.

    • Carefully lift the outward side of the hard drive and place the drive on a clean, non-magnetic surface.

  6. Inner Frame, Inner Frame: stap 6, afbeelding 1 van 3 Inner Frame, Inner Frame: stap 6, afbeelding 2 van 3 Inner Frame, Inner Frame: stap 6, afbeelding 3 van 3
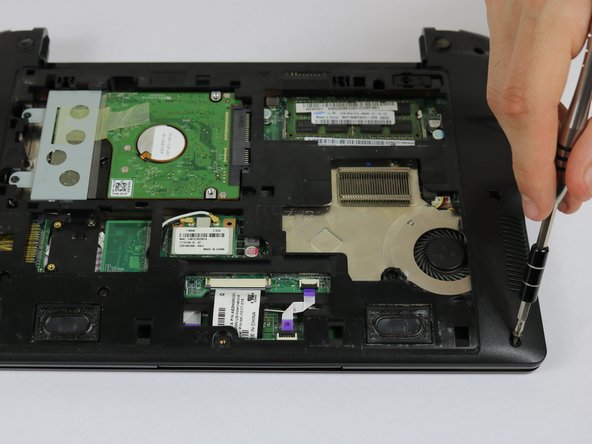
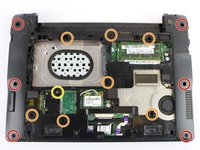
    • Using the JIS J1 Screwdriver Bit and Driver, remove the six outside screws (7.0 mm).

    • Using the JIS J1 Screwdriver Bit and Driver, remove the seven inside screws (8.0 mm).

    • Using the JIS J1 Screwdriver Bit and Driver, remove the one inside screw (3.0 mm).

  7. Inner Frame: stap 7, afbeelding 1 van 3 Inner Frame: stap 7, afbeelding 2 van 3 Inner Frame: stap 7, afbeelding 3 van 3
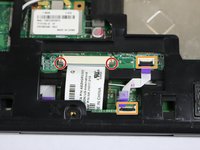
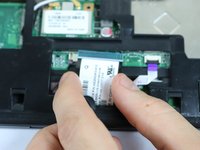
    • Using your hands, slide the brown release tabs for the keyboard connection away from the center of the device.

    • Gently remove the keyboard connection by pulling away from the center of the device.

    • Lift the black locks for the touchpad connections into the upward position.

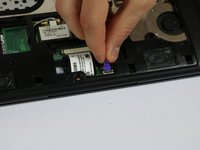
    • Gently remove the touchpad connections by pulling the purple tabs away from the locks.

  8. Inner Frame: stap 8, afbeelding 1 van 3 Inner Frame: stap 8, afbeelding 2 van 3 Inner Frame: stap 8, afbeelding 3 van 3
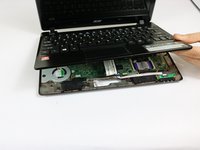
    • Flip the device over and open it.

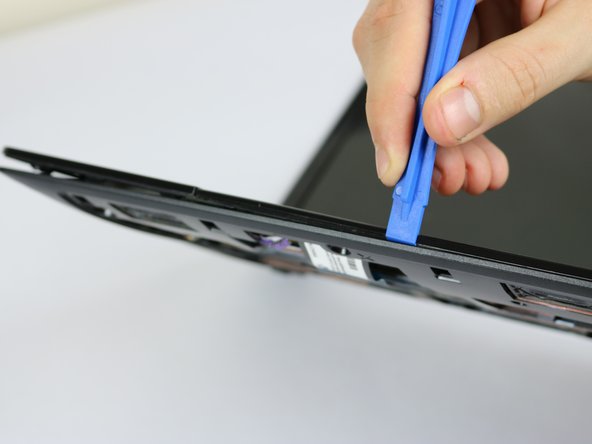
    • Using the plastic opening tools, remove the cover/palm rest from the frame of the device.

Conclusie

To reassemble your device, follow these instructions in reverse order.

Één andere persoon heeft deze handleiding voltooid.

Joe Kendall

Lid sinds: 02/15/17

346 Reputatie

3 handleidingen geschreven

Team

USF Tampa, Team 8-3, Eyestone Spring 2017 Lid van USF Tampa, Team 8-3, Eyestone Spring 2017

USFT-EYESTONE-S17S8G3

4 Leden

16 handleidingen geschreven

0Gids Commentaar

Voeg opmerking toe

Weergavestatistieken:

Afgelopen 24 uren: 0

Afgelopen 7 dagen: 0

Afgelopen 30 dagen: 15

Altijd: 56