
How To Replace the Battery on a Conair Trimmer (GMT15NCS)
Inleiding
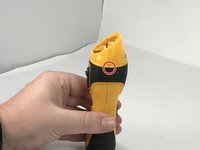
Ga naar stap 1The battery in the Conair Trimmer (GMT15NCS) can stop working or not hold a charge as well. This guide will show how to replace this battery to give the trimmer longer life.
Wat je nodig hebt
Onderdelen
Gereedschap


Toon meer…
-
-
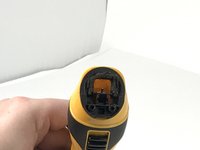
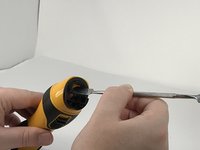
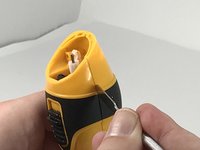
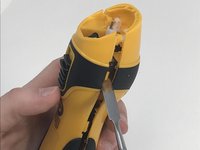
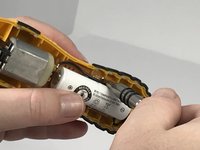
Using a Phillips #0 screwdriver, remove the two screws holding the trimmer blade in place.
-
-


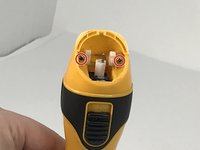


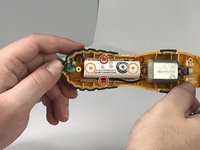


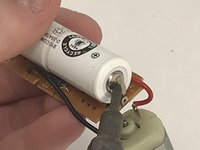
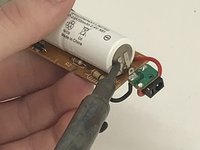
To reassemble your device, solder the new 2.4 V battery into the setup, and follow the instructions in reverse.
To reassemble your device, solder the new 2.4 V battery into the setup, and follow the instructions in reverse.
Annuleren: ik heb deze handleiding niet afgemaakt.
2 andere personen hebben deze handleiding voltooid.
Team

University of Memphis, Team S2-G6, Baddour Spring 2019 Lid van University of Memphis, Team S2-G6, Baddour Spring 2019
UM-BADDOUR-S19S2G6
2 Leden
2 handleidingen geschreven