Ga door naar hoofdinhoud
HP Pavilion Notebook 15-ab293cl Hard Drive Replacement

HP Pavilion Notebook 15-ab293cl Hard Drive Replacement

Efren Solis

Efren Solis en 9 andere bijdragers

Voor het laatst geüpdatet op December 14, 2022

15 minuten
Gemiddeld
Heeft betere plaatjes nodig

This step-by-step guide will explain how to open and remove your HP Pavilion Notebook 15-ab293cl hard drive. After removing the hard drive, you can easily replace it.

The hard drive is the device in your computer that stores and retrieves your saved data. If you are running low on space, upgrading your hard drive will give you more space to work. If your hard drive fails, replacing your it will allow you to continue using your computer.

Wat je nodig hebt

Reparatiesets

Deze sets bevatten alle onderdelen en tools om deze handleiding te voltooien.

Onderdelen

Gereedschap

Toon meer…

  1. HP Pavilion Notebook 15-ab293cl Hard Drive Replacement, Hard Drive: stap 1, afbeelding 1 van 2 HP Pavilion Notebook 15-ab293cl Hard Drive Replacement, Hard Drive: stap 1, afbeelding 2 van 2
    • Flip the laptop over so that the battery is facing upward.

  2. HP Pavilion Notebook 15-ab293cl Hard Drive Replacement: stap 2, afbeelding 1 van 3 HP Pavilion Notebook 15-ab293cl Hard Drive Replacement: stap 2, afbeelding 2 van 3 HP Pavilion Notebook 15-ab293cl Hard Drive Replacement: stap 2, afbeelding 3 van 3
    • Slide both tab buttons inward to open the battery cover. Gently push the battery out to remove.

  3. HP Pavilion Notebook 15-ab293cl Hard Drive Replacement: stap 3, afbeelding 1 van 2 HP Pavilion Notebook 15-ab293cl Hard Drive Replacement: stap 3, afbeelding 2 van 2
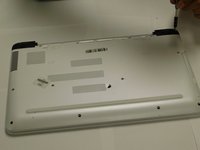
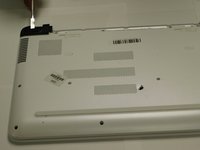
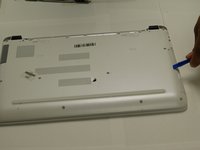
    • Remove the black plastic hinge covers at the top corners of the laptop.

    • Use the Phillips #1 to remove the two 7.5mm screws.

    • Use the opening tool to pry the black covers off of the laptop.

  4. HP Pavilion Notebook 15-ab293cl Hard Drive Replacement: stap 4, afbeelding 1 van 3 HP Pavilion Notebook 15-ab293cl Hard Drive Replacement: stap 4, afbeelding 2 van 3 HP Pavilion Notebook 15-ab293cl Hard Drive Replacement: stap 4, afbeelding 3 van 3
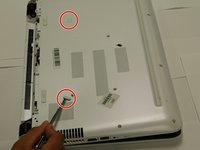
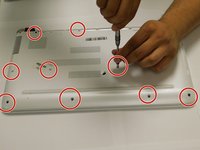
    • Remember to remove the tabs shown in the second picture.

    • Remove all 16 - 7.5mm screws with the Phillips #1 screwdriver.

    • Pry and slide the CD/DVD drive out of the laptop case.

  5. HP Pavilion Notebook 15-ab293cl Hard Drive Replacement: stap 5, afbeelding 1 van 1
    • Unscrew the two 3.5mm silver screws with the Phillips #000 and the Philips # 1.

  6. HP Pavilion Notebook 15-ab293cl Hard Drive Replacement: stap 6, afbeelding 1 van 3 HP Pavilion Notebook 15-ab293cl Hard Drive Replacement: stap 6, afbeelding 2 van 3 HP Pavilion Notebook 15-ab293cl Hard Drive Replacement: stap 6, afbeelding 3 van 3
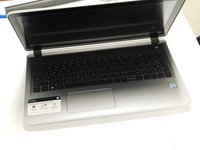
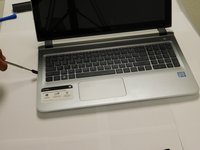
    • Turn the computer so that the screen faces you.

    • Use the pry tool to pry off the edge of the keyboard side of laptop.

  7. HP Pavilion Notebook 15-ab293cl Hard Drive Replacement: stap 7, afbeelding 1 van 3 HP Pavilion Notebook 15-ab293cl Hard Drive Replacement: stap 7, afbeelding 2 van 3 HP Pavilion Notebook 15-ab293cl Hard Drive Replacement: stap 7, afbeelding 3 van 3
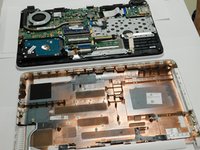
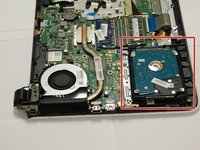
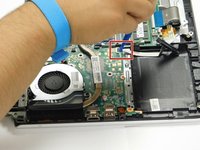
    • The hard drive is located in the bottom corner of the laptop.

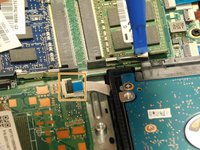
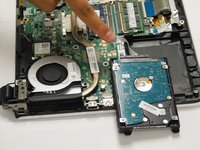
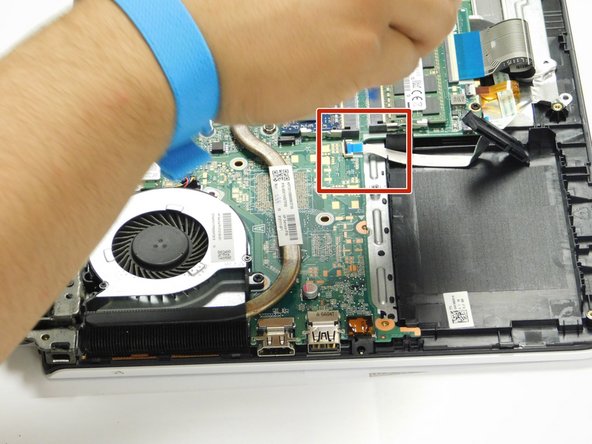
    • Gently lift up the hard drive and pry off the white tab to release the hard drive.

  8. HP Pavilion Notebook 15-ab293cl Hard Drive Replacement: stap 8, afbeelding 1 van 2 HP Pavilion Notebook 15-ab293cl Hard Drive Replacement: stap 8, afbeelding 2 van 2
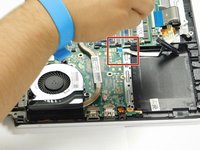
    • Once you release the white tab from the green board, remove the hard drive.

Conclusie

To reassemble your device, follow these instructions in reverse order.

Één andere persoon heeft deze handleiding voltooid.

Efren Solis

Lid sinds: 09/10/18

228 Reputatie

1 Handleiding geschreven

Team

Gateway, Team S1-G2, Luster Fall 2018 Lid van Gateway, Team S1-G2, Luster Fall 2018

GCC-LUSTER-F18S1G2

4 Leden

4 handleidingen geschreven

0Gids Commentaar

Voeg opmerking toe

Weergavestatistieken:

Afgelopen 24 uren: 2

Afgelopen 7 dagen: 23

Afgelopen 30 dagen: 85

Altijd: 2,799