
HP Envy x360 m6-w103dx Hard Drive Replacement

Inleiding
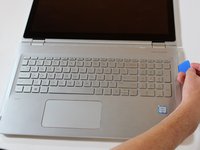
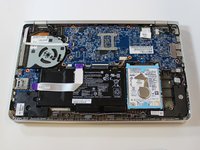
Ga naar stap 1This replacement guide is for the hard drive (HDD) of the HP Envy x360 m6-w103dx. All you need to complete this guide is a plastic opening tool, a #0 Phillips screwdriver, and an anti-static wrist strap.
If you suspect there are issues with the hard drive, please refer to the troubleshooting guides here.
Wear the anti-static wrist strap and attach it to a metal surface to avoid damaging electrical components.
Internal components of the laptop can be hot from use. Be sure to let the laptop cool down before beginning the replacement.
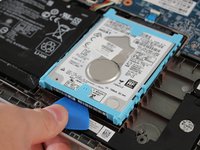
The hard drive can be easily corrupted if placed near magnets or shaken. Handle the hard drive with care.
Wat je nodig hebt
Reparatiesets
Deze sets bevatten alle onderdelen en tools om deze handleiding te voltooien.


Onderdelen


Gereedschap


Toon meer…
-
-
-
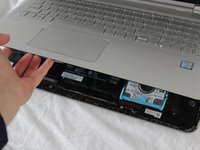
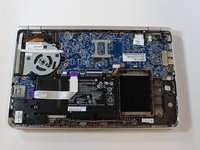
Lift the keyboard until you can see the cables connected to the motherboard.
-
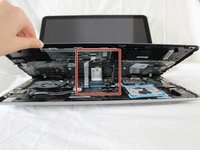
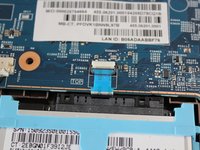
Gently lift the tab on each ZIF connector that connects each cable to the motherboard using a spudger. Once each tab is flipped up, the corresponding ribbon cable will come out easily.
-
Detach the keyboard.
-
-
-
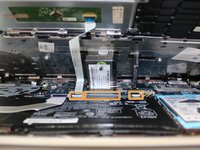
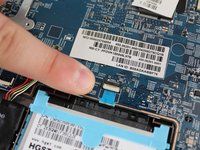
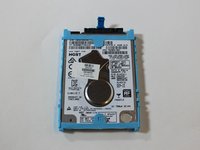
Disconnect the connector by pushing up the white tab directly above the hard drive.
-
Gently lift the connector to disconnect.
-


To reassemble your device, follow these instructions in reverse order.
To reassemble your device, follow these instructions in reverse order.
Annuleren: ik heb deze handleiding niet afgemaakt.
4 andere personen hebben deze handleiding voltooid.

Team

Cal Poly, Team S12-G2, Regan Fall 2019 Lid van Cal Poly, Team S12-G2, Regan Fall 2019
CPSU-REGAN-F19S12G2
4 Leden
23 handleidingen geschreven
2 opmerkingen
Does this laptop have m2 slot? Or sata?
For anyone else wondering: This laptop (m6-w103dx) does not have an m2 slot. It only has a 2.5" SATA bay. I replaced the built-in HDD (Toshiba) with a Crucial MX500 and it works perfectly. Pair this guide with the RAM upgrade one by the same author (it supports up to 16 GB, two 8 GB sticks) and you have yourself a much faster laptop.