Ga door naar hoofdinhoud
HP Envy x360 15m-cn0012dx Hard Drive Replacement

HP Envy x360 15m-cn0012dx Hard Drive Replacement

Grace Daleki

Grace Daleki en 4 andere bijdragers

Voor het laatst geüpdatet op November 15, 2022

25 minuten
Gemiddeld

If you want to change out your for your HP Envy x360 m Convertible (Model 15m-cn0012dx), use this guide to replace the hard drive.

If you are running low on space, updating a hard drive with a larger drive can give you more space, and could also speed up your computer.

Wat je nodig hebt

Reparatiesets

Deze sets bevatten alle onderdelen en tools om deze handleiding te voltooien.

Onderdelen

Gereedschap

Toon meer…

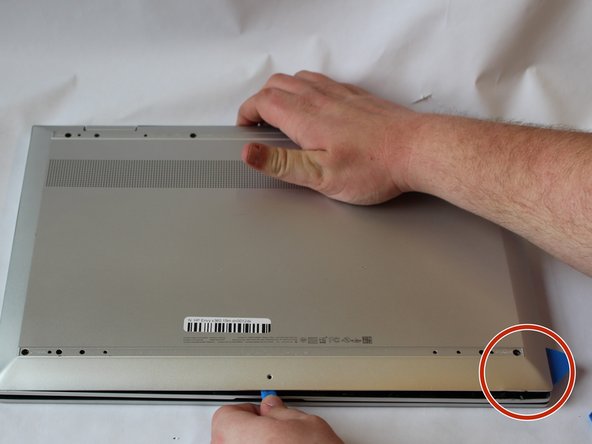
  1. HP Envy x360 15m-cn0012dx Hard Drive Replacement, Hard Drive: stap 1, afbeelding 1 van 2 HP Envy x360 15m-cn0012dx Hard Drive Replacement, Hard Drive: stap 1, afbeelding 2 van 2
    • Make sure the computer is turned off, and remove all cables.

    • Set the laptop face down.

    • Peel back the grey screw guards, along the top and bottom edge of the back case. It may be helpful to use a spudger to get started.

    • Peel slowly to avoid tearing the rubber covers.

  2. HP Envy x360 15m-cn0012dx Hard Drive Replacement: stap 2, afbeelding 1 van 3 HP Envy x360 15m-cn0012dx Hard Drive Replacement: stap 2, afbeelding 2 van 3 HP Envy x360 15m-cn0012dx Hard Drive Replacement: stap 2, afbeelding 3 van 3
    • Using the Phillips #0 screwdriver, remove the seven 5mm screws from the back case.

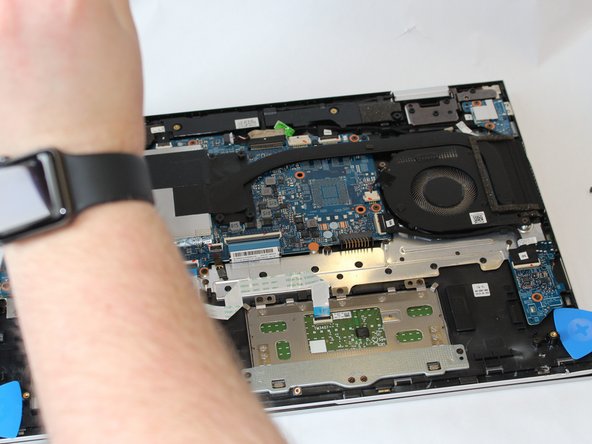
  3. HP Envy x360 15m-cn0012dx Hard Drive Replacement: stap 3, afbeelding 1 van 3 HP Envy x360 15m-cn0012dx Hard Drive Replacement: stap 3, afbeelding 2 van 3 HP Envy x360 15m-cn0012dx Hard Drive Replacement: stap 3, afbeelding 3 van 3
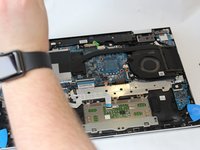
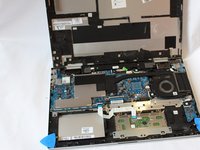
    • Pry open the back cover using the iFixit Opening Tool.

    • While using the tool, place a pick at each corner of the computer (be careful and do it slowly).

    • Once all the corners are slightly lifted, carefully pop off the back cover.

  4. HP Envy x360 15m-cn0012dx Hard Drive Replacement: stap 4, afbeelding 1 van 2 HP Envy x360 15m-cn0012dx Hard Drive Replacement: stap 4, afbeelding 2 van 2
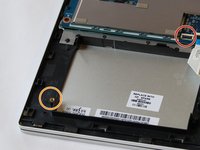
    • Use the Phillips #0 screwdriver to remove one screw from the bottom left corner of the laptop.

    • Use the iFixit opening tool to lift the latch and detach the connector to the motherboard.

    • Remove the hard drive.

    • When replacing the hard drive, you will likely have to transfer the SATA cable and hardware from your old drive to the new one before reinstalling.

Conclusie

To reassemble your device, follow these instructions in reverse order.

Één andere persoon heeft deze handleiding voltooid.

Grace Daleki

Lid sinds: 02/04/20

487 Reputatie

3 handleidingen geschreven

Team

UW Stout, Team S1-G3, Schneider-Bateman Spring 2020 Lid van UW Stout, Team S1-G3, Schneider-Bateman Spring 2020

UWSTOUT-SCHNEIDER-BATEMAN-S20S1G3

3 Leden

5 handleidingen geschreven

0 opmerkingen

Voeg opmerking toe

Weergavestatistieken:

Afgelopen 24 uren: 2

Afgelopen 7 dagen: 30

Afgelopen 30 dagen: 88

Altijd: 6,171