Ga door naar hoofdinhoud
Word lid van de reparatiegemeenschap - Account aanmaken
Google Pixel 9 Autofocus and Flash Module Replacement

Wat je nodig hebt

    1. Google Pixel 9 Autofocus and Flash Module Replacement, Prepare your Pixel for disassembly: stap 1, afbeelding 1 van 3 Google Pixel 9 Autofocus and Flash Module Replacement, Prepare your Pixel for disassembly: stap 1, afbeelding 2 van 3 Google Pixel 9 Autofocus and Flash Module Replacement, Prepare your Pixel for disassembly: stap 1, afbeelding 3 van 3
      • Let your Pixel's battery drain below 25% before starting this repair. A charged lithium‑ion battery may catch fire if damaged.

      • Unplug all cables from your phone.

      • Completely power off your phone.

      • Press the power and volume up buttons at the same time to bring up the shutdown menu.

      Vraag FixBot

      Voeg opmerking toe

    1. Google Pixel 9 Autofocus and Flash Module Replacement, Adhesive information: stap 2, afbeelding 1 van 3 Google Pixel 9 Autofocus and Flash Module Replacement, Adhesive information: stap 2, afbeelding 2 van 3 Google Pixel 9 Autofocus and Flash Module Replacement, Adhesive information: stap 2, afbeelding 3 van 3
      • Adhesive secures the perimeter of the back glass to the frame.

      • When separating the adhesive, don't insert your tool more than 3 mm under the back glass to avoid damaging the internal components.

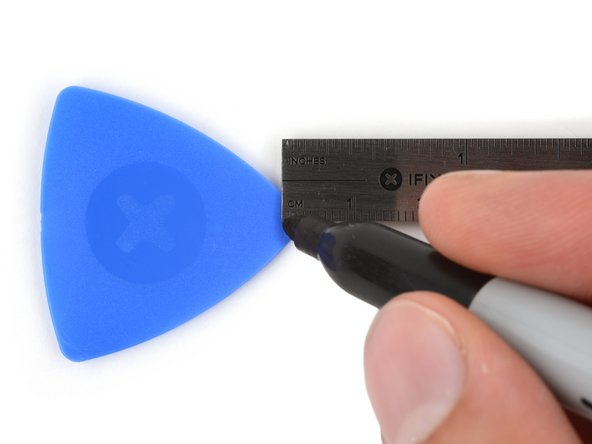
      • To help, measure and mark 3 mm from the tip of an opening pick with a permanent marker.

      • If your screen or back glass is badly cracked, a suction cup may not perfectly adhere.

      • Lay overlapping strips of packing tape over the glass to protect yourself and make disassembly easier. Ensure there's a smooth area near the bottom edge that's large and smooth enough for a suction cup to stick to.

      Vraag FixBot

      Voeg opmerking toe

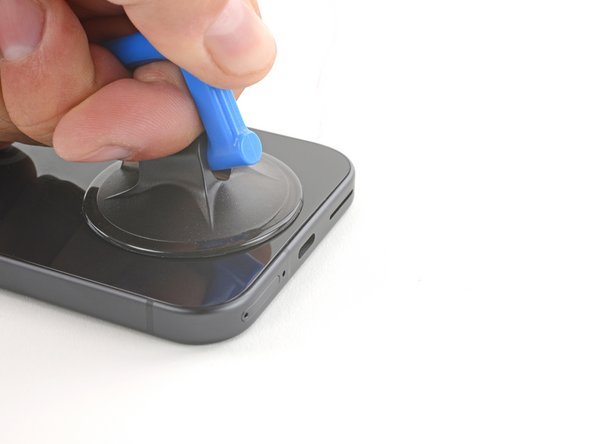
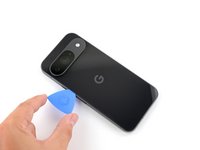
    2. Google Pixel 9 Autofocus and Flash Module Replacement, Apply a suction handle: stap 3, afbeelding 1 van 2 Google Pixel 9 Autofocus and Flash Module Replacement, Apply a suction handle: stap 3, afbeelding 2 van 2
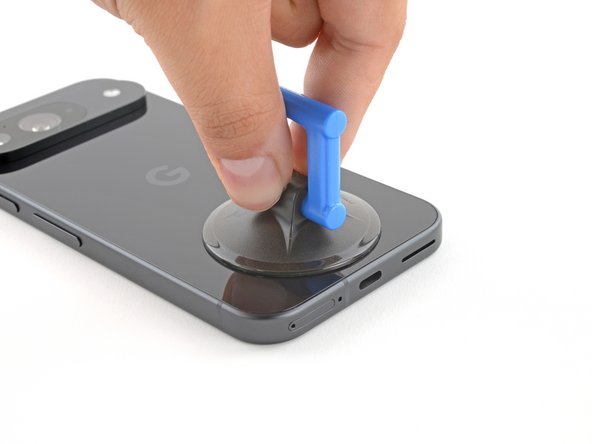
      • Place a suction handle at the bottom edge of the back glass, as close to the edge as possible.

      • Push down to attach the suction cup.

      Vraag FixBot

      Voeg opmerking toe

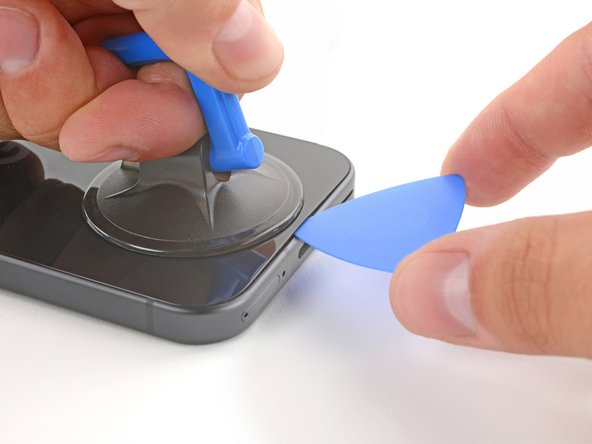
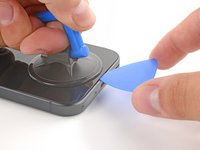
    3. Google Pixel 9 Autofocus and Flash Module Replacement, Insert an opening pick: stap 4, afbeelding 1 van 3 Google Pixel 9 Autofocus and Flash Module Replacement, Insert an opening pick: stap 4, afbeelding 2 van 3 Google Pixel 9 Autofocus and Flash Module Replacement, Insert an opening pick: stap 4, afbeelding 3 van 3
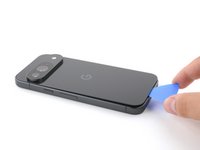
      • Pull up on the suction handle with strong, steady force to create a small gap under the back glass.

      • Insert the tip of an opening pick into the gap.

      Vraag FixBot

      Voeg opmerking toe

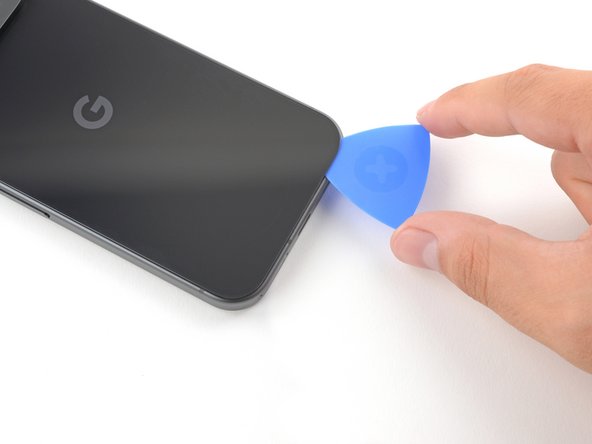
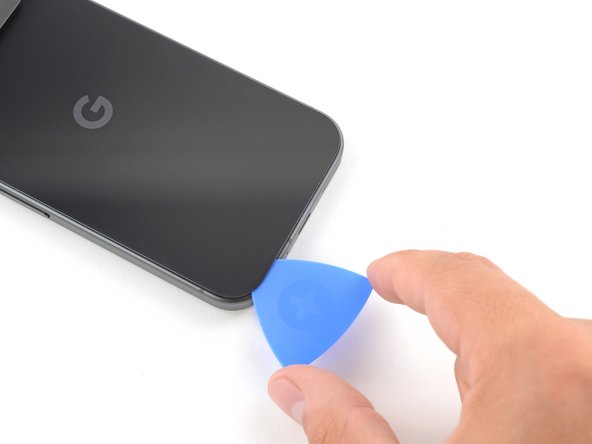
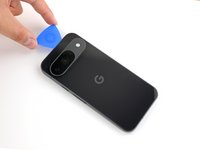
    4. Google Pixel 9 Autofocus and Flash Module Replacement, Separate the back glass adhesive: stap 5, afbeelding 1 van 3 Google Pixel 9 Autofocus and Flash Module Replacement, Separate the back glass adhesive: stap 5, afbeelding 2 van 3 Google Pixel 9 Autofocus and Flash Module Replacement, Separate the back glass adhesive: stap 5, afbeelding 3 van 3
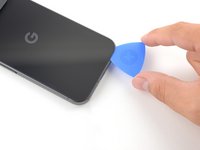
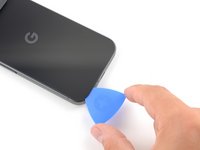
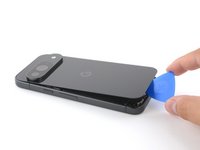
      • Slide the opening pick back and forth along the bottom edge to separate the adhesive securing it.

      • Remember: don't insert the opening pick deeper than 3 mm.

      Vraag FixBot

      Voeg opmerking toe

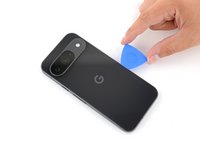
    5. Google Pixel 9 Autofocus and Flash Module Replacement: stap 6, afbeelding 1 van 3 Google Pixel 9 Autofocus and Flash Module Replacement: stap 6, afbeelding 2 van 3 Google Pixel 9 Autofocus and Flash Module Replacement: stap 6, afbeelding 3 van 3
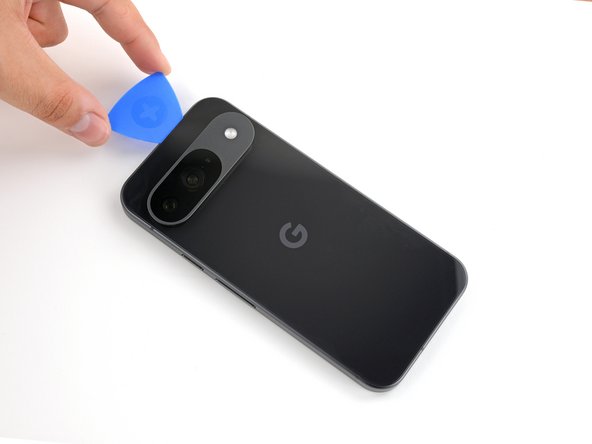
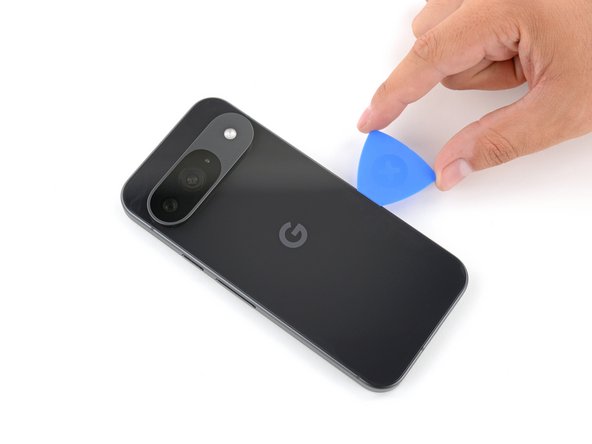
      • Slide the opening pick around the perimeter of the phone, slicing the rest of the adhesive.

      Vraag FixBot

      Voeg opmerking toe

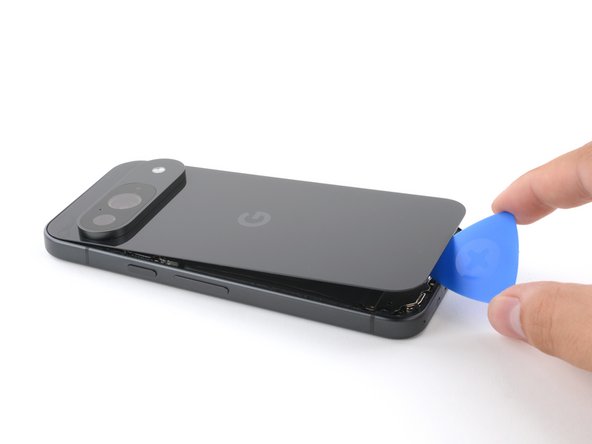
    6. Google Pixel 9 Autofocus and Flash Module Replacement: stap 7, afbeelding 1 van 3 Google Pixel 9 Autofocus and Flash Module Replacement: stap 7, afbeelding 2 van 3 Google Pixel 9 Autofocus and Flash Module Replacement: stap 7, afbeelding 3 van 3
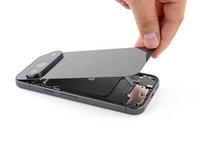
      • With most of the adhesive separated, lightly twist the opening pick at the bottom edge to lift the back glass up until you can grip it with your fingers.

      • Use the opening pick to separate any remaining sections of adhesive securing the back glass.

      Vraag FixBot

      Voeg opmerking toe

    7. Google Pixel 9 Autofocus and Flash Module Replacement, Remove the back glass: stap 8, afbeelding 1 van 1
      • Remove the back glass.

      • During reassembly:

      • Now is a good time to test your phone before sealing it up. Power it on and check that it works. Power it back down before you continue reassembly.

      • Follow this guide to apply new adhesive and install your back glass.

      Vraag FixBot

      Voeg opmerking toe

    1. Google Pixel 9 Autofocus and Flash Module Replacement, Remove the upper board cover: stap 9, afbeelding 1 van 1
      Gereedschap gebruikt in deze stap:
      FixMat
      $36.95
      • Throughout this repair, keep track of each screw and make sure it goes back exactly where it came from.

      • While the Pixel 9 uses Torx Plus screws, standard Torx bits also work. Make sure to apply constant, downward force to prevent stripping.

      • Use a 3IP Torx Plus driver to remove the single 5.4 mm‑long screw securing the upper board cover.

      Vraag FixBot

      Voeg opmerking toe

    2. Google Pixel 9 Autofocus and Flash Module Replacement: stap 10, afbeelding 1 van 2 Google Pixel 9 Autofocus and Flash Module Replacement: stap 10, afbeelding 2 van 2
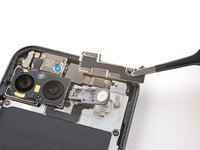
      • Use a pair of tweezers to remove the upper board cover.

      Vraag FixBot

      Voeg opmerking toe

    3. Google Pixel 9 Autofocus and Flash Module Replacement, Remove the midframe: stap 11, afbeelding 1 van 1
      • Use a 3IP Torx driver to remove the five screws securing the midframe and wireless charging coil:

      • Four 5.4 mm-long screws

      • One 2.2 mm-long screw

      Vraag FixBot

      Voeg opmerking toe

    4. Google Pixel 9 Autofocus and Flash Module Replacement, Peel up the flash cable: stap 12, afbeelding 1 van 2 Google Pixel 9 Autofocus and Flash Module Replacement, Peel up the flash cable: stap 12, afbeelding 2 van 2
      • Use a pair of tweezers to peel the flash cable off of the metal midframe.

      Vraag FixBot

      Voeg opmerking toe

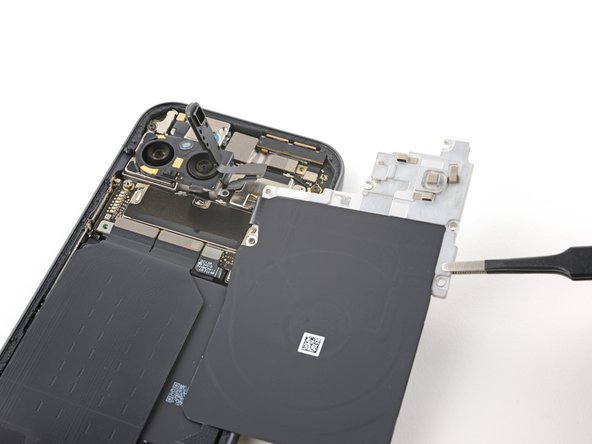
    5. Google Pixel 9 Autofocus and Flash Module Replacement, Remove the midframe: stap 13, afbeelding 1 van 2 Google Pixel 9 Autofocus and Flash Module Replacement, Remove the midframe: stap 13, afbeelding 2 van 2
      • Remove the midframe, wireless charging coil, and NFC assembly.

      Vraag FixBot

      Voeg opmerking toe

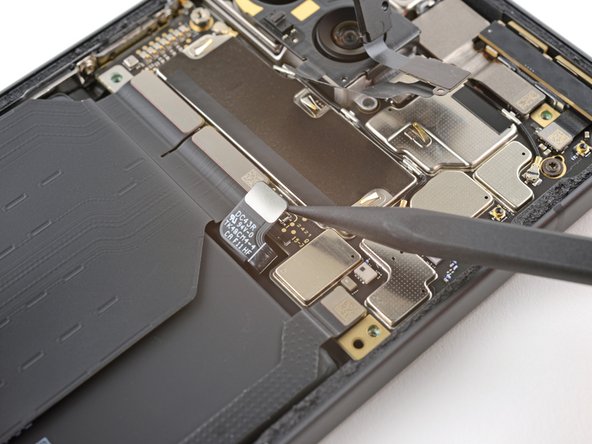
    6. Google Pixel 9 Autofocus and Flash Module Replacement, Disconnect the battery: stap 14, afbeelding 1 van 2 Google Pixel 9 Autofocus and Flash Module Replacement, Disconnect the battery: stap 14, afbeelding 2 van 2
      • Use the tip of a spudger to pry up and disconnect the battery connector.

      Vraag FixBot

      Voeg opmerking toe

    1. Google Pixel 9 Autofocus and Flash Module Replacement, Remove the antenna board cover: stap 15, afbeelding 1 van 1
      • Use a 3IP Torx Plus driver to remove the 5.4 mm-long screw securing the antenna board cover.

      Vraag FixBot

      Voeg opmerking toe

    2. Google Pixel 9 Autofocus and Flash Module Replacement: stap 16, afbeelding 1 van 1
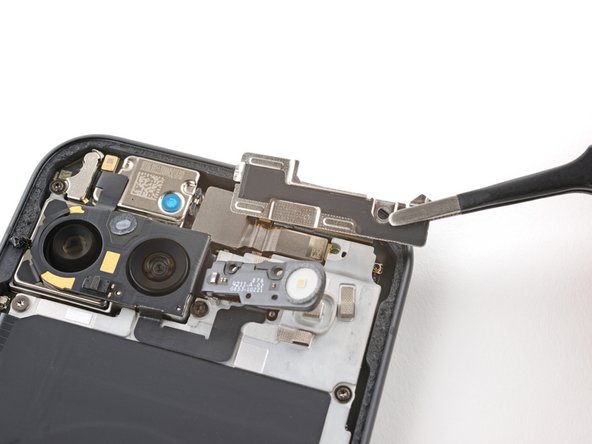
      • Use a pair of tweezers to remove the antenna board cover.

      Vraag FixBot

      Voeg opmerking toe

    3. Google Pixel 9 Autofocus and Flash Module Replacement, Disconnect the autofocus cable: stap 17, afbeelding 1 van 2 Google Pixel 9 Autofocus and Flash Module Replacement, Disconnect the autofocus cable: stap 17, afbeelding 2 van 2
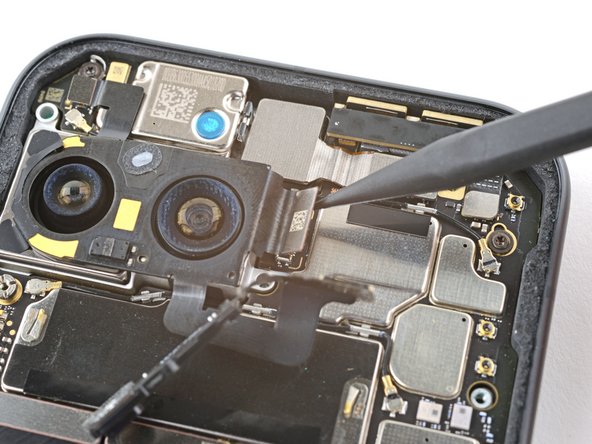
      • Use the tip of a spudger to pry up and disconnect the autofocus connector from the motherboard.

      Vraag FixBot

      Voeg opmerking toe

    4. Google Pixel 9 Autofocus and Flash Module Replacement, Disconnect the flash: stap 18, afbeelding 1 van 2 Google Pixel 9 Autofocus and Flash Module Replacement, Disconnect the flash: stap 18, afbeelding 2 van 2
      • Use the tip of a spudger to pry up and disconnect the flash connector from the motherboard.

      Vraag FixBot

      Voeg opmerking toe

    5. Google Pixel 9 Autofocus and Flash Module Replacement, Heat the LDAF adhesive: stap 19, afbeelding 1 van 1
      • Heat an iOpener and apply it over the LDAF and flash module for one minute to soften the adhesive securing it to the rear camera module.

      Vraag FixBot

      Voeg opmerking toe

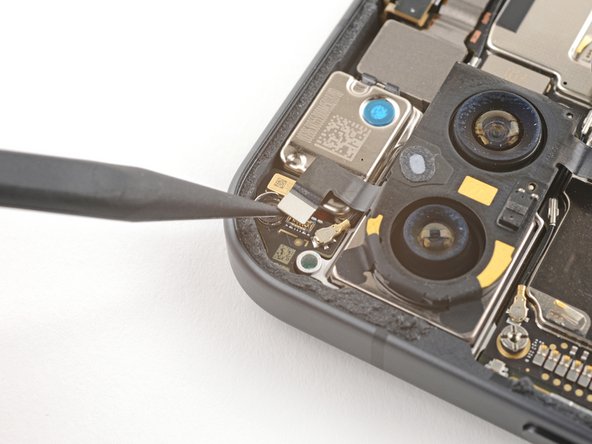
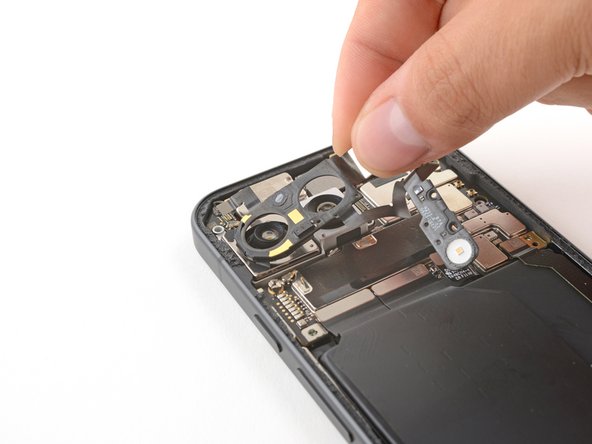
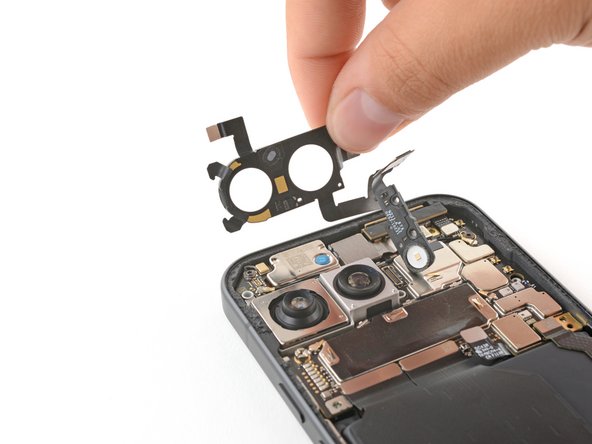
    6. Google Pixel 9 Autofocus and Flash Module Replacement, Remove the LDAF and flash module: stap 20, afbeelding 1 van 3 Google Pixel 9 Autofocus and Flash Module Replacement, Remove the LDAF and flash module: stap 20, afbeelding 2 van 3 Google Pixel 9 Autofocus and Flash Module Replacement, Remove the LDAF and flash module: stap 20, afbeelding 3 van 3
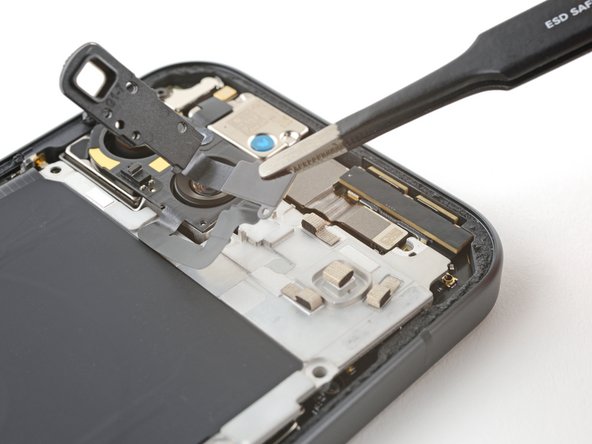
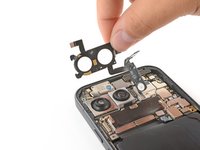
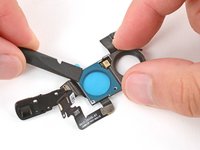
      • Peel up and remove the LDAF and flash module.

      • During reassembly, orient the module such that the longer cable is on the bottom edge.

      • Be very careful not to touch the rear camera lenses. If you accidentally do, wipe them with a clean microfiber cloth.

      Vraag FixBot

      Voeg opmerking toe

    7. Google Pixel 9 Autofocus and Flash Module Replacement, Reassembly information: stap 21, afbeelding 1 van 3 Google Pixel 9 Autofocus and Flash Module Replacement, Reassembly information: stap 21, afbeelding 2 van 3 Google Pixel 9 Autofocus and Flash Module Replacement, Reassembly information: stap 21, afbeelding 3 van 3
      • During reassembly:

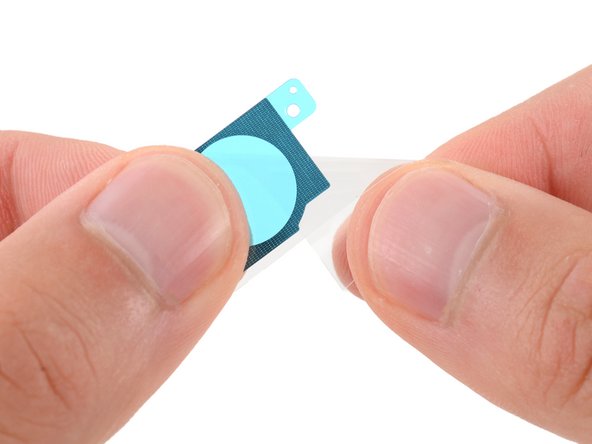
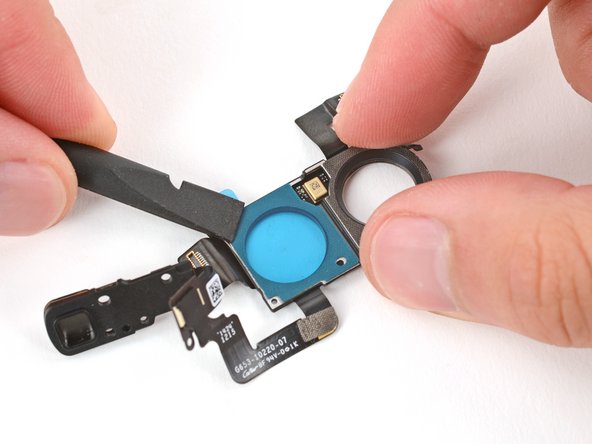
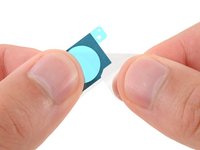
      • Use a spudger and tweezers to remove the two pieces of adhesive from the bottom of the LDAF and flash module.

      • Remove the larger clear liners from one of the flash module adhesives.

      • Place the adhesive into place on the bottom of the module and press down firmly with the flat end of a spudger to secure the adhesive.

      • Repeat the process to apply the other piece of flash adhesive.

      • Remove the two remaining blue liners.

      Vraag FixBot

      Voeg opmerking toe

Conclusie

To reassemble your device, follow these instructions in reverse order.

To run a diagnostics test with the built-in Pixel Diagnostic tool, click here.

Take your e-waste to an R2 or e-Stewards certified recycler.

Repair didn’t go as planned? Try some basic troubleshooting, or ask our Pixel 9 Answers Community for help.


Annuleren: ik heb deze handleiding niet afgemaakt.

Carsten Frauenheim

Lid sinds: 03/10/20

168.183 Reputatie

439 handleidingen geschreven

Team

iFixit Lid van iFixit

Staff

123 Leden

51.815 handleidingen geschreven

0Gids Commentaar

Voeg opmerking toe

Weergavestatistieken:

Afgelopen 24 uren: 8

Afgelopen 7 dagen: 26

Afgelopen 30 dagen: 89

Altijd: 1,632