
DR.J Professional HI-04 Motherboard Replacement

Inleiding
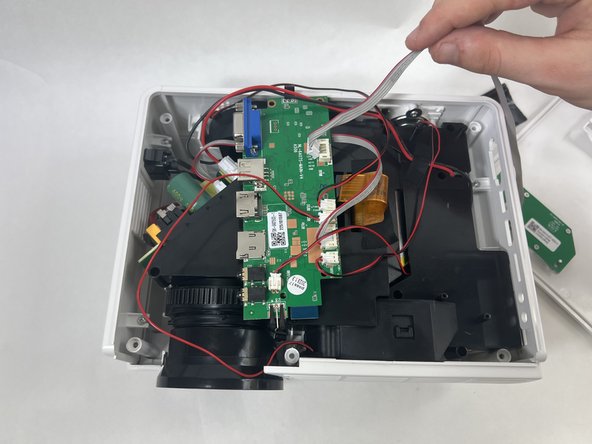
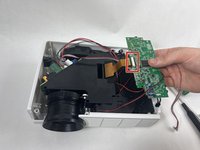
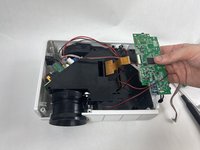
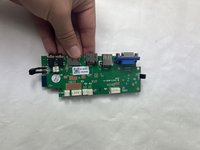
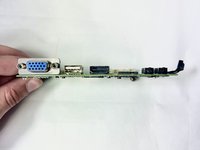
Ga naar stap 1Use this guide to replace the motherboard in a DR.J Professional HI-04 if the device is will not power on or is giving a motherboard error code. This guide can also be used to replace the I/O board as it is directly attached to the motherboard.
The motherboard is what allows the device to run at its expected performance. A broken or faulty motherboard can be the result of the device not powering on and working. This can be caused by a loose connection or broken motherboard.
Before using this guide, be sure to review the troubleshooting page. Sometimes the device may not power on due to it not getting enough power. But if the motherboard is broken it will need to be replaced.
Before you begin, turn off the device. Additionally, give it time to cool off if you have used it recently.
Wat je nodig hebt
Gereedschap

-
-
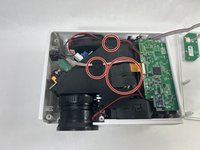
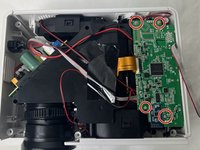
Flip the projector so that the bottom is facing up.
-
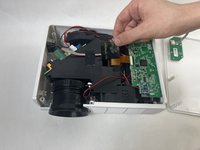
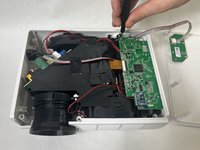
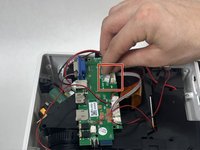
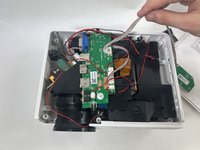
Remove the eight 10.0 mm screws with a Phillips #0 screwdriver.
-
Remove the two 20.0 mm screws with a Phillips #0 screwdriver.
-
-


To reassemble your device, follow these instructions in reverse order.
To reassemble your device, follow these instructions in reverse order.

Team

UMass Dartmouth, Team 1-5, Petersen Fall 2023 Lid van UMass Dartmouth, Team 1-5, Petersen Fall 2023
UMASSD-PETERSEN-F23S1G5
4 Leden
5 handleidingen geschreven
2Gids Commentaar
Baron, thanks for the guide. My projector took a tumble and landed right on the back where the input/power plug is. I plugged it back in and the red light turns on, but that's all. I don't hear any loose parts and it definitely wasn't overheated. Any ideas on what it could be? Trying to get the right screwdriver to open it up later this week.
Baron, where would I find a replacement mother board?
Thanks
Stew