
Asus Q524U Fan Assembly Replacement

Inleiding
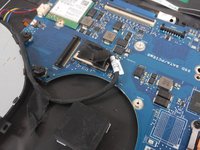
Ga naar stap 1This guide is for the Asus Q524U (Asus Q524UQ). It aims to help those seeking to remove the fan. The fan is what cools the motherboard and prevents specific parts from overheating. Here is a link to our troubleshooting page regarding the Asus Q524U.
Wat je nodig hebt
Gereedschap

-
-
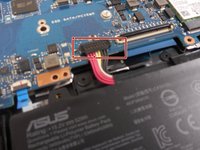
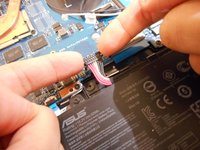
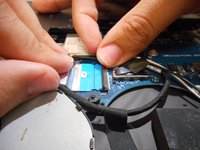
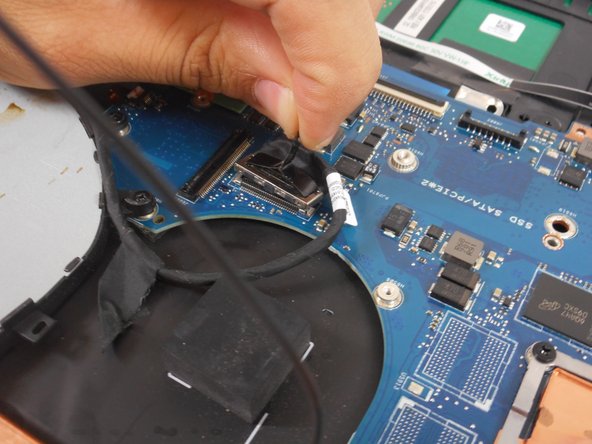
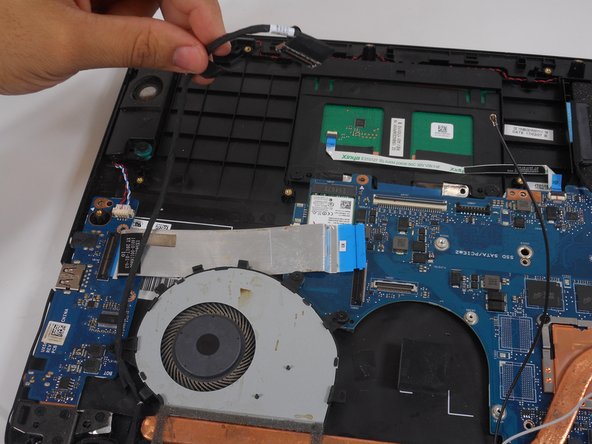
Using your fingers, grip onto both sides of the wire harness and push it upwards.
-
-
-
-
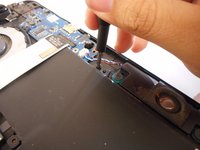
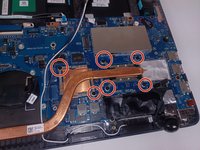
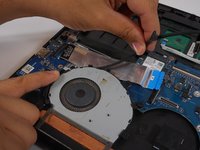
Remove the four 3 mm screws holding the fan in place using a Phillips #0 screwdriver.
-


To reassemble your device, follow these instructions in reverse order.
To reassemble your device, follow these instructions in reverse order.

Team

University of New Orleans, Team 3-1, McDonald Spring 2023 Lid van University of New Orleans, Team 3-1, McDonald Spring 2023
UNO-MCDONALD-S23S3G1
2 Leden
5 handleidingen geschreven