Waarschuwing: Je bewerkt een vooraf vereiste handleiding. Alle wijzigingen die je hierin maakt, beïnvloeden de handleiding die deze stap bevat.
Stap 10 vertalen
Stap 10


-
The screws holding in the drive were deep within the casing.
-
Once those screws were removed, the entire case could be lifted off.
-
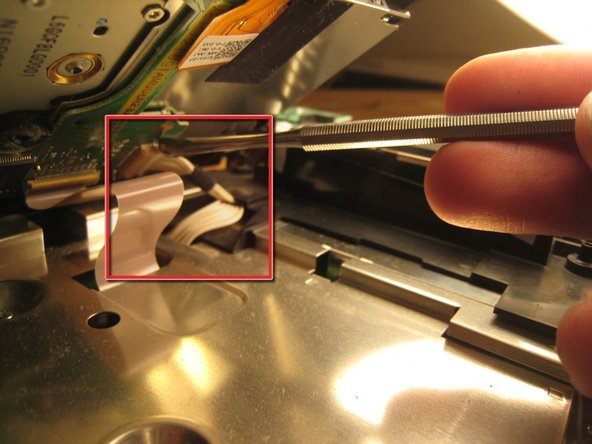
This wire slid out from its horizontal slot. Once it was detached, the ribbon cable came out as well.
Je bijdragen zijn gelicentieerd onder de open source Creative Commons-licentie.