Stap 13 vertalen


-
With a little encouragement, the qHD LCD lifts out of the Gorilla Glass-equipped front panel.
-
The screen in the Droid 3 is 0.3" larger than the screens in both of its predecessors, measuring in at a total of 4". It also has a higher resolution, at 960 x 540 pixels.
-
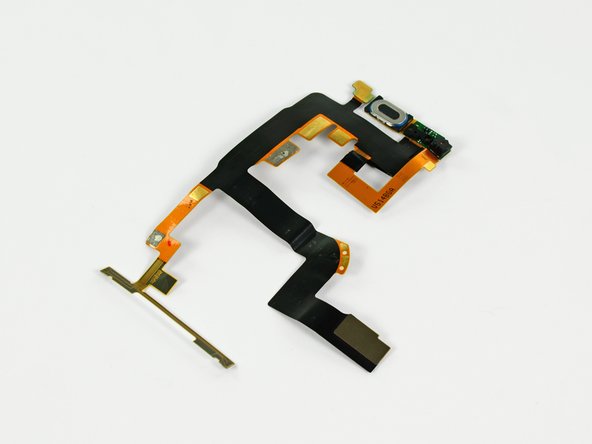
The ribbon cable attached to the rear of the LCD holds the earpiece speaker, the front-facing camera, the ambient light sensor, and the notification LED. Phew!
-
All of these components on one ribbon cable makes disassembly easy, but repair costly.
-
An Atmel MXT224E capacitive touchscreen controller can be found within the front panel.
Je bijdragen zijn gelicentieerd onder de open source Creative Commons-licentie.