Stap 2 vertalen
Stap 2

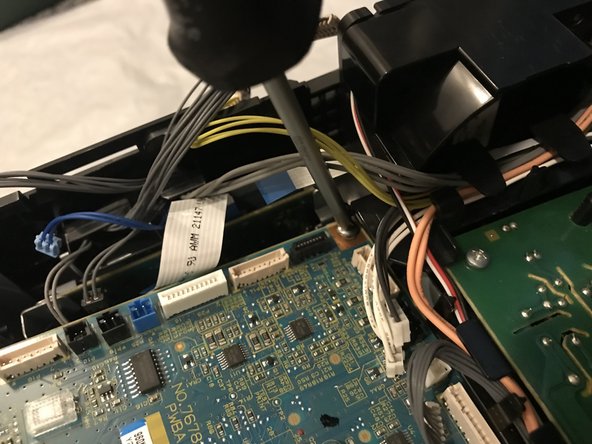


Unscrew control board
-
Unscrew the four 5mm M3 screws at the corners of the control board and lift out of the printer.
Je bijdragen zijn gelicentieerd onder de open source Creative Commons-licentie.