Ga door naar hoofdinhoud
Samsung Glyde Antenna Replacement

Samsung Glyde Antenna Replacement

Cameron Law

Cameron Law en 5 andere bijdragers

Voor het laatst geüpdatet op January 20, 2025

30 minuten
Gemiddeld
Actiemomenten
Opsommingstekens!
Heeft betere plaatjes nodig
Betere introductie

This guide will provide a step by step procedure for installing the internal antenna.

Wat je nodig hebt

Gereedschap

Toon meer…

  1. Samsung Glyde Antenna Replacement, Battery: stap 1, afbeelding 1 van 1
    • Using your thumb, press down and slide the back cover away from the camera.

  2. Samsung Glyde Antenna Replacement: stap 2, afbeelding 1 van 1
    • Remove the battery from the phone by using your plastic opening tool to find a gap at any edge of the battery and lifting the battery up.

  3. Samsung Glyde Antenna Replacement, Antenna: stap 3, afbeelding 1 van 2 Samsung Glyde Antenna Replacement, Antenna: stap 3, afbeelding 2 van 2
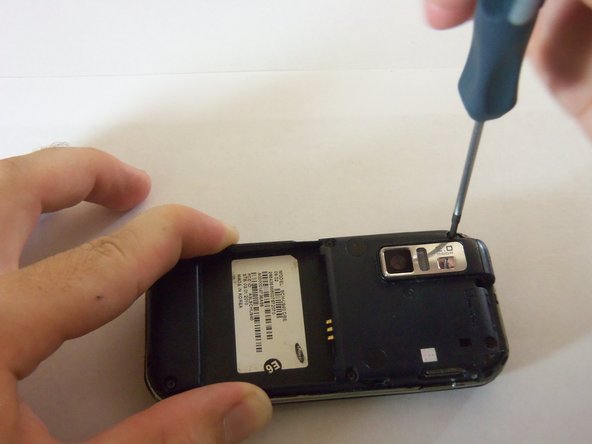
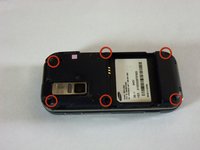
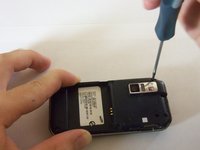
    • Using a Phillips #00 screwdriver, remove the six 4mm screws holding the back case together.

  4. Samsung Glyde Antenna Replacement: stap 4, afbeelding 1 van 2 Samsung Glyde Antenna Replacement: stap 4, afbeelding 2 van 2
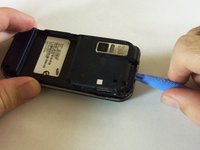
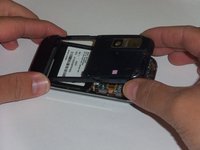
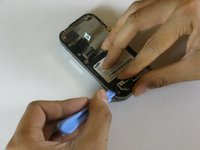
    • Use a plastic opening tool to pry the case off. To do this, find a gap on any side of the phone, top preferably, and slip the tip of the tool in the gap.

    • Now use moderate strength and slowly maneuver the tool around the outside until the case becomes loose.

    • Using your fingers, take the case off.

  5. Samsung Glyde Antenna Replacement: stap 5, afbeelding 1 van 2 Samsung Glyde Antenna Replacement: stap 5, afbeelding 2 van 2
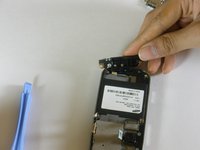
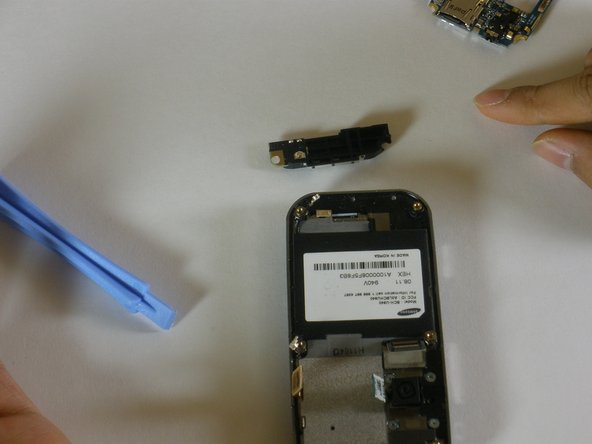
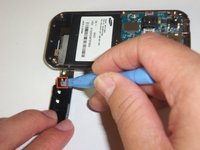
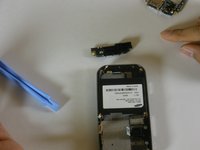
    • The antenna is located on the bottom of the phone. It is the small rectangular shaped object sticking out on one of the ends.

    • Use a plastic opening tool to prop the antenna out. To do so, slip the tip of the tool on one of the edges of the antenna. Use moderate pressure to pry the antenna out.

  6. Samsung Glyde Antenna Replacement: stap 6, afbeelding 1 van 2 Samsung Glyde Antenna Replacement: stap 6, afbeelding 2 van 2
    • Using a plastic opening tool, disconnect the connector leading from the antenna to the phone.

Conclusie

To reassemble your device, follow these instructions in reverse order.

Cameron Law

Lid sinds: 10/12/11

142 Reputatie

5 handleidingen geschreven

Team

Cal Poly, Team 3-12, Regan Fall 2011 Lid van Cal Poly, Team 3-12, Regan Fall 2011

CPSU-REGAN-F11S3G12

4 Leden

14 handleidingen geschreven

0 opmerkingen

Voeg opmerking toe

Weergavestatistieken:

Afgelopen 24 uren: 0

Afgelopen 7 dagen: 0

Afgelopen 30 dagen: 0

Altijd: 1,113