
Samsung Galaxy S6 Edge Rear Glass Adhesive Replacement

Inleiding
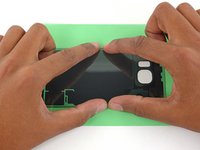
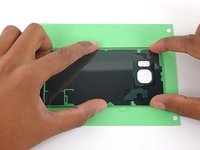
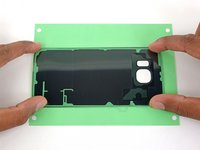
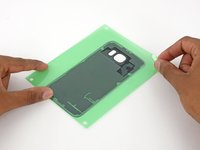
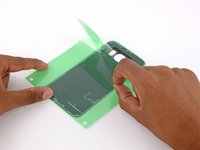
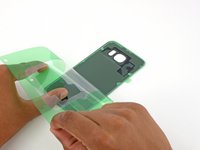
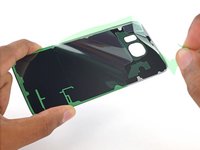
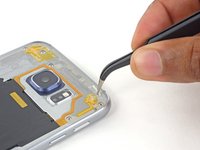
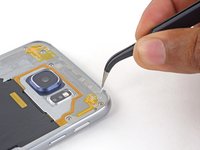
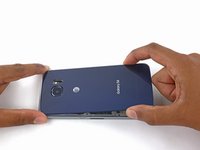
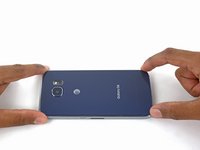
Ga naar stap 1Removing the rear glass panel from your Galaxy S6 Edge destroys the adhesive holding it in place. Follow this guide to replace the adhesive tape on your Galaxy S6 Edge rear glass. Most adhesive strips will come packaged as shown, although the film dimensions and color may vary.
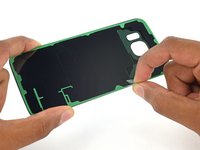
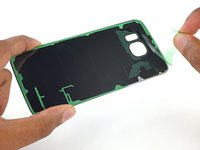
Before beginning, we recommend you remove any residual adhesive from the glass panel using a q-tip and solvent such as isopropyl alcohol.
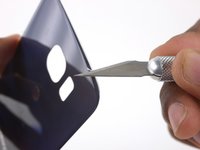
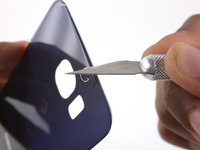
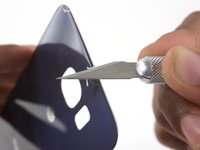
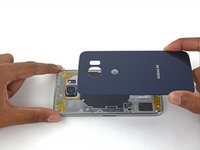
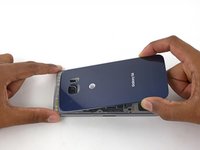
This guide was performed on a Samsung Galaxy S6 (not Edge) but the procedure is exactly identical. Be sure that you buy S6 Edge adhesive, and that it matches the adhesive you pulled off of the rear glass, as it may differ from the adhesive shown in this guide.
Wat je nodig hebt
Onderdelen

Gereedschap


Toon meer…


Annuleren: ik heb deze handleiding niet afgemaakt.
82 andere personen hebben deze handleiding voltooid.


3 opmerkingen
Where do you by the adhesive strip for the repair
There are a lot of places like replacebase
Allspares,and a lot other but usually the back glass comes with the adhesive on