Ga door naar hoofdinhoud
Samsung BD-H5100 Motherboard Replacement

Samsung BD-H5100 Motherboard Replacement

Mira Patel

Mira Patel en een andere bijdrager

Voor het laatst geüpdatet op December 21, 2016

35 minuten
Gemiddeld

This guide will show how to replace the Motherboard.

Wat je nodig hebt

Gereedschap

Toon meer…

  1. Samsung BD-H5100 Motherboard Replacement, Motherboard: stap 1, afbeelding 1 van 1
    • Use the Phillips Head #2 screwdriver to remove the three 10mm screws on the back panel.

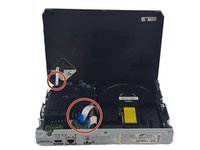
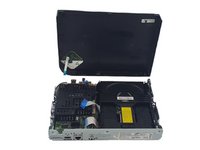
  2. Samsung BD-H5100 Motherboard Replacement: stap 2, afbeelding 1 van 3 Samsung BD-H5100 Motherboard Replacement: stap 2, afbeelding 2 van 3 Samsung BD-H5100 Motherboard Replacement: stap 2, afbeelding 3 van 3
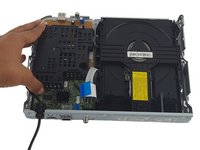
    • Use the plastic spudger to pry open the top panel.

    • Be careful not to break the ribbon connecting the motherboard on the bottom panel to the top panel.

  3. Samsung BD-H5100 Motherboard Replacement: stap 3, afbeelding 1 van 2 Samsung BD-H5100 Motherboard Replacement: stap 3, afbeelding 2 van 2
    • Pull the ribbons gently from one corner by the blue tabs to remove it.

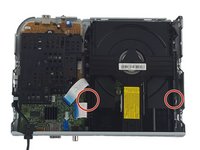
  4. Samsung BD-H5100 Motherboard Replacement: stap 4, afbeelding 1 van 1
    • Remove the two 7.5mm screws on both sides of the disk tray with Phillips Head #2 screwdriver.

  5. Samsung BD-H5100 Motherboard Replacement: stap 5, afbeelding 1 van 2 Samsung BD-H5100 Motherboard Replacement: stap 5, afbeelding 2 van 2
    • Push two small prongs on both sides inwards and push forward.

    • Remove the disk tray.

  6. Samsung BD-H5100 Motherboard Replacement: stap 6, afbeelding 1 van 2 Samsung BD-H5100 Motherboard Replacement: stap 6, afbeelding 2 van 2
    • Use a Phillips Head #2 to remove the two 7.5mm screws on the black cover.

    • Remove the black cover.

  7. Samsung BD-H5100 Motherboard Replacement: stap 7, afbeelding 1 van 2 Samsung BD-H5100 Motherboard Replacement: stap 7, afbeelding 2 van 2
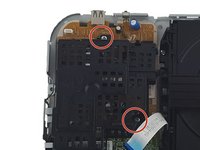
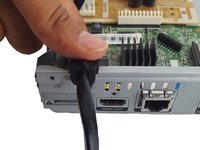
    • Pinch the white clip and pull straight up on the power cord.

    • Remove the power cord.

  8. Samsung BD-H5100 Motherboard Replacement: stap 8, afbeelding 1 van 1
    • Use a Phillips Head #2 to remove the 7.5mm screw.

  9. Samsung BD-H5100 Motherboard Replacement: stap 9, afbeelding 1 van 1
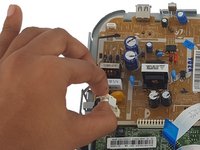
    • Use your finger to pry the metal tab slightly up.

    • This may break after several uses.

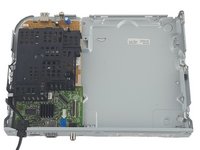
  10. Samsung BD-H5100 Motherboard Replacement: stap 10, afbeelding 1 van 1
    • Slide out the Motherboard.

    • Be careful when touching the bottom because it is sharp.

Conclusie

To reassemble your device, follow these instructions in reverse order.

Mira Patel

Lid sinds: 10/11/16

580 Reputatie

5 handleidingen geschreven

Team

USF Tampa, Team 1-2, Leahy Fall 2016 Lid van USF Tampa, Team 1-2, Leahy Fall 2016

USFT-LEAHY-F16S1G2

3 Leden

5 handleidingen geschreven

0 opmerkingen

Voeg opmerking toe

Weergavestatistieken:

Afgelopen 24 uren: 0

Afgelopen 7 dagen: 8

Afgelopen 30 dagen: 19

Altijd: 593