
RetroMini Miyoo Mini Plus Case Replacement

Inleiding
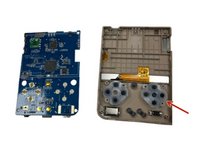
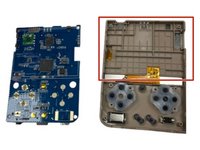
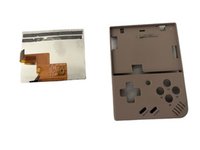
Ga naar stap 1If the shell of your Retro Mini Miyoo Plus breaks in some manner, use this guide to transfer all of the parts into a new casing for further use.
Wat je nodig hebt


-
-
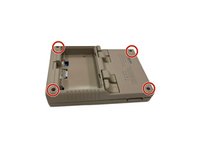
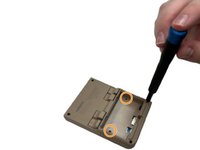
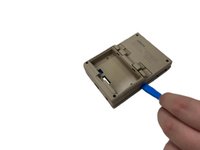
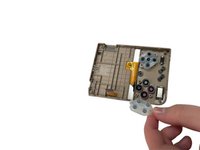
Remove the four screws securing the rear case with a Phillips screwdriver.
-
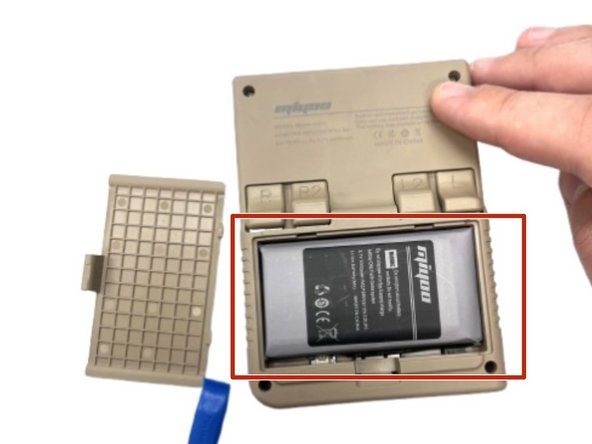
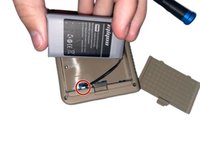
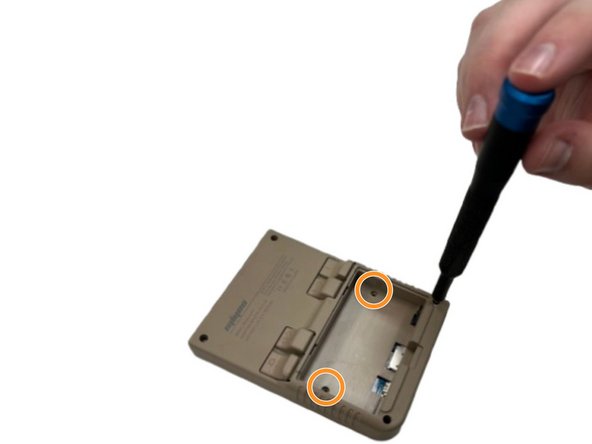
Remove the two Phillips screws inside the battery compartment.
-
-
-
-
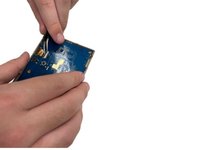
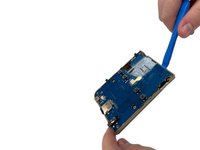
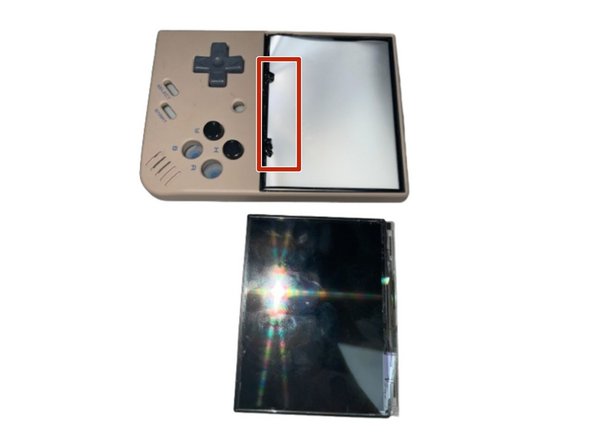
Heat an iOpener according to the instructions here.
-
Rest the iOpener Gel Bag on the screen for a minute.
-


To reassemble your device, follow these instructions in reverse order.
To reassemble your device, follow these instructions in reverse order.

Team

University of North Texas, Team 5-2, Kilpatrick Fall 2024 Lid van University of North Texas, Team 5-2, Kilpatrick Fall 2024
UNT-KILPATRICK-F24S5G2
4 Leden
4 handleidingen geschreven