PowerBook G4 Aluminum 15" 1-1.5 GHz Left Clutch Hinge Replacement
Inleiding
Ga naar stap 1Replace a broken clutch hinge to make your display open silky smooth.
Wat je nodig hebt
Onderdelen
Gereedschap
Toon meer…
-
-
Use a coin to turn the battery locking screw 90 degrees clockwise.
-
Lift the battery out of the computer.
-
-
-
Remove the four Phillips screws from the memory door.
-
Slide the memory door away from the memory compartment.
-
-
-
Place enough pressure on the upper case to allow you to slide a tool just within the seam between upper case and lower case as shown in the picture. A dentist's hook, push pin, or similar tool will work.
-
Delicately slip the tip of your tool behind the silver metal latch and pull it forward while pulling up on the case. This may take some effort.
-
Alternatively, you can free the clasp with a small flathead screwdriver through the CD slot. The clasp is 1-3/16 in (3cm) from the left side of the slot. Use the screwdriver to lift out (or press back) the felt lining; then use the screwdriver to pull the clasp (shiny metal) forward to free it from the catch behind it (dull metal).
-
-
-
Lift the back of the case up and work your fingers along the sides, freeing the case as you go. Once you have freed the sides, you may need to rock the case up and down to free the front of the upper case.
-
Rotate the upper case up and toward the screen, so that the upper case rests against it.
-
-
-
-
Close the display and turn the hinge side of the computer to face you.
-
Remove the remaining Phillips screw on either side of the hinge (two screws total).
-
-
-
Remove the two 11 mm X 1.5 mm hex screws near the lower left and right corners of the display.
-
-
-
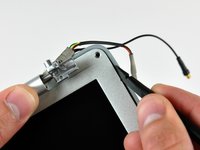
With your spudger still inserted under the front display bezel, run it around the lower left corner of the display.
-
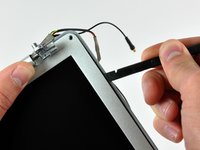
Rotate the spudger away from yourself to pry the rear display bezel off the aluminum tabs on the front display bezel.
-
Work your way down the side of the display until the rear display bezel has been separated from the front display bezel.
-
-
-
Repeat the previous steps to separate the right side of the rear display bezel from the display.
-
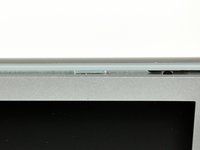
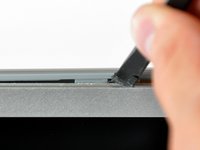
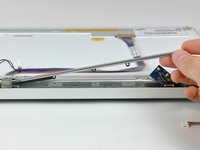
Use your spudger to pry the plastic retaining clips on the rear display bezel over the raised aluminum tabs on the front display bezel.
-
At this point, the clips on the left and right edges of the rear display bezel should be free from the raised aluminum tabs on the front display bezel. If they are not, use a spudger to pry them past the front display bezel.
-
-
-
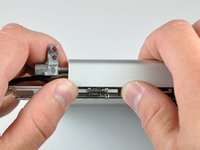
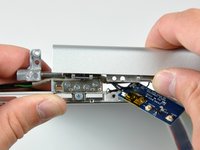
Use your thumbs to push the clutch cover away from the clutch hinges.
-
While pressing with your thumbs, rotate the clutch cover toward yourself about its long edge to pop it off the clutch hinge.
-
It may be necessary to wiggle the clutch cover while pressing it away from the clutch hinges to release the retaining clips.
-
-
-
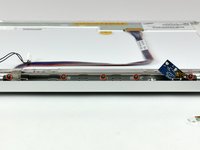
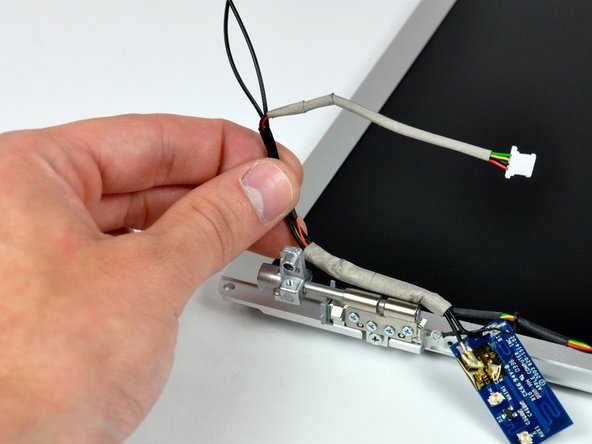
De-route the inverter/antenna cables from the left clutch hinge and lift them out of your display.
-
-
-
Remove the three Phillips screws securing the left clutch hinge to the front bezel.
-
To reassemble your device, follow these instructions in reverse order.
To reassemble your device, follow these instructions in reverse order.
Annuleren: ik heb deze handleiding niet afgemaakt.
6 andere personen hebben deze handleiding voltooid.


