
PlayStation Vita Rear Panel Replacement

Inleiding
Ga naar stap 1This guide takes you through the process of installing the rear panel. The rear panel houses the rear touch pad.
Wat je nodig hebt
Onderdelen


Gereedschap


Toon meer…
-
-
Using a Phillips #00 screwdriver, remove the four 6.4mm screws on the back casing.
-
-
-
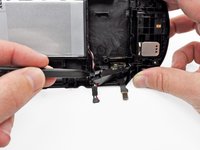
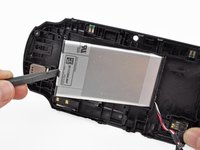
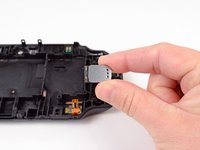
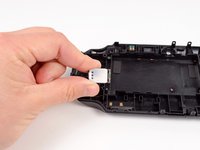
Gently separate the two cases, minding the battery and the touch screen controller connectors holding the two cases together.
-
-
-
-
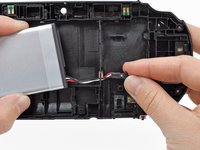
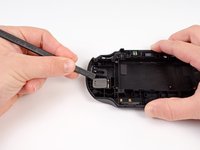
Free the battery cable by gently prying up on the connection with a spudger.
Any idea what type of pcb header is on the board for the battery? I have a motherboard with a broken header but I cant source a replacement
This is where I screwed up so I recommend extra caution for other newbies. Only the black part is supposed to come off. Don't be an idiot like me and pry off too much...
Yea I messed up there too. Is there a way to fix it?
This component was far more stubborn than the screen connector when it came to removal. I opted for a smaller tool than the spudger (small flat-head) and managed to disconnect it after determining the best bit size for the job. Screwdriver is metal, obviously, so being gentle helps to avoid damaging anything.
broke the white part
-
-
-
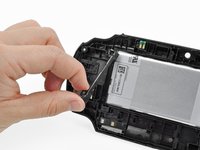
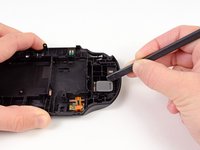
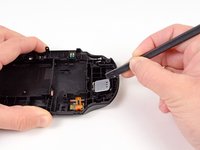
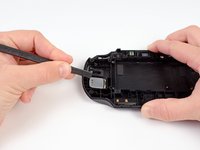
With the help of a spudger, gently pry off and remove the battery cable retainer on the back casing assembly.
Using the tabs (I could really only see one) on the side of the retainer proved essential for me to remove it and release the cable. Unless that happened that cable retainer was not moving for me at all. It did come out once the tabs were pressed though they did prove somewhat uncooperative with clicking back into place once I had installed the new battery. Also, watch that the battery’s cable isn’t pinched when you’re putting everything back in place.
-
-
-
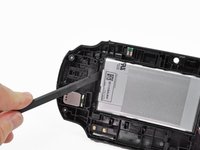
Using a Phillips #00 screwdriver, remove the two 5.0mm blue battery case screws.
-
Remove the plastic battery retaining bar.
When reinstalling the battery retaining bar, be sure to insert the bottom end (as shown in the photo) into the slot before driving in the screws. If you just lay it on top, you will crack the bar.
-
-
-
Slide the spuder between the right speaker and the rear casing.
-
Using a spudger, gently peel up the right speaker from the light adhesive connecting it to casing.
-
Remove the right speaker.
-


To reassemble your device, follow these instructions in reverse order.
To reassemble your device, follow these instructions in reverse order.
Annuleren: ik heb deze handleiding niet afgemaakt.
11 andere personen hebben deze handleiding voltooid.


5 opmerkingen
I really enjoyed Your article ! I'm about to replace the touch pad, i got a Vita recently but it has some Heavy scuffs. I've seen the back touch pad has adhesive attached on it. I bought a replacement On Ebay. I'm not sure if the replacement has adhesive with it. If it doesn't what would be your guys Thoughts on what i should use?
lol you will need some kind of adhesive its called common sense if Sony use it you use it simple
TH3ORY -
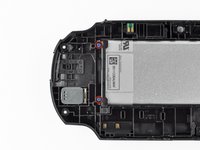
In the part that remains after complete disassembly, what are the two double pins at the top for, which later come into contact with the motherboard? I already have a new panel, but it has absolutely nothing except this one contact in the lower right part ...
Those are wifi antennas. You can get it out put it in to the new panel.