
Nokia Lumia 928 Battery Replacement
Inleiding
Ga naar stap 1This guide will show you how to remove the battery in your Nokia Lumia 928. It has two prerequisite guides that will first teach you how to remove the back cover, then the motherboard, which will allow you to remove the battery. It involves removing some screws, and prying the battery off the motherboard that is held in with glue.
Wat je nodig hebt


-
-
Power down the phone.
-
There is a screw located inside the 3.5mm headphone jack that needs to be loosened. Use a Torx T5 screwdriver for this.
-
Remove the sim card tray on the top of the phone.
-
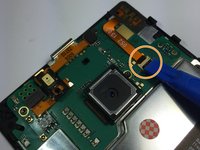
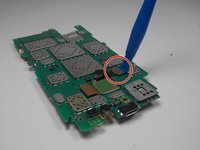
Remove the 4.5 mm Torx T5 screw highlighted with a red circle in the picture. (Note: all screws that you will remove in the phone will be the same)
-
-
-
Using the plastic opening tools, you can start to release the plastic clips around the phone. Start in the top left corner, work your way down the left side. Then do the top and bottom of the phone, and finally the right side.
-
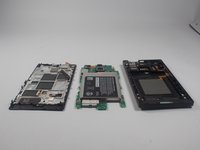
Once all the clips are released, remove the back cover of the phone.
-
-
-
Remove all 10 T5 screws on the motherboard. All screws are 4.5 mm Torx T5 screws.
-
-
-
-
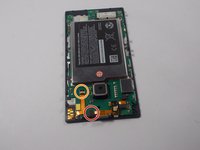
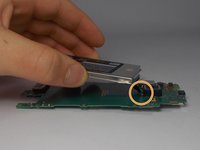
Now that the battery is separated from the motherboard, it is time to remove it. First you will need to lift the connector for the battery's ribbon cable.
-
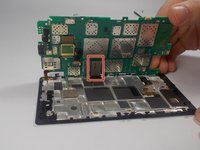
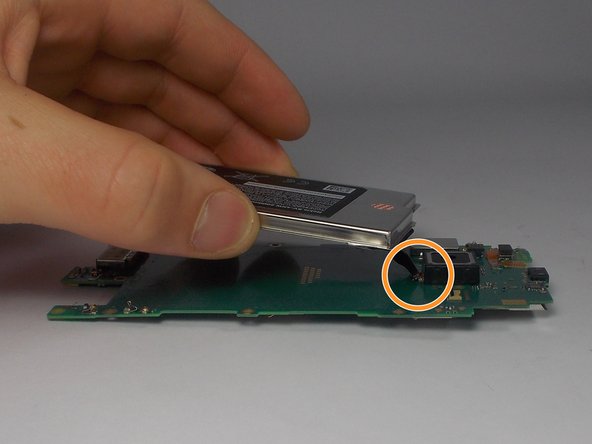
Once the connector has been freed, you can start to pull the battery away from the motherboard.
-
Once you feed the ribbon cable out through the hole in the motherboard, the battery can be removed from the motherboard.
-


To reassemble your device, follow these instructions in reverse order.
To reassemble your device, follow these instructions in reverse order.
Team

UMass Dartmouth, Team 6-8, Bhusal Spring 2016 Lid van UMass Dartmouth, Team 6-8, Bhusal Spring 2016
UMASSD-BHUSAL-S16S6G8
4 Leden
6 handleidingen geschreven