
Nikon COOLPIX P2 Case Replacement
Geen schatting
Gemiddeld
Inleiding
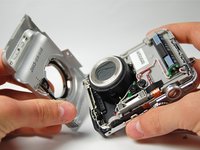
Ga naar stap 1Replace the outer casing of your camera if it is damaged.
Wat je nodig hebt
Gereedschap


-
-
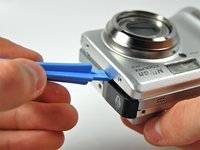
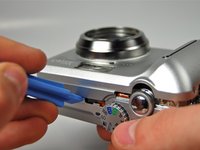
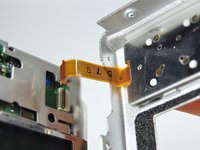
Remove the screw located near the speaker port using a Phillips 00 screwdriver.
-
-


Bijna klaar!
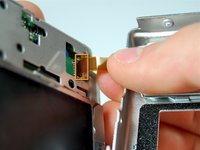
To reassemble your device, follow these instructions in reverse order.
Conclusie
To reassemble your device, follow these instructions in reverse order.
Team

Cal Poly, Team 3-28, Amido Winter 2012 Lid van Cal Poly, Team 3-28, Amido Winter 2012
CPSU-AMIDO-W12S3G28
4 Leden
10 handleidingen geschreven