Inleiding
This guide shows how to remove and replace a cracked controller ring shell for your Meta Quest 2 controller.
This guide is written with the right controller. If you're repairing the left controller, you can still use this guide, as the procedure is identical.
Wat je nodig hebt
-
-
Use your fingers to slide the battery cover down towards the strap end of the controller.
-
Remove the battery cover.
-
-
-
Use your fingers to grasp the wrist strap near the anchor peg.
-
Lift the wrist strap anchor peg straight out of its recess.
-
Remove the wrist strap.
-
-
-
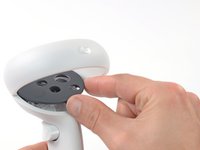
Heat an iOpener and apply it to the bottom edge of the controller faceplate for a minute.
-
-
-
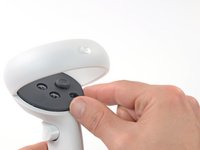
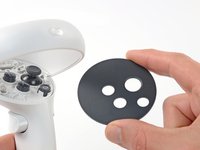
The controller faceplate is secured with adhesive and three friction pegs.
-
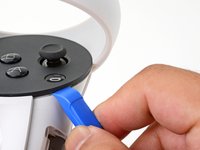
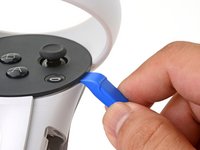
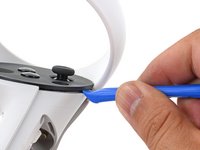
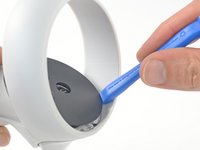
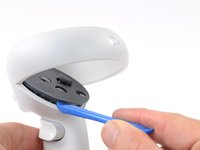
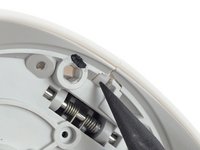
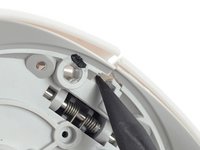
Press the edge of an opening tool into the seam between the controller faceplate and shell, near the Oculus button.
-
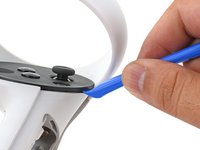
Slide the opening tool to the base of the ring shell to loosen the adhesive.
-
-
-
-
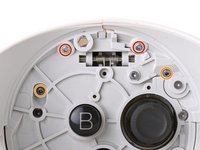
Use a Torx T5 driver to remove the four screws securing the controller ring shell to the controller:
-
Two 4.7 mm‑long screws
-
Two 5.9 mm‑long screws
-
-
-
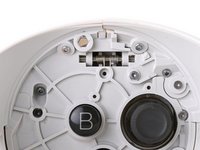
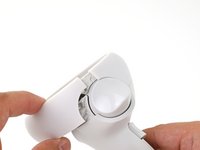
Use your fingers to grab the end of the ring shell that doesn’t have the white alignment square.
-
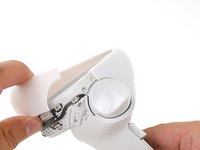
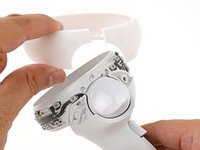
Gently lift the ring shell up and away from the controller to unclip it from the controller.
-
Remove the controller ring shell.
-
To reassemble your device, follow these instructions in reverse order.
Repair didn’t go as planned? Try some basic troubleshooting, or ask our Answers community for help.
Annuleren: ik heb deze handleiding niet afgemaakt.
2 andere personen hebben deze handleiding voltooid.
1Gids Commentaar
This Tutorial was really fast and easy also, I fixed my controller and it works very well now, Thank you!


